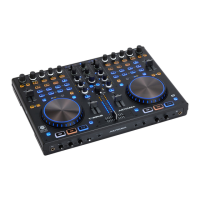
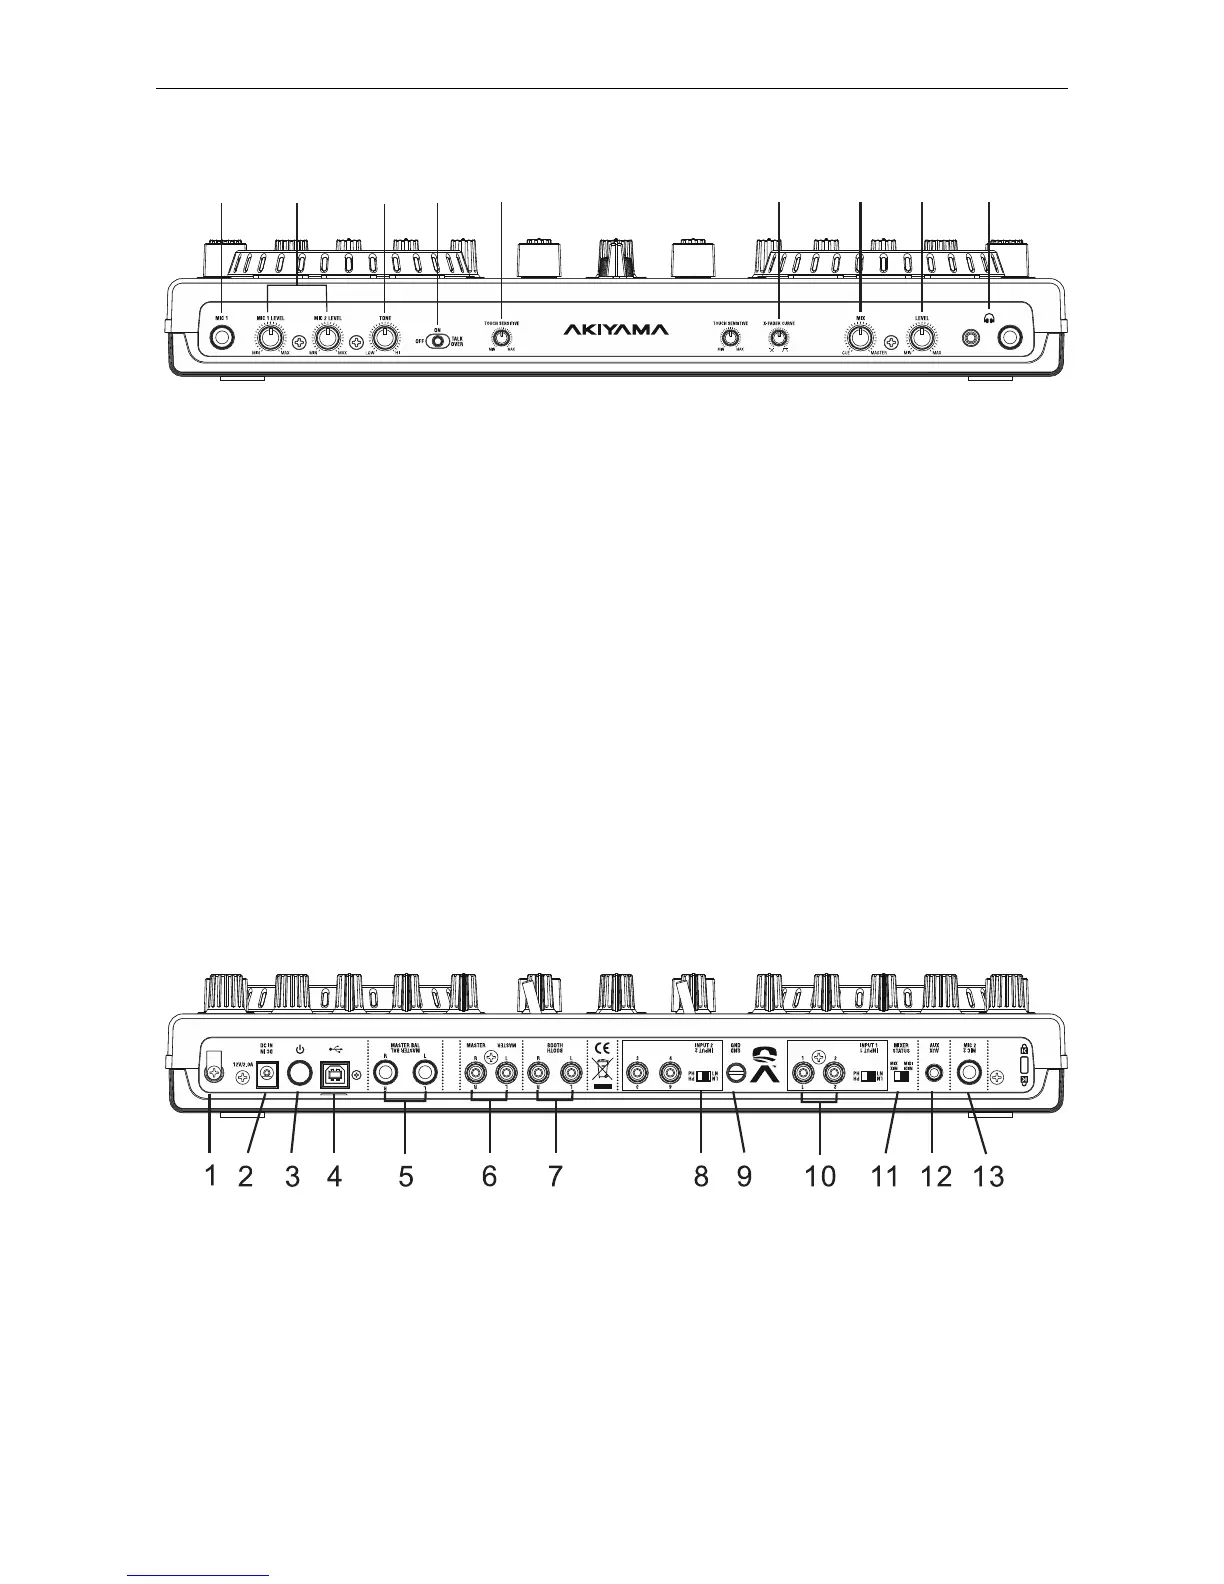
1. MIC 1 Jack: This jack is used to connect a microphone to
the mixer. Connect your microphone via 1/4 inch jack. The
volume output level for microphone will be controlled by its
own respective volume knob.
2. MIC LEVEL Control: These rotary knobs control the output
volume of MICROPHONE 1 and 2.
3. MIC TONE Control: This rotary knob controls the frequency
response of MICROPHONE.
4. MIC ON/OFF/TALKOVER Switch: Activate or deactivate
the mix of MIC input with Master. When it is switched to the
talkover position, the level for everything other than the MIC
will decrease to around 20dB. Microphone signal is send to the
sound card depending on the selection of the channel select
switch as explained on point 1.2-2 independently on the
position of the on/off/talkover switch. So if you need to mix the
microphone signal with Master, you must select on or talkover.
If you want to have the microphone signal available on the
software but don’t mix it with Master you must select off.
5. TOUCH SENSOR LEVEL Control: Adjust level of touch
sensitivity for the Jog Wheel.
NOTE: The touch sensitivity of the jog wheel can be adjusted
to fit the needs and feel of different users. When adjusting the
sensitivity, be conscious of extreme settings which may affect
your performance. Setting the sensitivity too high would
engage the touch sensitivity with the hand just above the
wheel. Setting the sensitivity too low may not engage the touch
even while pressing firmly on the wheel.
6. X-FADER CURVE Switch: Allows adjusting the slope of
crossfader. Rotate clockwise to shorten fade time with sharper
cut off at either end. Rotate anti-clockwise to lengthen fade to
gradually mix across fader and 50/50 mix in center only.
7. MONITOR MIXING MODE Selector: This function allows
you to monitor the Cue level as well as the Master (main
output) level in your headphones. Channels Cue Level may
only be monitored if the channel CUE function is selected. To
select a channel cue function press the CUE BUTTON that is
directly associated with the specific channel you wish to
monitor. You may use the mixing function to blend both the
Cue level and the MASTER level together. You can vary the
output level to either hear more or less of either of the two
levels. Turning the Cue Mixing knob to the CUE position (left)
will allow you to hear more of the Cue level. Turning the knob
to the MASTER position (right) will allow you to hear more of
the Program level (main output). You may also use the Cue
Mixing Control to hear either the Cue level or the Master level
exclusively. If the knob is in the full CUE position you will only
hear the cue level, if the knob is in the full MASTER position
you will only hear the main output. This function is especially
useful when mixing without a monitor. Adjust the balance for
the CUE and master output to the headphone.
8. CUE LEVEL Control: This rotary knob is used to adjust the
headphone volume output level. Turn the knob in a clockwise
direction to increase the headphone volume.
9. PHONES Jacks: These jacks are used to connect your
headphones to the device allowing you to monitor the cue
channel. Always be sure the CUE LEVEL VOLUME is set to
minimum before you put the headphones on.
1.4. Rear panel
1. POWER CORD Fastener: To fasten the power cord to
avoid unplugging the cord by accident.
2. POWER Connector: Plug in power adapter here. Please
use only a 12V 2.0A DC adaptor.
3. POWER Switch: Turn this unit power ON/OFF.
4. USB MIDI Port: After hooking up your computer with the
USB 1.1 Connections, your computer will detect them
respectively as an external sound card (USB Code). You may
either play music on your computer or send it via the USB 1.1
Connections as a signal source to the device; alternatively, you
may record the Master output signal on your computer using
the USB 1.1 Connection.
NOTE:
(1) The sent Master Output Signal is not influenced by the
position of the volume controls. To use the USB 1.1
connection, please also refer to the operation manual of your
computer and the programmers used.
(2) USB cable no more than 3m long.
5. BALANCED XLR MASTER OUTPUT Jacks: The Master
Output includes a pair of XLR Balanced jacks.
The XLR jacks send a high current balanced output signal.
These jacks should be used when you will be driving an amp
or other audio equipment with a balanced input, or whenever
you will be running a signal line greater than 15 feet. Always,
use these jacks whenever possible.