6. COMMISSIONING
6.1 Commissioning Procedure
1. Turn the power on.
2. If in IP mode, manage the IP settings.
6.2 Power On
When powered on, the wallboard is started. Before the normal operating mode, there is an
identification stage followed by a self-test. In the identification stage, the first line shows the
wallboard software version. In IP operating mode, the second line shows the wallboard IP
address.
The self-test activates every wallboard dot, line after line, in both basic colors: red and green.
This allows visually checking that every wallboard dot works properly.
6.3 IP Setting Management
IP setting management only applies if the wallboard is set up in IP mode (see configuration).
IP settings can be accessed from a PC. A Web browser can be used to connect to the
wallboard’s IP address. At power on, the wallboard’s IP address is displayed in the second
line.
6.3.1 First Commissioning
Follow the procedure below:
1. Remove all micro-switchs from the wallboard and turn it back on.
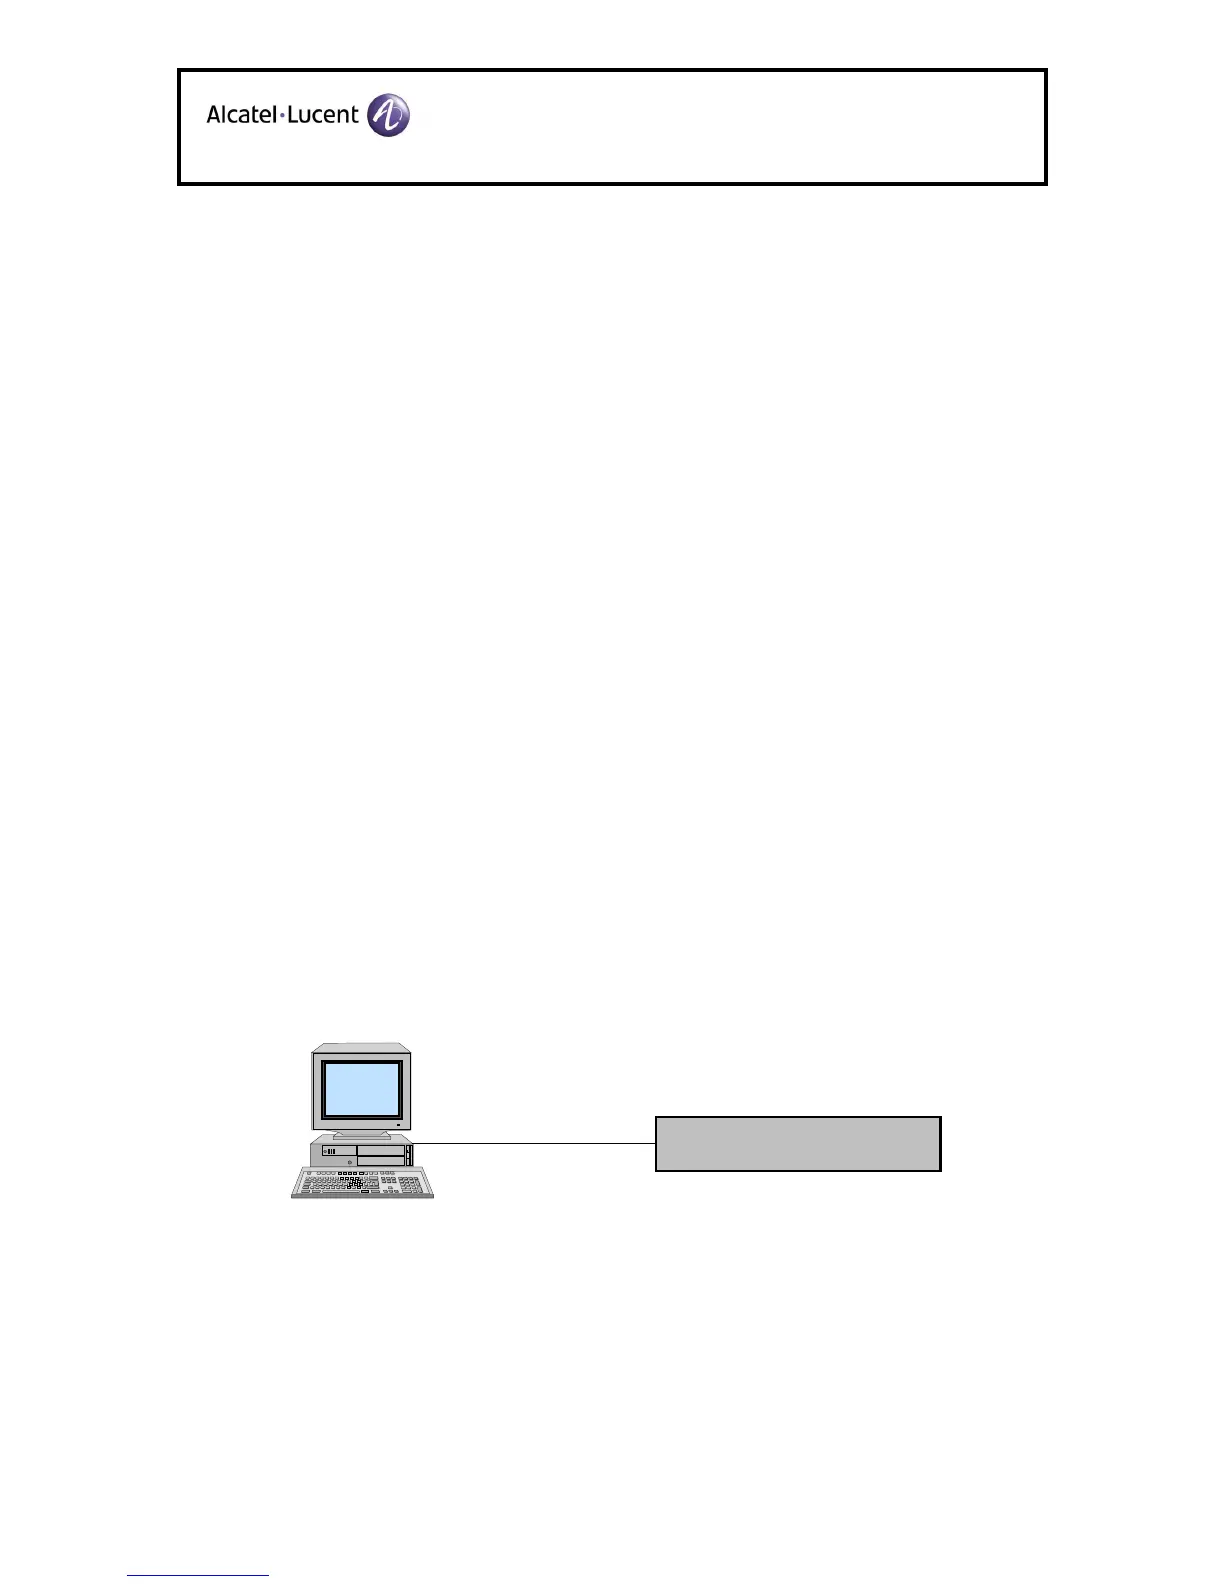
2. Connect the wallboard to the PC directly, using the crossed Ethernet cable as supplied.
3. Change the PC network settings to an IP address compatible with the wallboard’s IP
address, e.g. 10.0.0.1 if the wallboard is set to its default address 10.0.0.88.
Wallboard