EasyManuals Logo

Alcatel-Lucent OmniPCX Office Installation Manual

Alcatel-Lucent OmniPCX Office
230 pages
To Next Page IconTo Next Page
To Previous Page IconTo Previous Page
Page #154 background imageLoading...
Page #154 background image
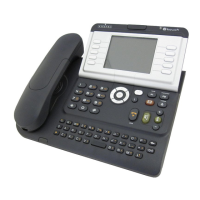
4.13.1.2.2 Attaching the handset cable:
- Turn the terminal
- Plug in the handset cable (connector ) into the guide intended for this purpose.
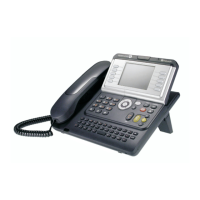
4.13.1.2.3 Wall mounted
Preparing Premium Reflexes terminals
- Turn the terminal
- Use a screwdriver to remove the two upper rubber feet.
Preparing Advanced Reflexes terminals
- Turn the terminal
- Use a screw driver to remove only the left rubber foot.
Mounting the terminal
- Use the bracket as a drilling template; use the wallplugs and screws provided to attach the
bracket.
- Attach the terminal using the two lugs: introduce the lugs into the holes previously
occupied by the feet (left foot and hole intended for this purpose for Advanced Reflexes
terminals).
Chapter
4
  ()
4-106
       

Table of Contents

Other manuals for Alcatel-Lucent OmniPCX Office

Questions and Answers:

Question and Answer IconNeed help?

Do you have a question about the Alcatel-Lucent OmniPCX Office and is the answer not in the manual?

Alcatel-Lucent OmniPCX Office Specifications

General IconGeneral
VoIP ProtocolsSIP, H.323
Power Supply100-240 VAC, 50/60 Hz
Humidity10% to 90% non-condensing
TypeIP PBX
Maximum TrunksUp to 60
Voice codecsG.711, G.729
Network Interfaces10/100 Ethernet
WeightVaries depending on the model/configuration

Related product manuals