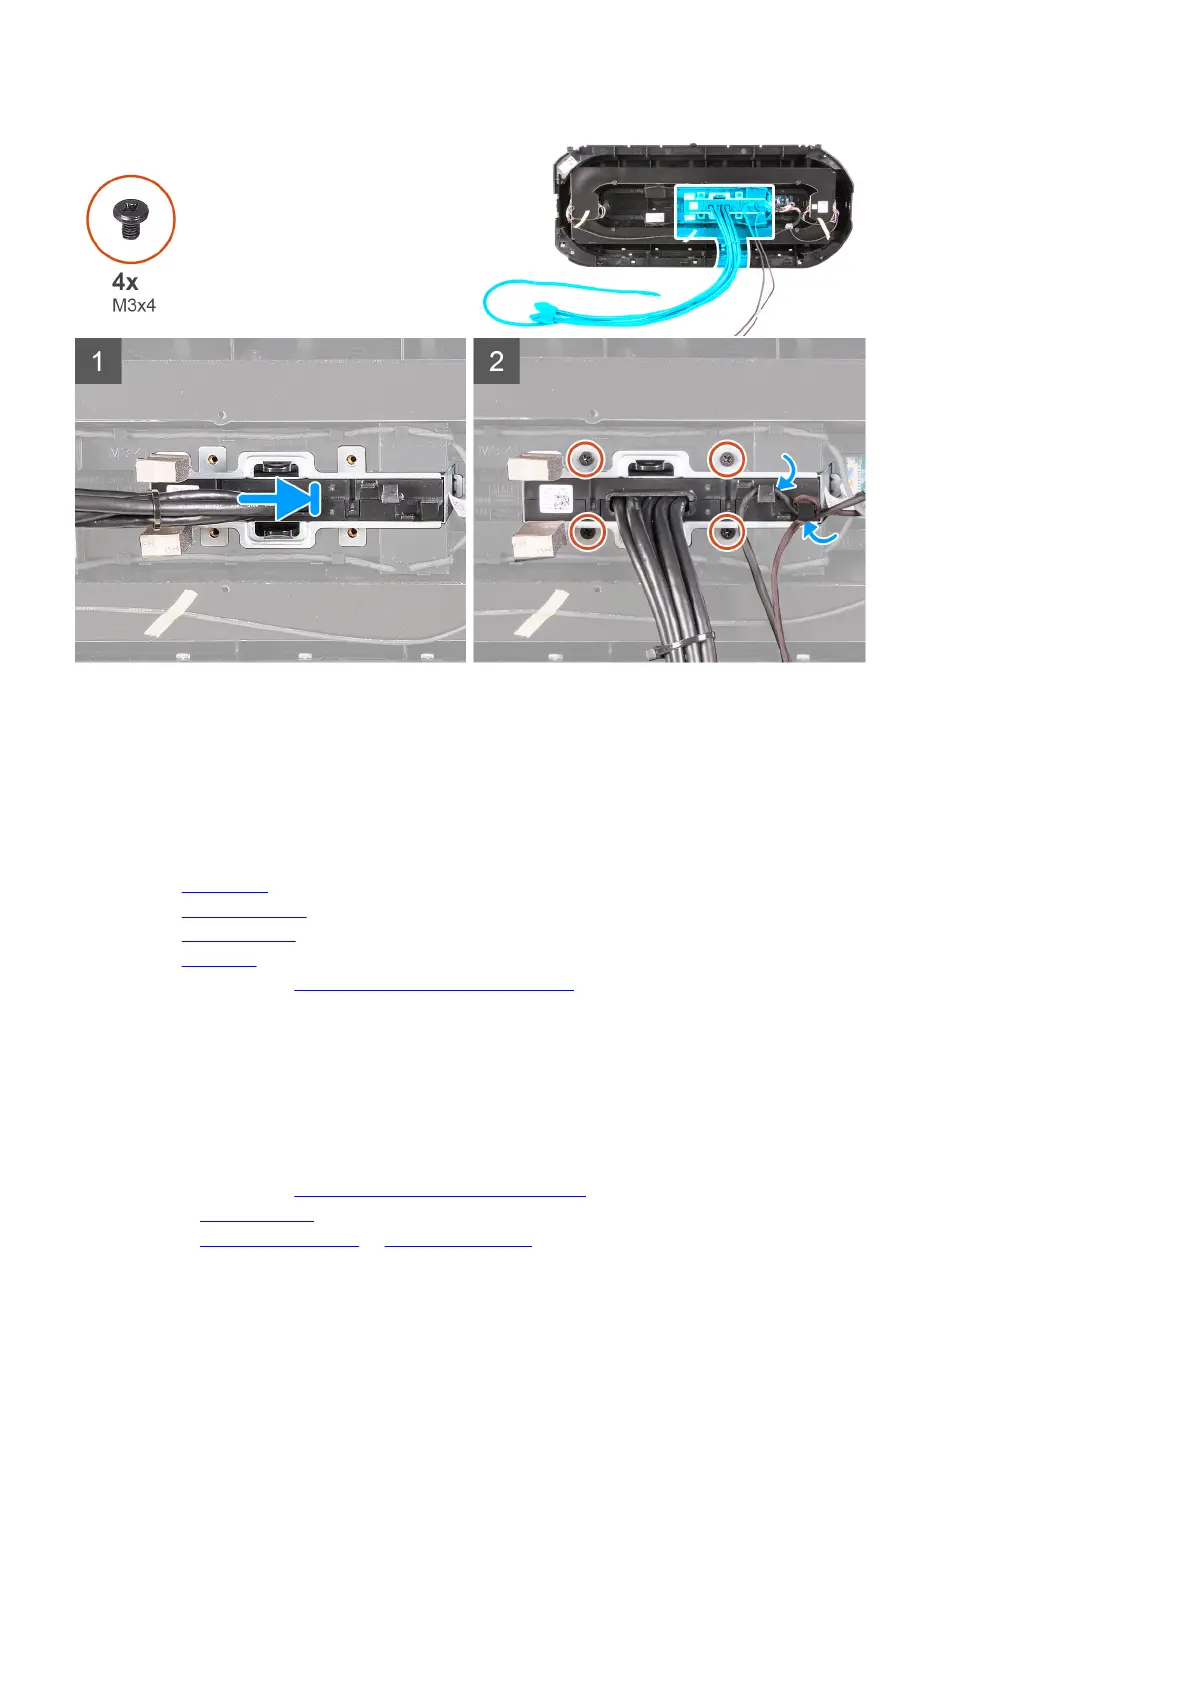
Steps
1. Align the screw holes on the front I/O-panel with the screw holes on the front bezel and snap it into place.
2. Route the cables through the routing guides on the front I/O-panel.
3. Replace the four screws (M3x4) that secures the front I/O-panel to the front bezel.
Next steps
1. Install the
front bezel.
2. Install the right-side cover.
3. Install the left-side cover.
4. Install the top cover.
5. Follow the procedure in After working inside your computer.
Front-chassis fan
Removing the front-chassis fan
Prerequisites
1. Follow the procedure in Before working inside your computer.
2. Remove the left-side cover.
3. Remove the
single-graphics card or dual-graphics card, as applicable.
About this task
The following images indicate the location of the front-chassis fan and provides a visual representation of the removal procedure.
80