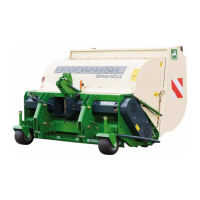
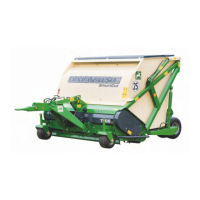
Taking delivery of the machine
GH HH Super SMARTCUT BAF0009.3 05.17
4 Taking delivery of the machine
On receiving the machine, check to see if it was damaged during
transport or if parts are missing. Replacements will only be made if
claims are submitted promptly to the haulage company. Please check
that all the parts listed on the despatch note have been delivered.
Before starting up, completely remove all packaging (including cables)
and check lubrication.
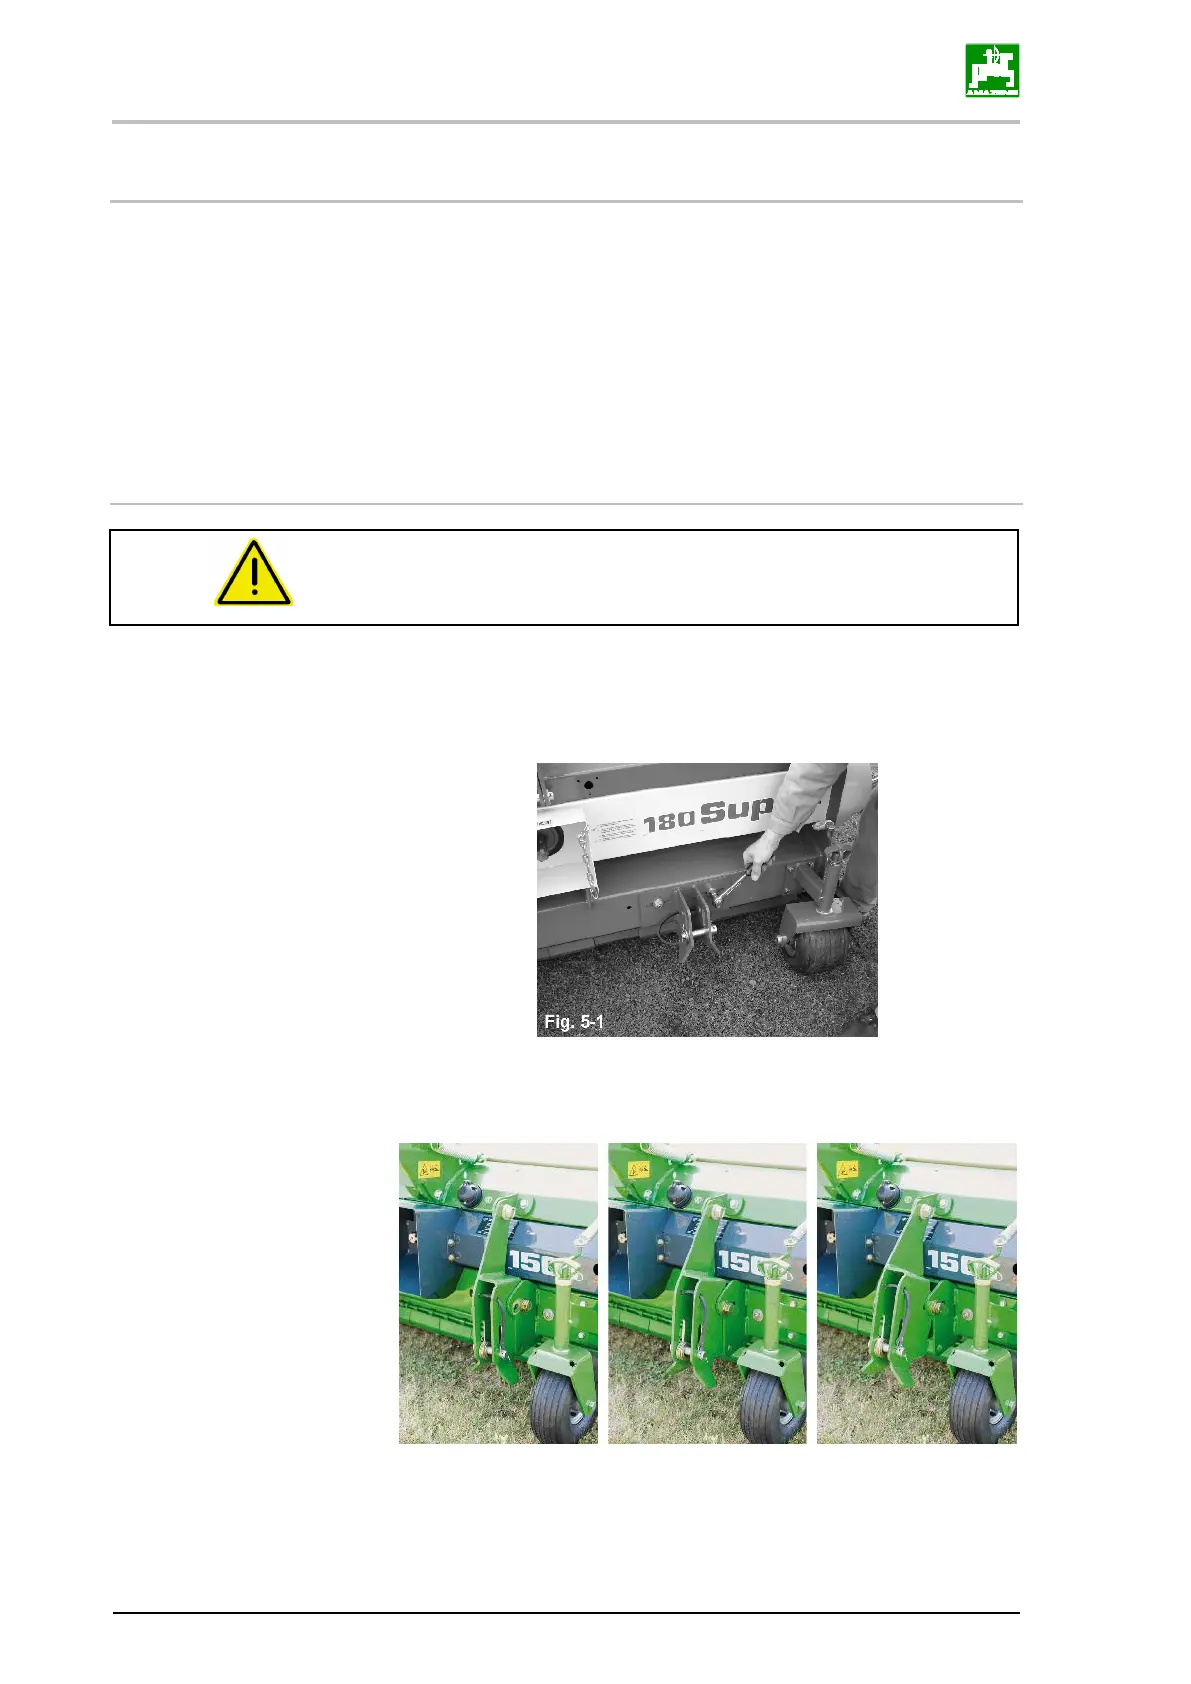
5 Attaching and removing the machine at the tractor's rear
three-point linkage
Before attaching the machine to the tractor, make sure that the
lateral setting of the three-
point linkage on the machine matches
the mount category of the tractor (CAT I or II).
• Release the fastener on the lower link sockets (Fig. 5-1),
Move the lower link sockets to the required position and fasten in
place with 4 screws each.
• Adjust the lower 3-point linkage to the tractor, so that the tractor
tire is no tin contact with the machine front castor wheels.
The diameter of the lower link pins corresponds to CAT I.
Adapter sleeves will have to be used for CAT II.