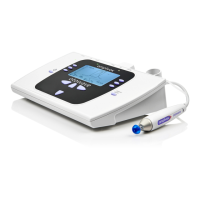
UNPACKING AND INSTALLATION
17 OTOWAVE 302+ INSTRUCTION FOR USE
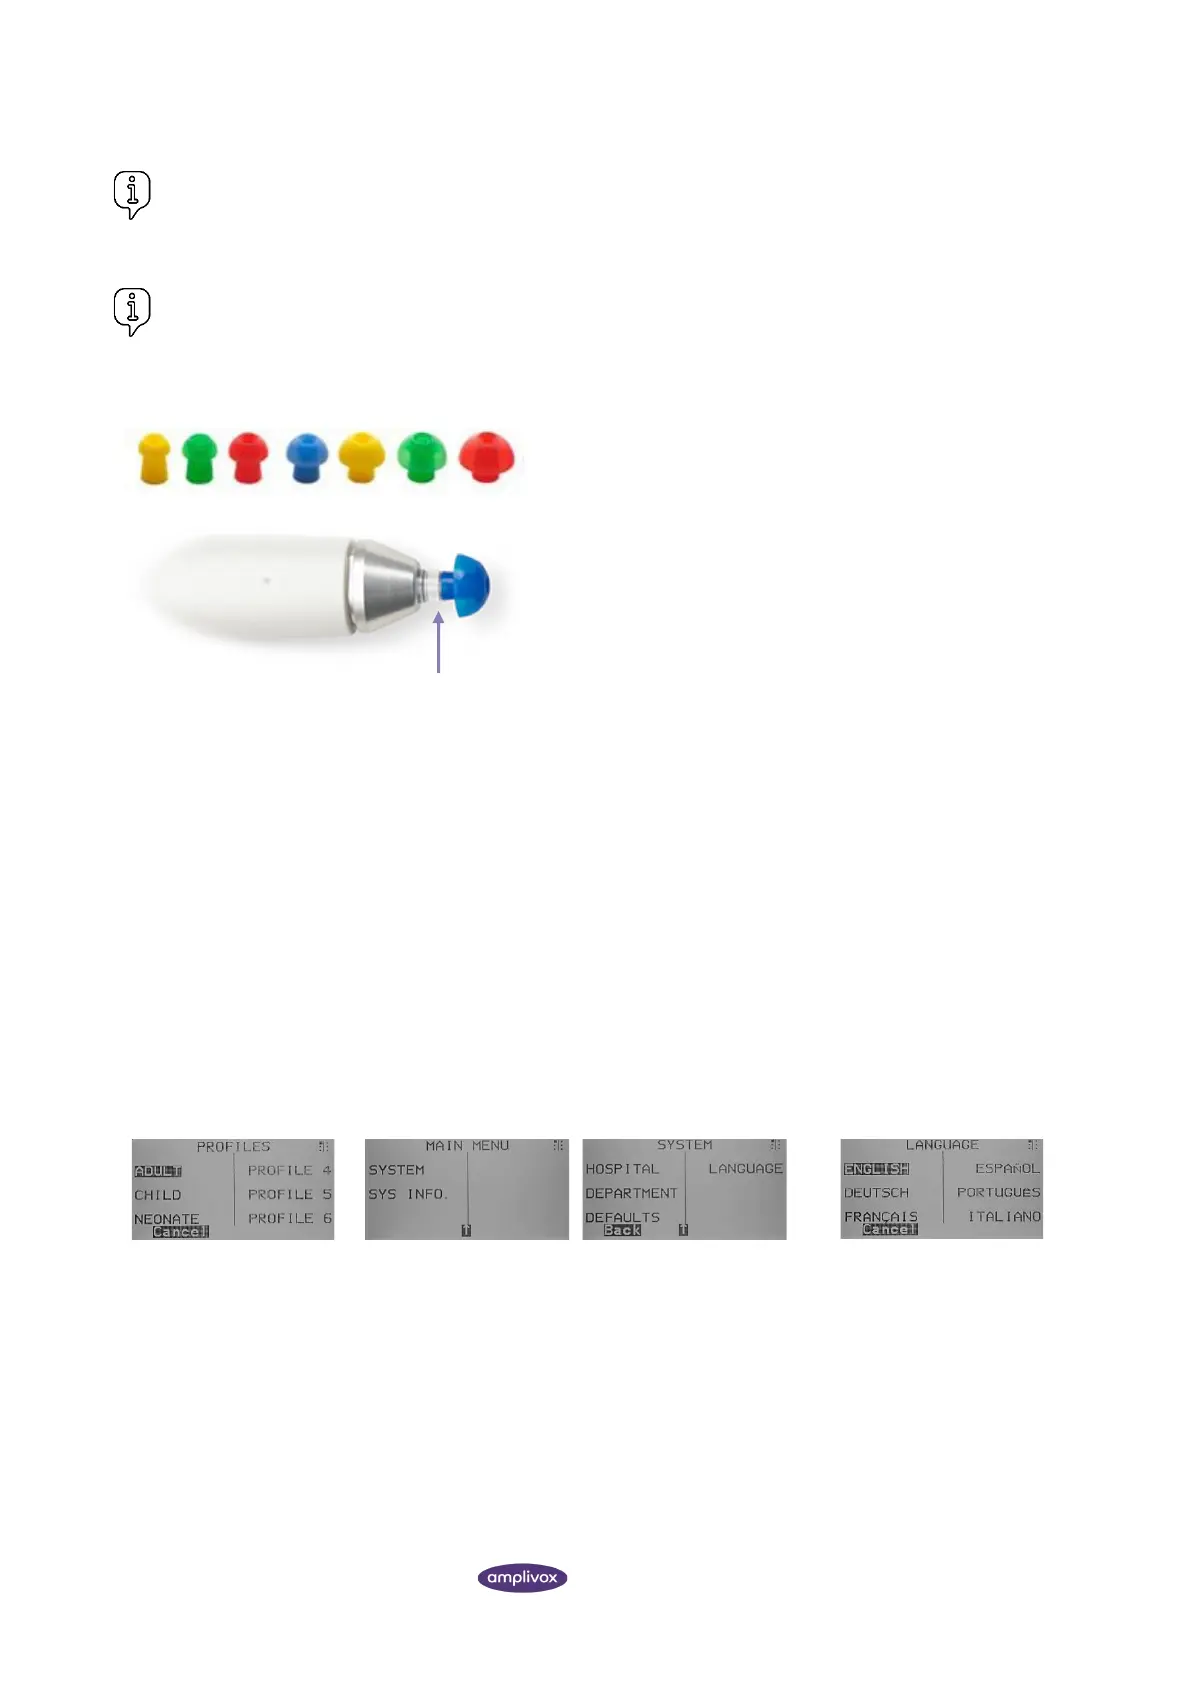
Please note: The probe tip must be fitted with a new ear tip before it is presented to a patient’s ear canal. If a
contralateral reflex is to be applied, fit a new ear tip to the contralateral transducer before presenting it to the patient’s
opposite ear canal. The ear tip size is chosen to suit the patient’s ear and provide a comfortable pressure seal.
Please note: Never insert the probe or the contralateral transducer into a patient’s ear canal without a suitable
ear tip fitted.
The ear tip size is chosen based on the diameter of the external of
the ear canal and should suit the patient’s ear but also provide a
comfortable pressure seal.
Ensure that the ear tip is pushed all the way down on the probe
tip and that there is no gap between probe tip and ear tip.
The small holes through the Otowave 302+ probe tip must be kept
clear. If these become blocked a warning message will be
displayed. The probe tip must be removed and replaced.
2.10. HARDWARE INSTALLATION
The instrument is shipped with the probe attached to the Otowave 302+. The instrument is designed for continuous
operation and is powered by a mains adapter. Connect the output lead from the adapter into the POWER input socket
on the back of the Otowave 302+. When powered the Power indicator (LED a) on the Otowave 302+ will illuminate
green, showing that the instrument is ready for use.
If performing contralateral reflex testing, connect the transducer to the CONTRA socket (2) on the base unit of the
Otowave 302+.
2.11. INITIAL SETTINGS
2.11.1. OPERATING LANGUAGE
The instrument will be set in English by default. To change the operating language (English, German, French, Spanish,
Portuguese or Italian) ensure you start from the MAIN MENU.
PROFILES
Select S1 to access Profile
1.
MAIN MENU
Select down ▼ 1x.
Select S1 to access the SYSTEM.
Select down ▼ 1x.
Select S4.
LANGUAGE
Select S1 to S6 to select
another language.