UNPACKING AND INSTALLATION
18 OTOWAVE 302+ INSTRUCTION FOR USE
2.11.2. DATE AND TIME
The Otowave 302+ is equipped with a real-time clock. Before use, please set the date & time to local values in order to
ensure that test data and calibration status are correctly identified.
2.12. THE MPT-II PRINTER
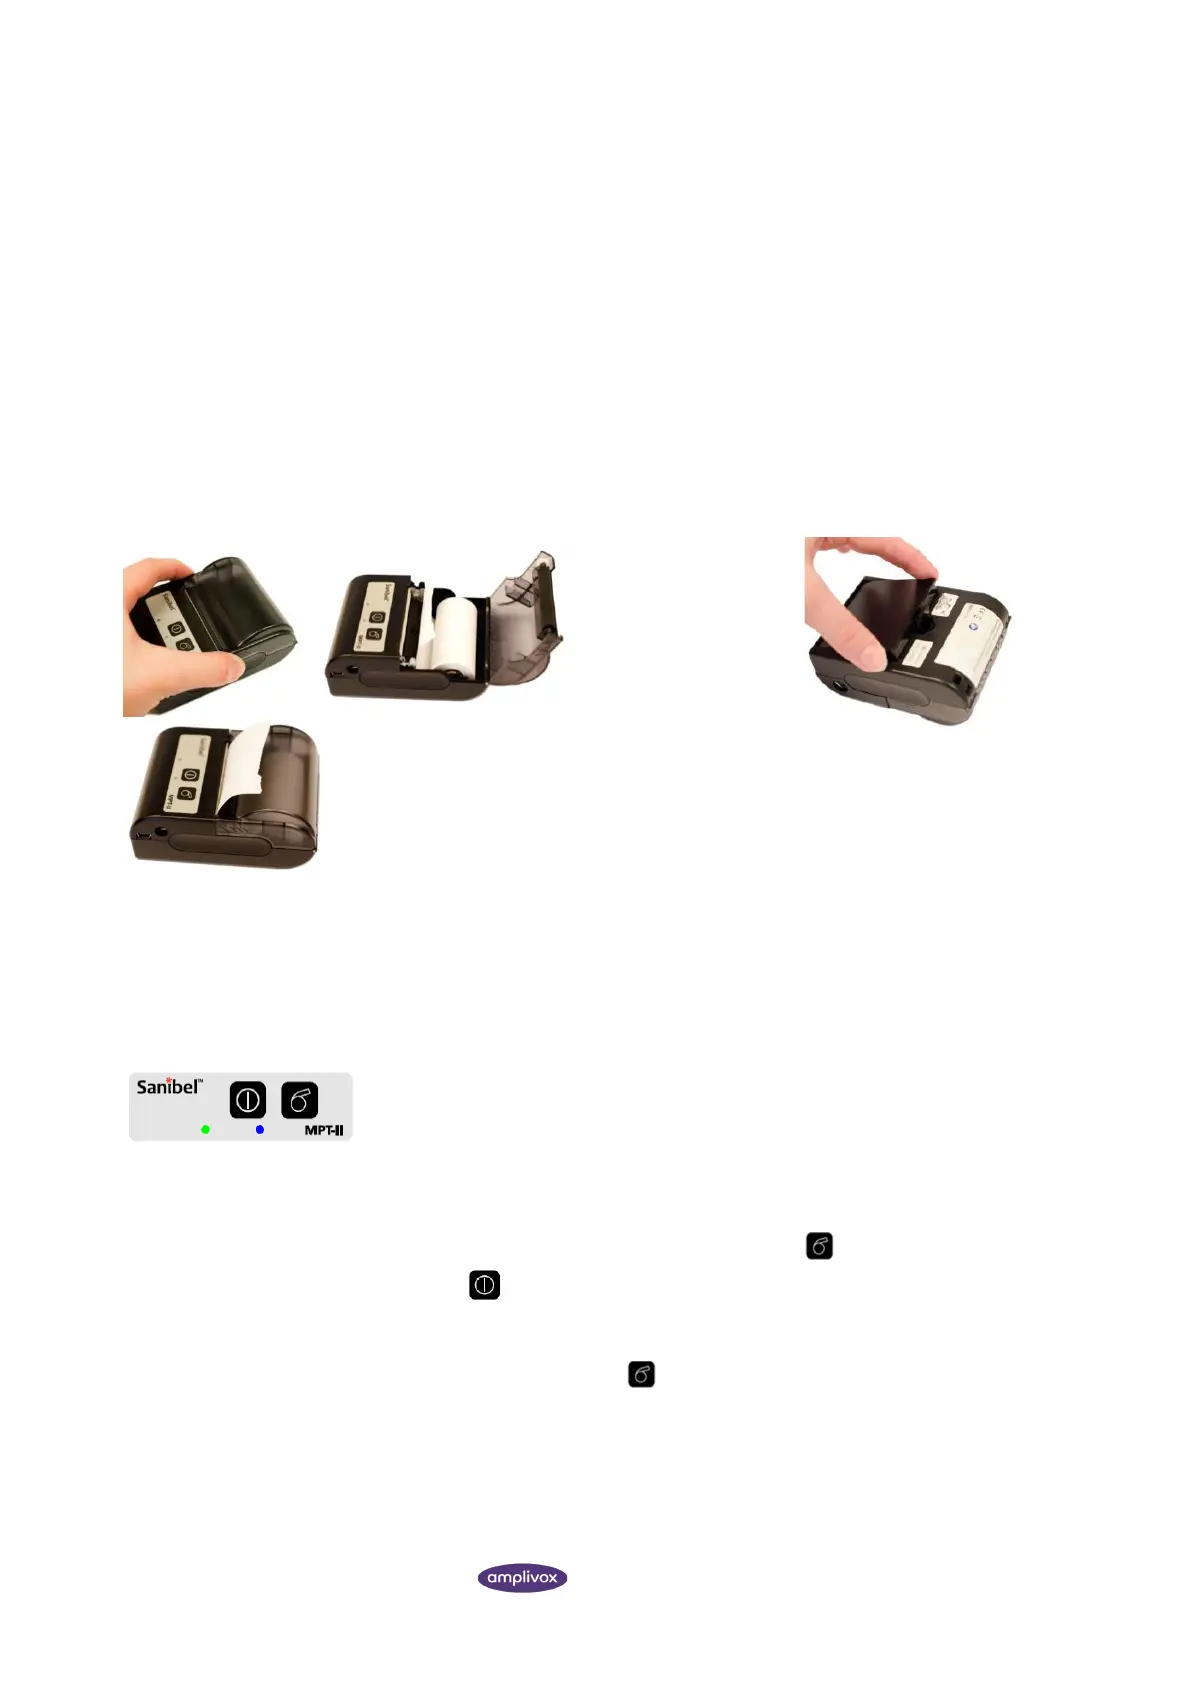
2.12.1. INSTALLING THE MPT-II PRINTER
The Sanibel MPT-II thermal printer is available as an option for use with the Otowave 302+ and is connected using the
cable supplied. The printer may be specified when ordering and only this printer should be used. It will be correctly
configured for use. Upon receipt of the printer it must be initially charged for a minimum of 15 hours prior to use.
1. Open the lid by pushing on the sides, insert paper roll as shown, and
close the lid.
2.12.2. SWITCHING THE PRINTER ON AND OFF
Push POWER BUTTON for two seconds in order to power ON or OFF. One short beep
will be heard at power ON, two short beeps at power OFF.
The green power indicator will be lit if the printer is powered by battery.
2.12.3. USING THE PRINTER
While printer is powered OFF, press and hold PAPER FEED button, then press and hold
POWER BUTTON simultaneously. When beep is heard after approx. 3 seconds, release
both buttons, and a test page will print with information on current status and character
samples.
When powered, press PAPER FEED button. Paper will feed as long as the button is
pressed.
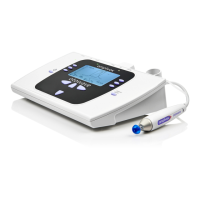
• Connect the printer via the cable with the device
• Power on printer
• Select print option in the Otowave 302+