English - 91 -
Time Settings
In the configuration menu, highlight the Time
Settings item by pressing “
” or “ ” buttons.
Press OK and Time Settings sub menu will be
displayed on the screen. Current Time,Time
Zone Setting and Time Zone will be available.
Use “ ” or “ ” buttons to highlight the Time
Zone Setting. Time Zone Setting is set using
“ ” or “ ”buttons. It can be set to AUTO or
MANUAL.
When AUTO is selected, Current Time and Time
Zone options will not be available to be set. If
MANUAL option is selected as the Time Zone
Setting, Time Zone can be altered:
• By pressing “
” or “ ” buttons select Time
Zone.
Use “ ” or “ ” buttons to change the Time Zone
between GMT-12 or GMT+12. Current Time
on the top of the menu list will then change
according to the selected Time Zone.
Language
In this menu the user can adjust the preferred
language. Language is changed by pressing
OK button.
Menu : shows the language of the system
Preferred
These settings will be used if available.
Otherwise the current settings will be used.
• Audio : by pressing “
” or “ ” keys change the
audio language.
• Subtitle : alter the subtitle language with “
” or “ ” keys. The chosen language will be
seen in subtitles.
• Guide : By pressing “
” or “ ” buttons change
the guide language.
Current
• Audio : if audio language is supported change
the audio language by pressing “
” or “ ”
buttons
• Subtitle : if subtitle is backed up, alter the
subtitle language with “ ” or “ ” buttons. The
chosen language will be seen in subtitles.
Installation
The Installation menu is mainly intended to
help you for creating a Channel Table in the
most effi cient way. Select Installation from the
Confi guration menu by pressing “
” or “ ”
buttons.
This menu includes the following items:
• Automatic channel scan
• Manual Channel Scan
• First Time Installation
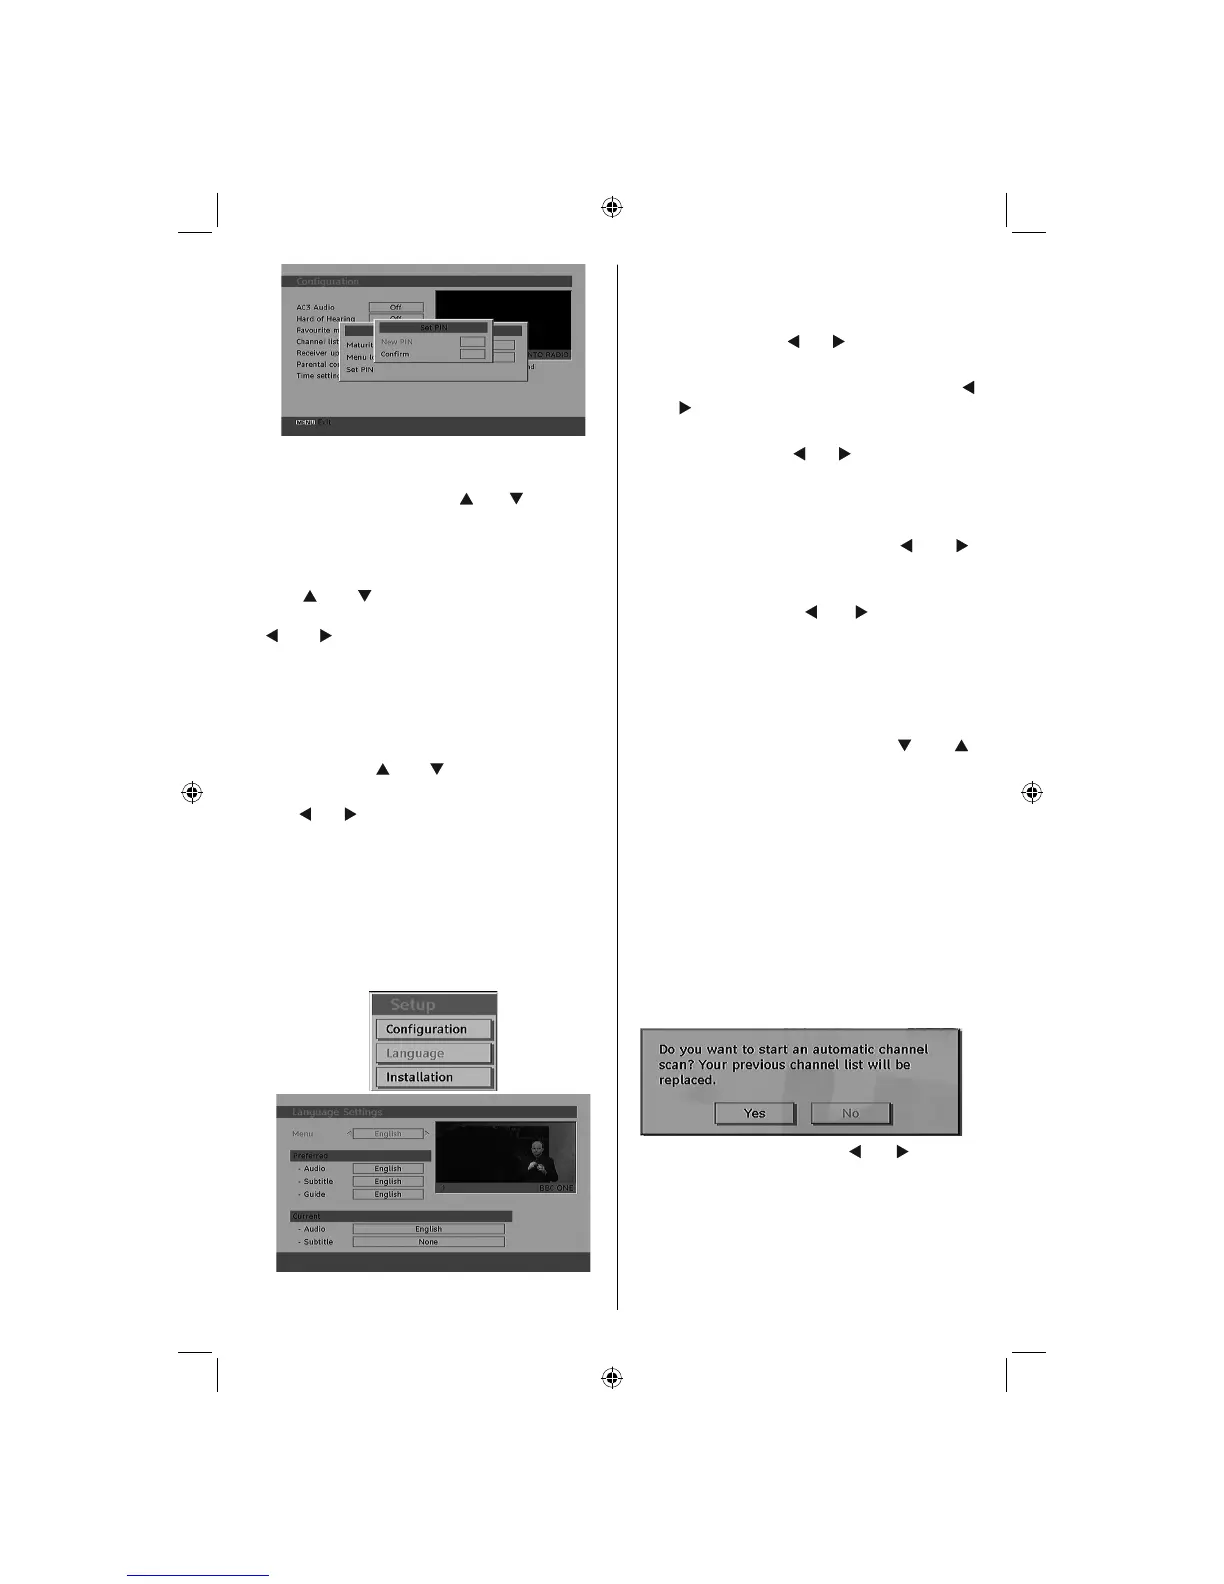
Automatic Channel Scan
Automatic channel scan is started by pressing
OK button while Automatic channel scan item
is highlighted.
The following message appears on the
screen:
Highlight Yes or No by using “
” or “ ” buttons
and press OK button to confi rm.
If Yes is selected, automatic search starts.
Selecting No cancels automatic search.
After search is completed for digital channels, a
message asking whether to search for analogue
channels appears on the screen:
A02_MB25 [GB] (01-TV)_19855W_1900UK_IDTV_NICKEL5_10061155_50141077.indd 28A02_MB25 [GB] (01-TV)_19855W_1900UK_IDTV_NICKEL5_10061155_50141077.indd 28 25.02.2009 17:08:1825.02.2009 17:08:18