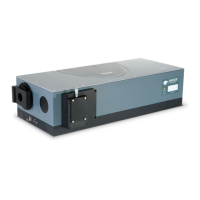
The wavelength drive hardware sets the system to the target wavelength and also allows control of the grating selection.
The wavelength range covered by the camera is calculated and displayed in the Wavelength section of the Dashboard.
It is calculated by the software and accurately displayed in the visual control section of the dashboard. The slide bar
control has three labels oating above it displaying the start, centre and end wavelengths currently in effect. The values
displayed correspond to the position and width of the slide bar in relation to the wavelength scale shown.
4.3.2.1
The start, centre and end wavelengths can be changed in one of two ways:
1. Drag the wavelength slider with the mouse. Position the cursor within the slider (cursor changes to pointing
hand), click the LEFT mouse button and drag the slider to the required centre wavelength. Place the cursor at
either side of the slider to move it towards the cursor (LEFT mouse button for coarse nudges and the RIGHT
mouse button for ne nudges).
2. The size of the nudges can be dened by the user but the defaults are 10 nm for course nudges and 1 nm for
ne nudges from the Wavelength Menu end point.
This is accessed by positioning the cursor within the slider (cursor changes to pointing hand) and holding down the
Right mouse button. Selecting an item from the wavelength menu displays a simple dialog that allows you to change the
current values.
Note: While the wavelength drive motor is moving the grating, the cursor changes to the hourglass symbol
to indicate that the hardware is busy. The cursor reverts to its previous appearance once the movement is
complete.

 Loading...