EasyManua.ls Logo

Anet A8 Plus - Page 15

Anet A8 Plus
49 pages
Print Icon
To Next Page IconTo Next Page
To Previous Page IconTo Previous Page
Loading...
Step 4
No.
Name
Qty.
1
Y axis motor fixed plate
1
2
Y axis motor kit
1
3
socket hexagon screw M3*6
4
4
socket hexagon screw M4*8
2
5
M4 T nut M4
2
M3*6
M4*8
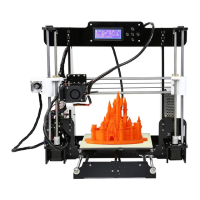
Note: 1. Please fix it in the center of rear X axis aluminum
profile
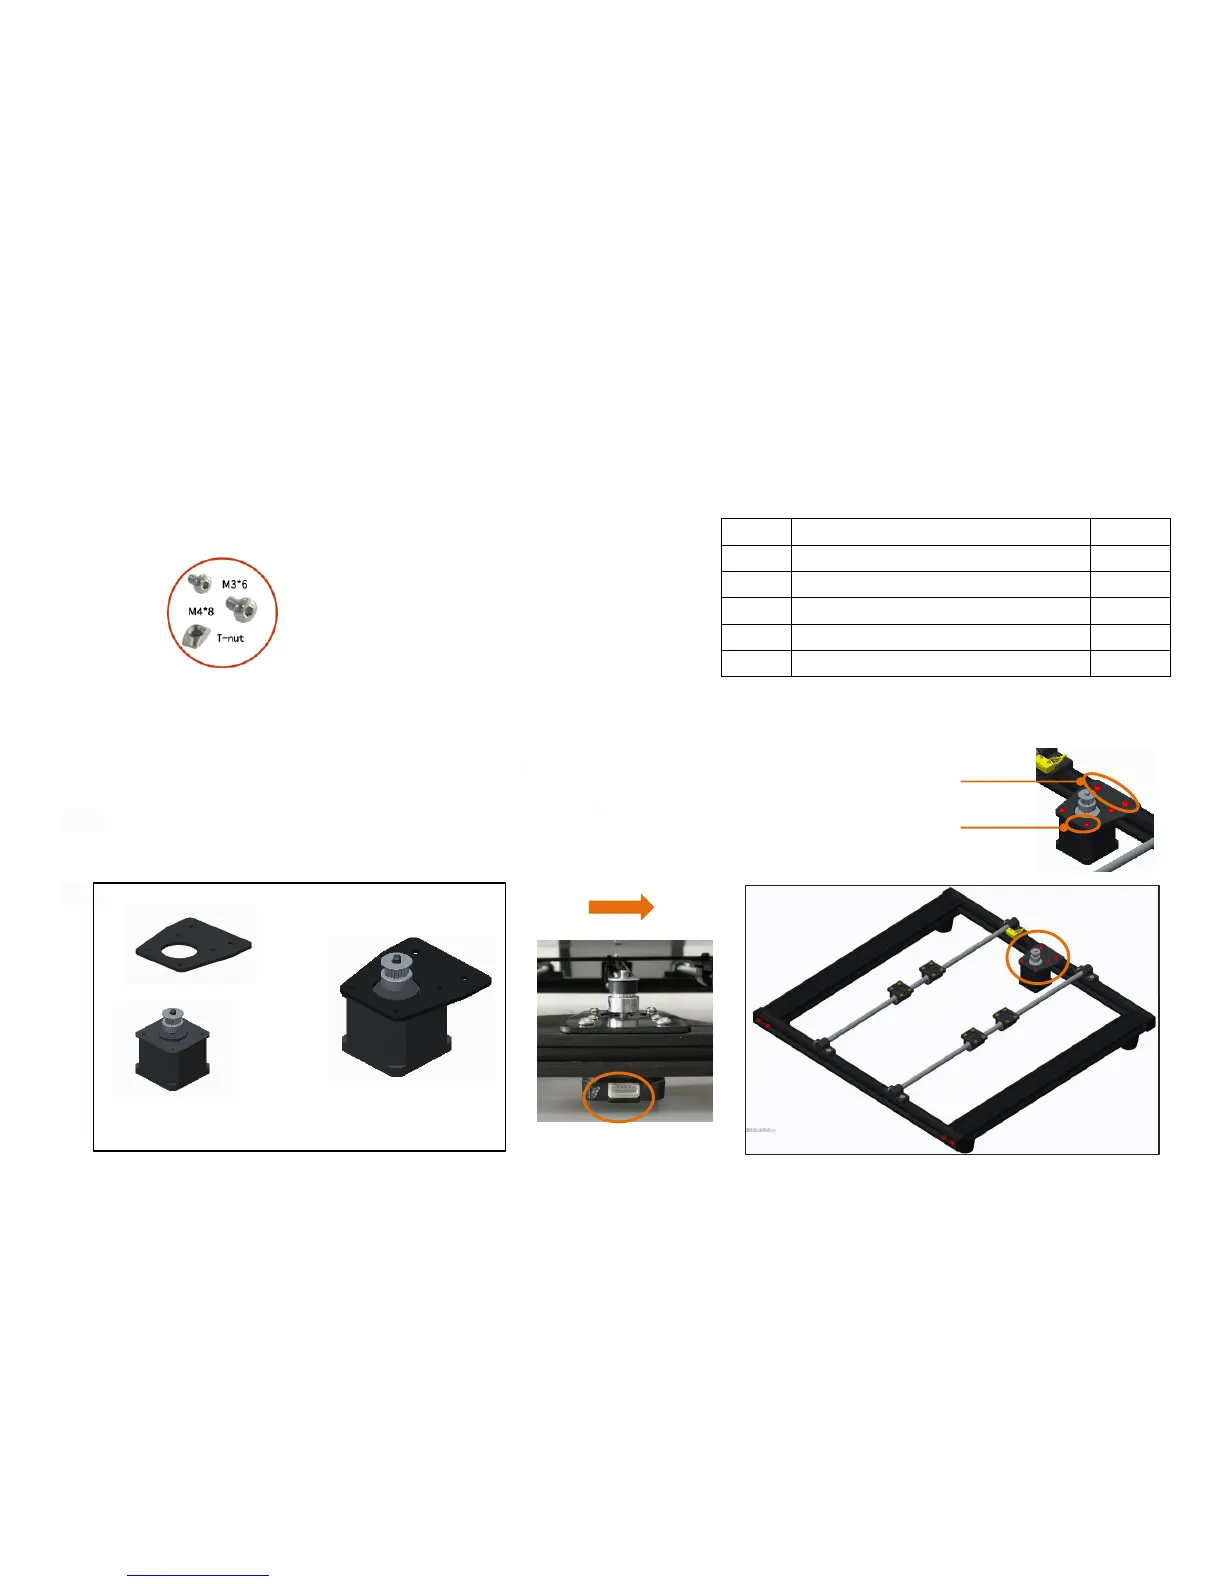
2. M4 * 8 screws pass through the Y axis motor fixed plate,
screw on the T - nut ( entering 2 - 3 thread teeth ), put
it into the X - axis profile slot, tighten the screw ( the
nut will rotate 90 degrees during this process ), and corner
bracket will be fixed.
Note: Fix the Y axis motor fixed plate to the Y axis motor
kit with 4 M3*6 screw
Before assembly
After assembly

Related product manuals