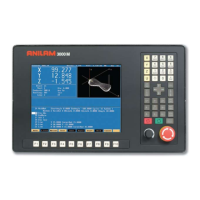
CNC Motion Setup/Testing Utility
P/N 70000635C
All rights reserved. Subject to change without notice.
November 2009
6
Starting Reference Mark
This procedure is only necessary during setup of the system and only
when the encoder is type **EverTrack
TM
.
1. Select the axis you want to setup.
2. Press F2 (Resolution Check) to display a pop-up menu with two
options:
• EverTrack Test
• Save Current Mark
NOTE: Type must be specified as EverTrack on the Resolution – Setup
screen in the Setup Utility.
3. Select EverTrack Test. The Setup Utility displays:
• Encoder Resolution
• Encoder Type
• Starting Mark (N)
The following information is displayed as the test is in progress:
• mm between marks
• Current Mark (N)
4. To determine the Starting Mark, move the axis to the right-most end of
the EverTrack encoder (as you look at the encoder). Note that you
must move the axis so that the Current Mark display
changes/transitions at least twice (about two inches). If you are within
2 inches of the right-most end of the encoder, move in the opposite
direction (left) a few inches, and then move back to the right-most end
of the encoder. The Current Mark display also shows the proper sign.
5. Once you have found the right-most mark, press F2 and select Save
Current Mark to store the Current Mark in the configuration file as the
Starting Mark entry.
– or –
Write down the Current Mark (sign included) and go the Setup Utility’s
Starting Mark choice and enter the information.
- - - - -
**EverTrack
TM
EverTrack
TM
is a trademark of Acu-Rite Companies Inc.
 Loading...