PAGE 62 AR5000 OPERATING MANUAL
14-2 Setting time
Clock 1 and clock 2 may display different hours and text
but the minutes and seconds will be common to both
clocks.
To set the initial real time, press
then press and
hold the
key for more than one second then follow
the prompts.
Initial Set
1 To access the clock set menu, press then press
and hold the
key for more than one second. The
settings for Clock 1 are first displayed / entered followed
by those for clock 2.
2 The menu prompts “
SELECT 24HSELECT 24H
SELECT 24HSELECT 24H
SELECT 24H”, rotate the
SUB DIAL to select between 24hr “
SELECT 24HSELECT 24H
SELECT 24HSELECT 24H
SELECT 24H” and
12hr “
SELECT 12HSELECT 12H
SELECT 12HSELECT 12H
SELECT 12H” display. The selection of 12/24hrs
affects BOTH clocks.
SELECT 24H / SELECT 12H <<<SELECT 24H / SELECT 12H <<<
SELECT 24H / SELECT 12H <<<SELECT 24H / SELECT 12H <<<
SELECT 24H / SELECT 12H <<<
6-23-16 1 / AM.6-23-16 1
TXT 1
4-23-30 2 / PM.4-23-30 2
TXT 2
3 Press the
key to move on to time input (the
key may be used during initial set to scroll
backwards, press and hold for more than one second).
SELECT 24H / SELECT 12H
6-23-16 1 / AM.6-23-16 1 <<<6-23-16 1 / AM.6-23-16 1 <<<
6-23-16 1 / AM.6-23-16 1 <<<6-23-16 1 / AM.6-23-16 1 <<<
6-23-16 1 / AM.6-23-16 1 <<<
TXT 1
4-23-30 2 / PM.4-23-30 2
TXT 2
The legend “
11
11
1” is displayed on the right hand side of the
LCD to indicate that the setting of clock 1 is in progress.
The hours may be adjusted using the
MAIN DIALMAIN DIAL
MAIN DIALMAIN DIAL
MAIN DIAL and
minutes using the
SUB DIALSUB DIAL
SUB DIALSUB DIAL
SUB DIAL. As soon as the MAIN DIAL
or SUB DIAL are used, the seconds are frozen to allow
accurate time setting from a TIME STANDARD, the
legend “- -” is displayed between hours, minutes and
seconds to indicate that initial set is in progress.
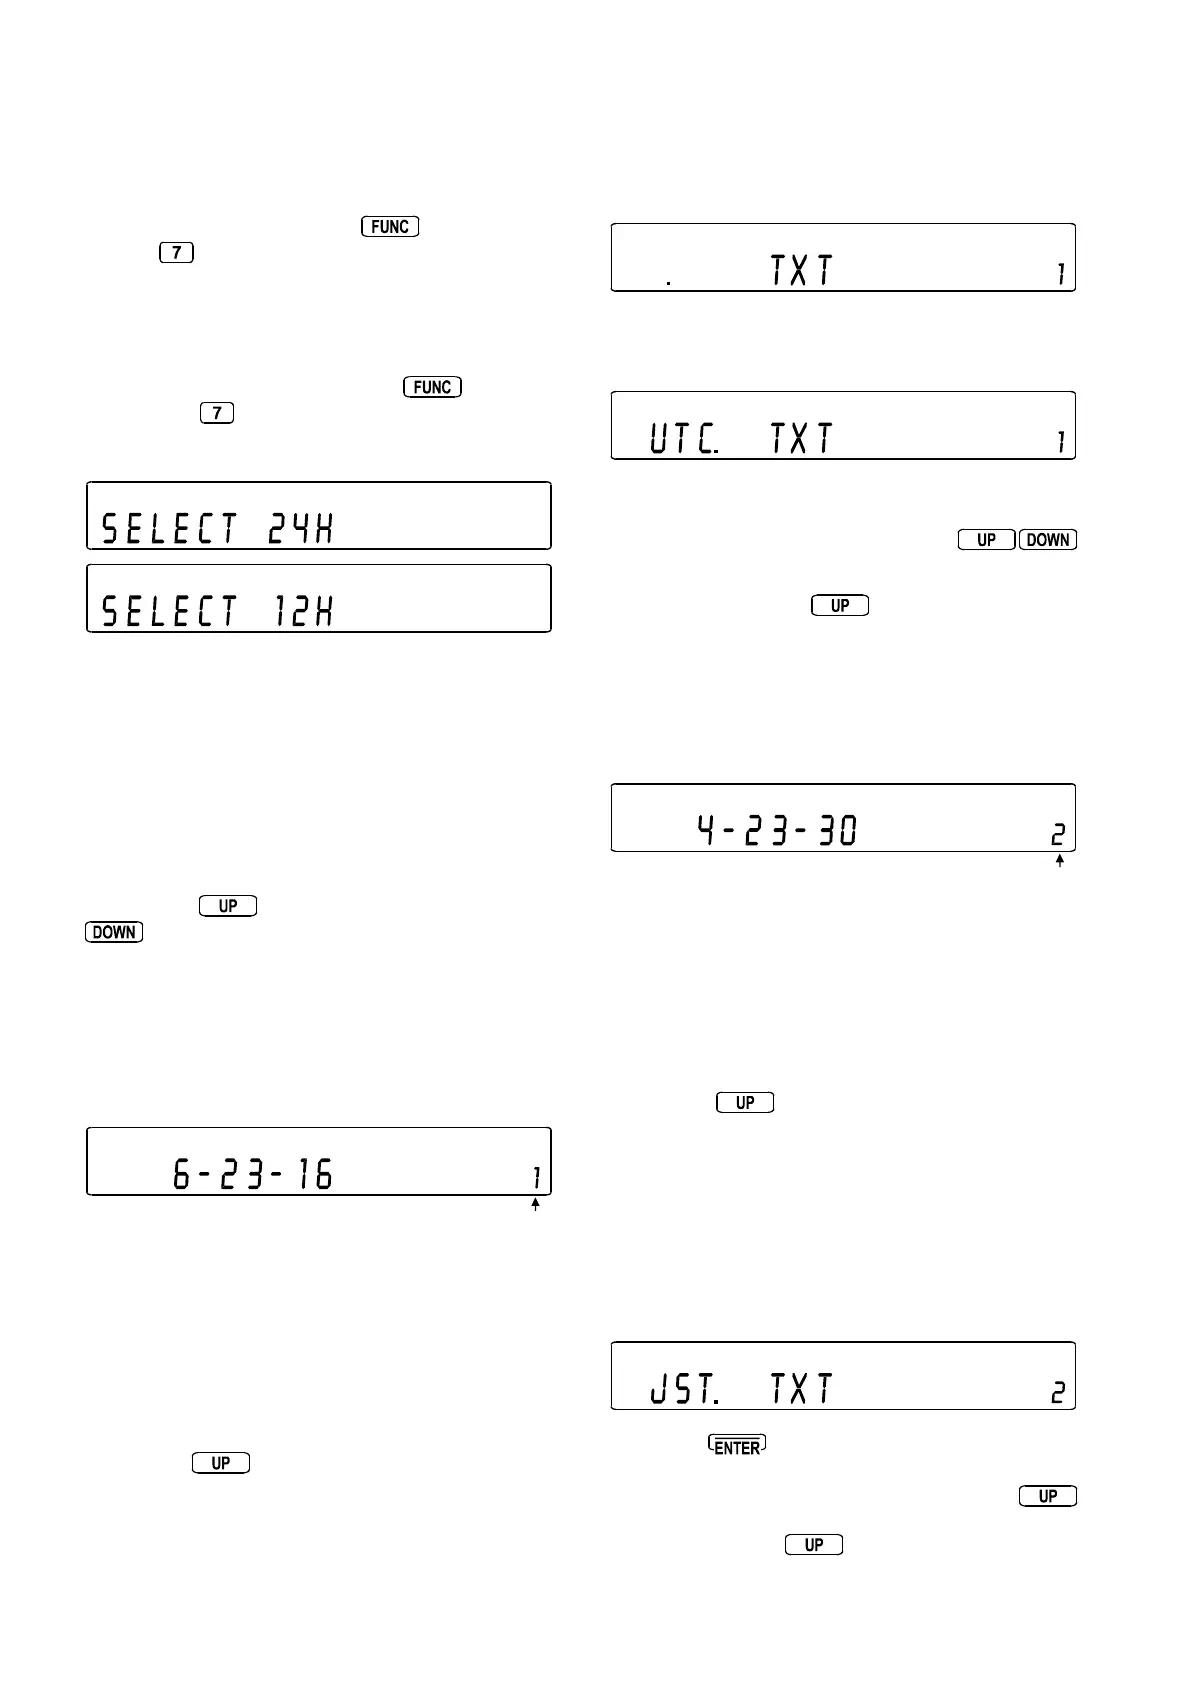
4 Press the
key to move on to TEXT.
SELECT 24H / SELECT 12H
6-23-16 1 / AM.6-23-16 1
TXT 1 <<<TXT 1 <<<
TXT 1 <<<TXT 1 <<<
TXT 1 <<<
4-23-30 2 / PM.4-23-30 2
TXT 2
Use the SUB DIAL (and numeric keypad if you wish) to select
the required three character text comment for clock 1...
such as “
UTCUTC
UTCUTC
UTC”.
This is carried out in the same way as text input to memory
or search banks, the SUB DIAL is rotated to select the
required character and quick presses of the
keys are used to change the text input position left / right.
5 Press and hold the key for more than one
second to move onto the input selection for clock 2.
SELECT 24H / SELECT 12H
6-23-16 1 / AM.6-23-16 1
TXT 1
4-23-30 2 / PM.4-23-30 2 <<<4-23-30 2 / PM.4-23-30 2 <<<
4-23-30 2 / PM.4-23-30 2 <<<4-23-30 2 / PM.4-23-30 2 <<<
4-23-30 2 / PM.4-23-30 2 <<<
TXT 2
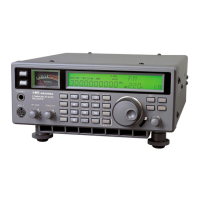
6 The legend “
22
22
2” is displayed on the right hand side of
the LCD to indicate that the setting of clock 2 is in
progress. The hours may be adjusted using the
MAIN DIALMAIN DIAL
MAIN DIALMAIN DIAL
MAIN DIAL or
SUB DIALSUB DIAL
SUB DIALSUB DIAL
SUB DIAL as the minutes and seconds are
taken from clock 1. At this point the seconds are frozen
to allow accurate time setting, the legend “- -” is displayed
between hours, minutes and seconds to indicate that initial
set is still in progress.
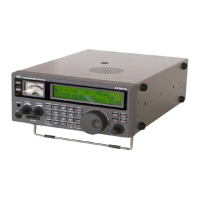
7 Press the key to move on to TEXT.
SELECT 24H / SELECT 12H
6-23-16 1 / AM.6-23-16 1
TXT 1
4-23-30 2 / PM.4-23-30 2
TXT 2 <<<TXT 2 <<<
TXT 2 <<<TXT 2 <<<
TXT 2 <<<
Use the SUB DIAL (and numeric keypad if you wish) to select
the required three character text comment for clock 2...
such as “
ESTEST
ESTEST
EST”.
8 Pressing
at this time will commit the input data
and start the seconds counting. However for accurate
setting, display clock 1 again. Press and hold the
key for more than one second to scroll passed “
SELECTSELECT
SELECTSELECT
SELECT
24H24H
24H24H
24H” then press the
key again for more than one
second to display clock 1.