9
14
Using a silicone based lubricant, lubricate the supply pipe ends and whilst supporting the elbows,
push home the supply pipes ensuring the correct orientation for the inlet pipes (HOT left and
COLD right as shown on the valve body). Push the valve fully home until a definite stop is
reached (tube insertion depth is 25mm). Secure the valve assembly to the fixing surface using
the screws provided.
15
Construct a suitable 15mm outlet supply to a suitable point for the wall outlet. Using a silicone based lubricant, lubricate
the 15mm outlet pipe and push into the outlet assembly fully home (outlet pipe insertion depth is 24mm).
17
The installation may now be checked for leaks. Push the on/off knob onto the front of the valve
fully home and turn the knob fully clockwise to ensure the valve is fully turned off.
16
Using a suitable tool tighten the elbow nuts until water tight.
18
Turn on the supplies and check for any leaks upstream of the valve. Slowly open the control and check for leaks downstream
of the valve. If all is sound, turn off the on/off knob fully and turn off the supplies.
13
Fit the outlet connector ensuring the rubber washer is correctly engaged (supplied in the screwpack), on the required outlet
ensuring a tight fit. Offer the valve up to the required fixing position to check the four fixing points are correct and there is
adequate space available around both the inlet elbows and outlet connector. Prepare the wall fixings as required.
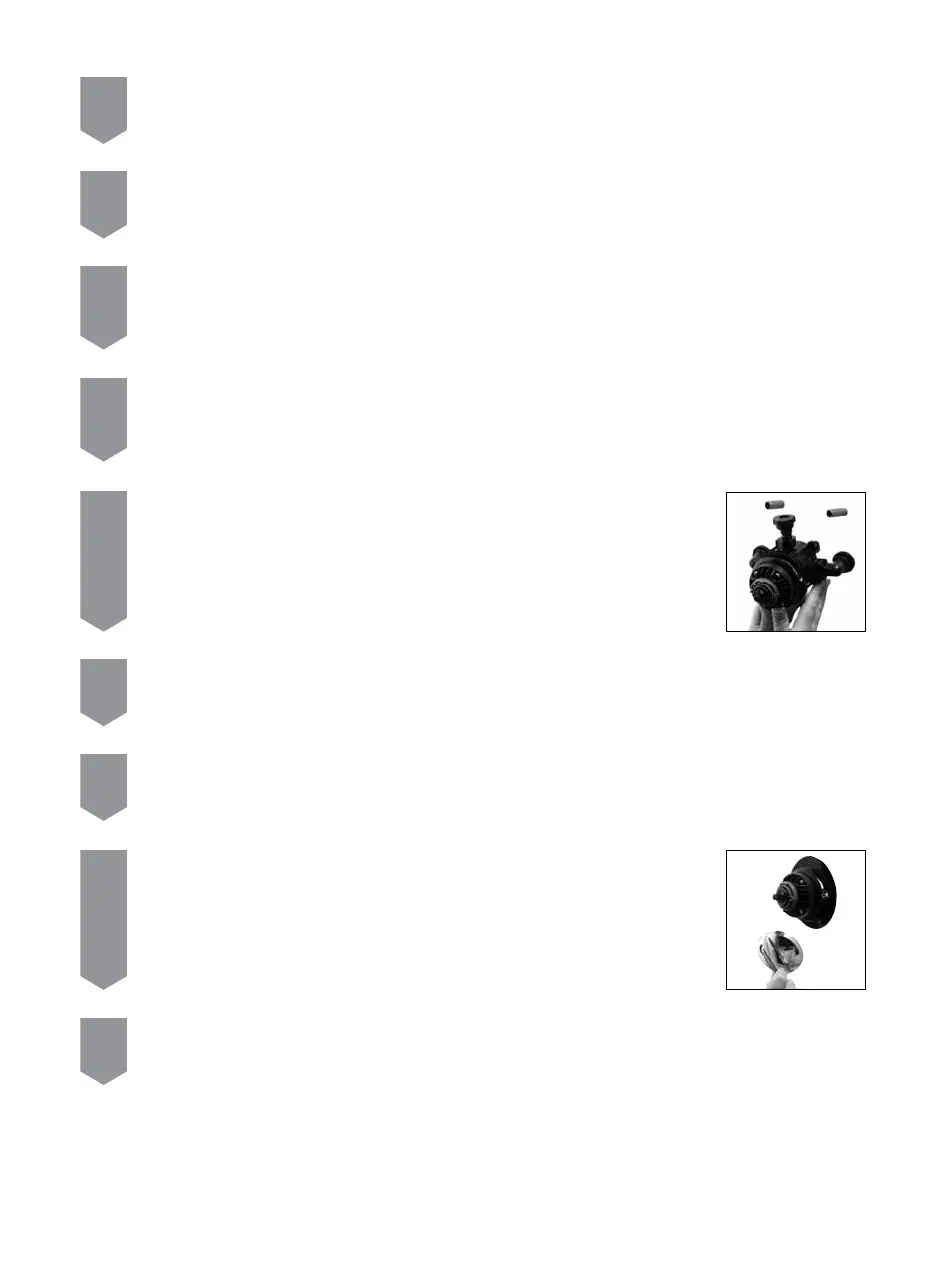
10
Refit the gasket to the cartridge ensuring the filter is correctly aligned with the banana shaped cold water port and
reposition back into the valve body.
11
Secure the cartridge to the valve body with the cartridge screws sufficiently to create a watertight seal, taking care not to
over-tighten.
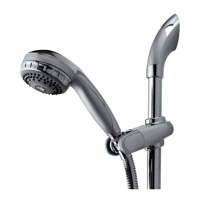
12
The Opto built in valve is supplied with an outlet cap on the bottom of the valve allowing for a top outlet connection.
The bottom outlet can be used by simply removing the cap and repositioning it on the top outlet. If the cap is removed
please ensure that when replaced, the membrane in the cap is in place and that the cap is done up tight.