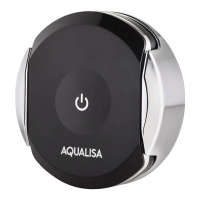
51
Carefully unscrew and remove the bath waste clicker
assembly from the waste body and set aside.
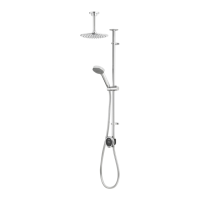
52
Oer the bath waste into position ensuring the rubber
washer is correctly aligned between the waste
assembly and the bath base.
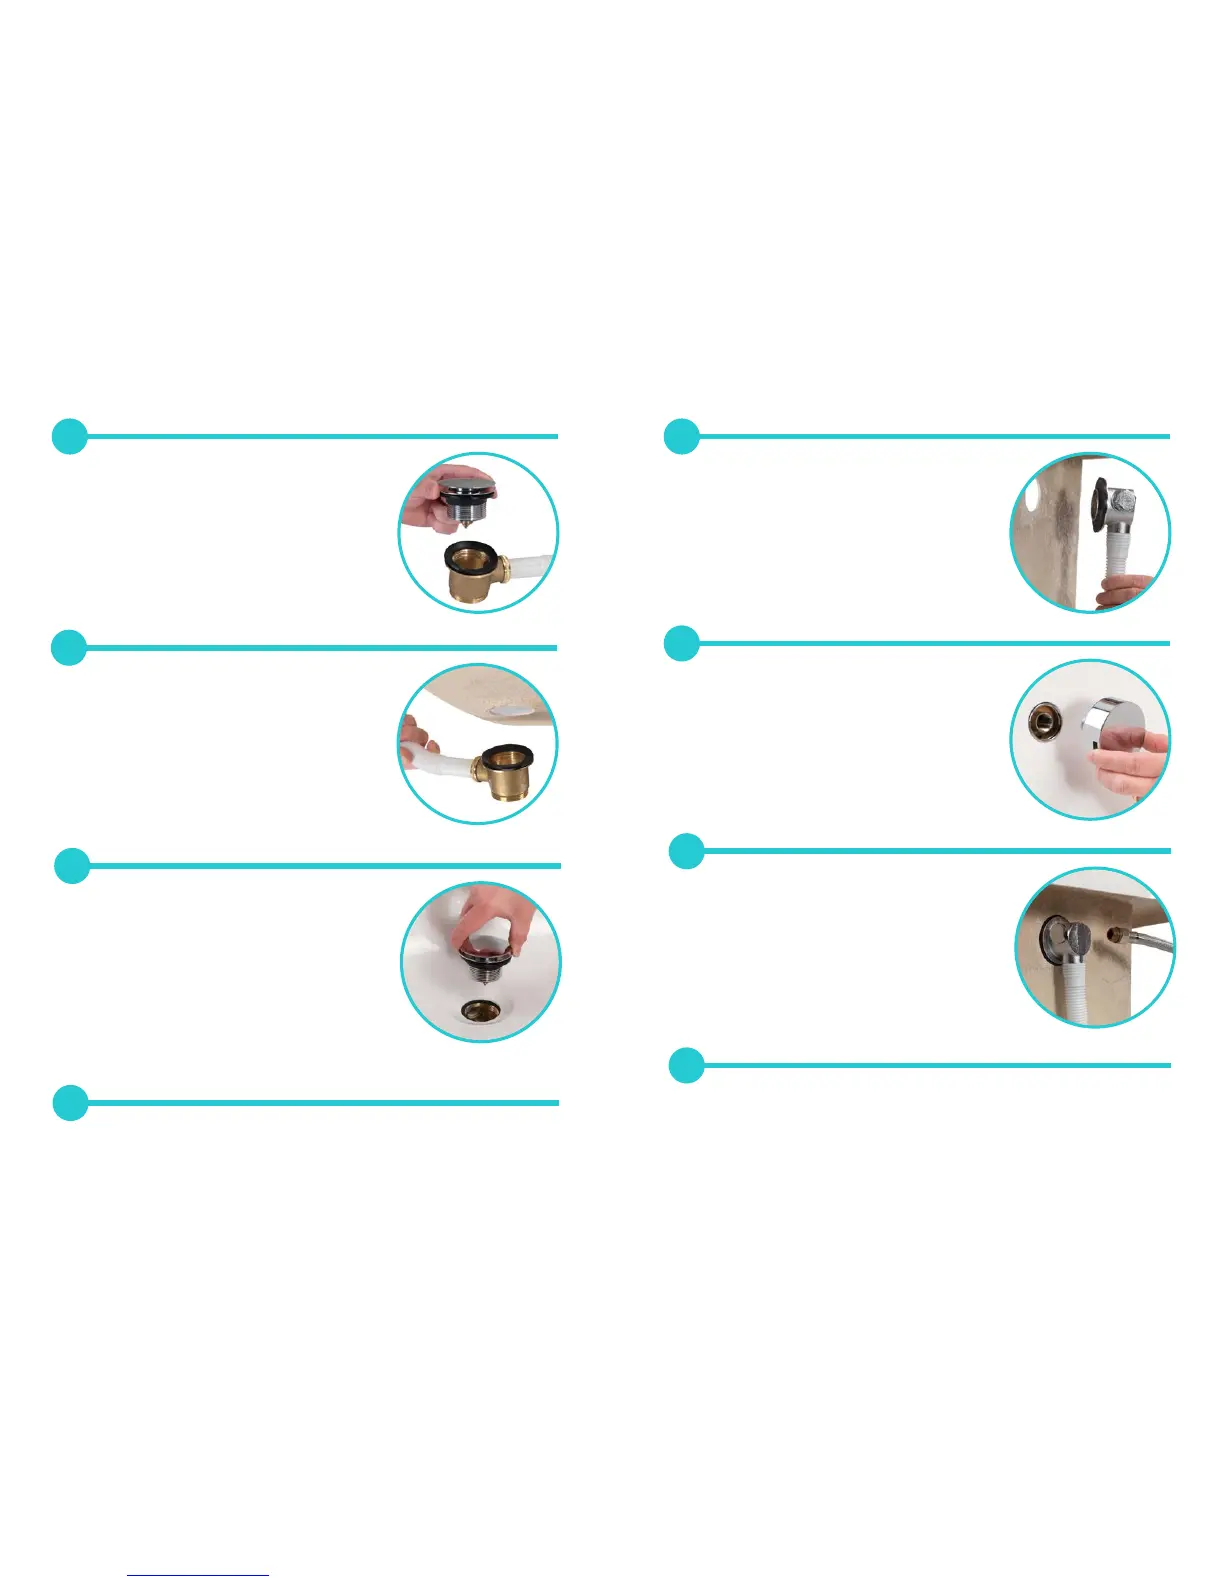
53
Ensuring the rubber washer is correctly aligned, pass
the bath waste clicker through the bath and secure to
the waste body assembly.
54
Connect the bath waste to a suitable waste pipe.
55
Oer the outlet body assembly into position at the
rear of the bath ensuring the rubber washer is correct
aligned between the outlet body assembly and
bath wall.
56
Ensuring the rubber washer is correctly aligned, pass
the overflow filler outlet through the bath and secure
to the body assembly.
57
Remove the relevant inlet blanking plug and attach
the flexible hose to the blended inlet connection.
58
Connect the flexible hose to the blended supply pipe ensuring suitable non
restrictive double check valves are fitted in line with current Water Supply
Regulations (not supplied).
22 23

 Loading...