24 25
Configuring outlets for a Divert model
If you are installing a Divert model, the icons that will appear on the User Interface are:
Outlet A this will be the Primary outlet
Outlet B
To change these icons, or to redefine the primary outlet, wake up the Q
TM
controller and
navigate to SETTINGS>CONFIGURE OUTLETS. Then follow the on-screen instructions.
Setting up for Bath models
If you have installed a Q
TM
shower with a bathfill, the Q
TM
controller can oer specific
bath functionality (storing bath depths). To enable this you must first wake up the Q
TM
controller and navigate to SETTINGS>CONFIGURE OUTLETS. You must then select the
BATH icon to enable the bath functionality.
59
Once the Quartz
TM
smart valve and diverter (if applicable) are fully installed,
continue to commissioning instructions below.
61
Pipework for all outlets must be flushed through for at least 15 seconds to clear
any debris before fitting any handsets or heads, (refer to the quick start guide for
basic operation.
62
COMMISSIONING
60
When power is applied to the Q
TM
smart valve, the controller will display the
following message, PREPARING HOLD LEVER TO SKIP wait for the message to
clear before commencing commissioning.
63
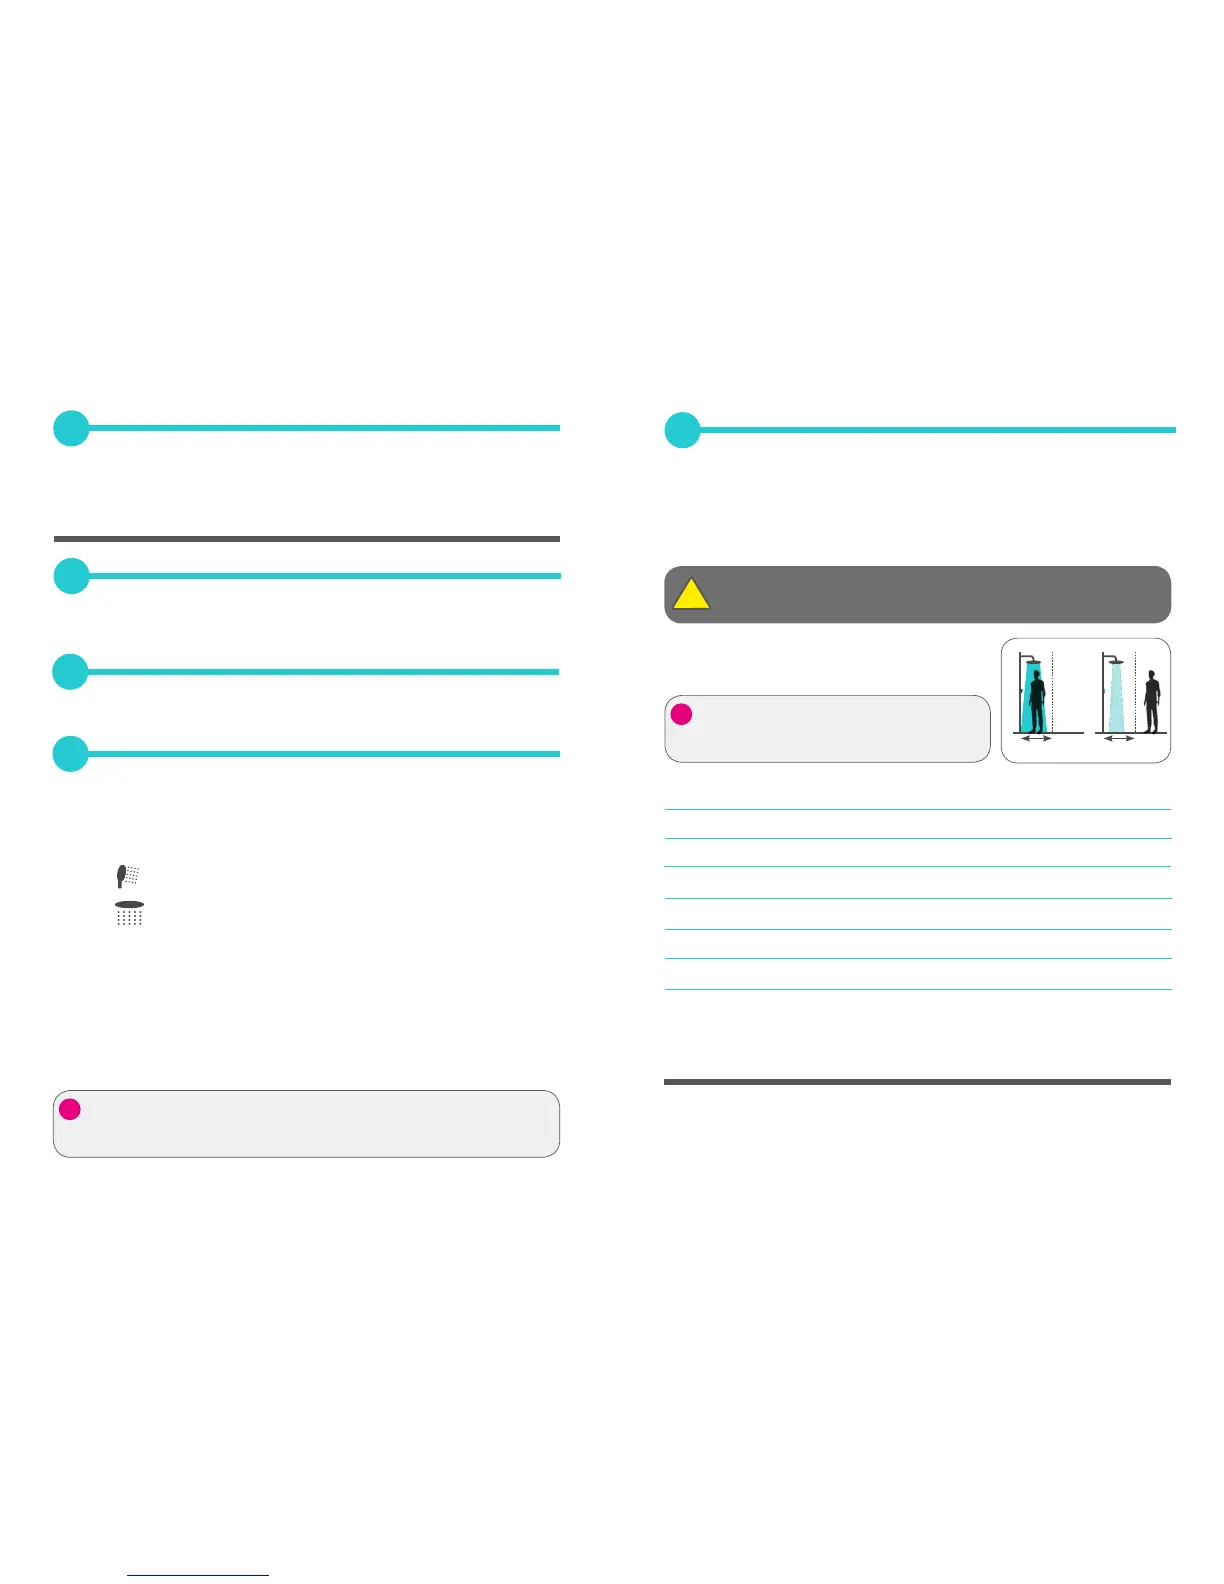
WATER SAVE MODE
This feature allows the user to save water. When the shower is on, if the user moves away
from it, (eg to shampoo hair), the water flow will reduce to Min. The flow will
automatically return to the users preference, when they return to within 0.5m of the Q
TM
controller.
It is switched o by default. To switch it on navigate to
SETTINGS>WATER SAVE MODE, and select ON.
Factory Settings
Warm Up Mode OFF (This feature is only available with Q Edition)
Water Save Mode OFF
Cleaning Mode OFF
Auto Repeat Shower OFF
Auto Save Shower ON
Run Both Outlets At Warm Up OFF
Water O At End Of Timer OFF
Refer to user guide for cleaning advice.
CLEANING & MAINTENANCE
This function is not suitable for use with Combi systems.
 Loading...