Chapter 2: Preparation CloudVision Appliance IP Configuration
Quick Start Guide: CloudVision Appliance 7
2.5 CloudVision Appliance IP Configuration
The CloudVision Appliance Host and iDRAC IP addresses can be allocated in either of two ways:
Option 1: Using an available DHCP server
• DHCP Based IP Address Setup (page 7)
• Web Access into Host via Kimchi (page 13)
Option 2: Manual configuration (Requires terminal connected to VGA port)
• Manual IP Address Setup (page 7)
• Web Access into Host via Kimchi (page 13)
2.5.1 DHCP Based IP Address Setup
Note The iDRAC interface shares the NIC1 physical interface but has a different MAC address. You will need
to take note of this MAC address to map the DHCP address for the iDRAC interface.
iDRAC IP Address
Using the iDRAC MAC from Locate the MAC Addresses for the CloudVision Appliance (Figure 2-2 on
page 5), input an entry into the DHCP Server for the corresponding iDRAC IP address mapping to that
MAC.
Host IP Address
Using the HOST NIC1 MAC from Locate the MAC Addresses for the CloudVision Appliance (Figure 2-2
on page 5), input an entry into the DHCP Server for the corresponding HOST IP address mapping to
that MAC.
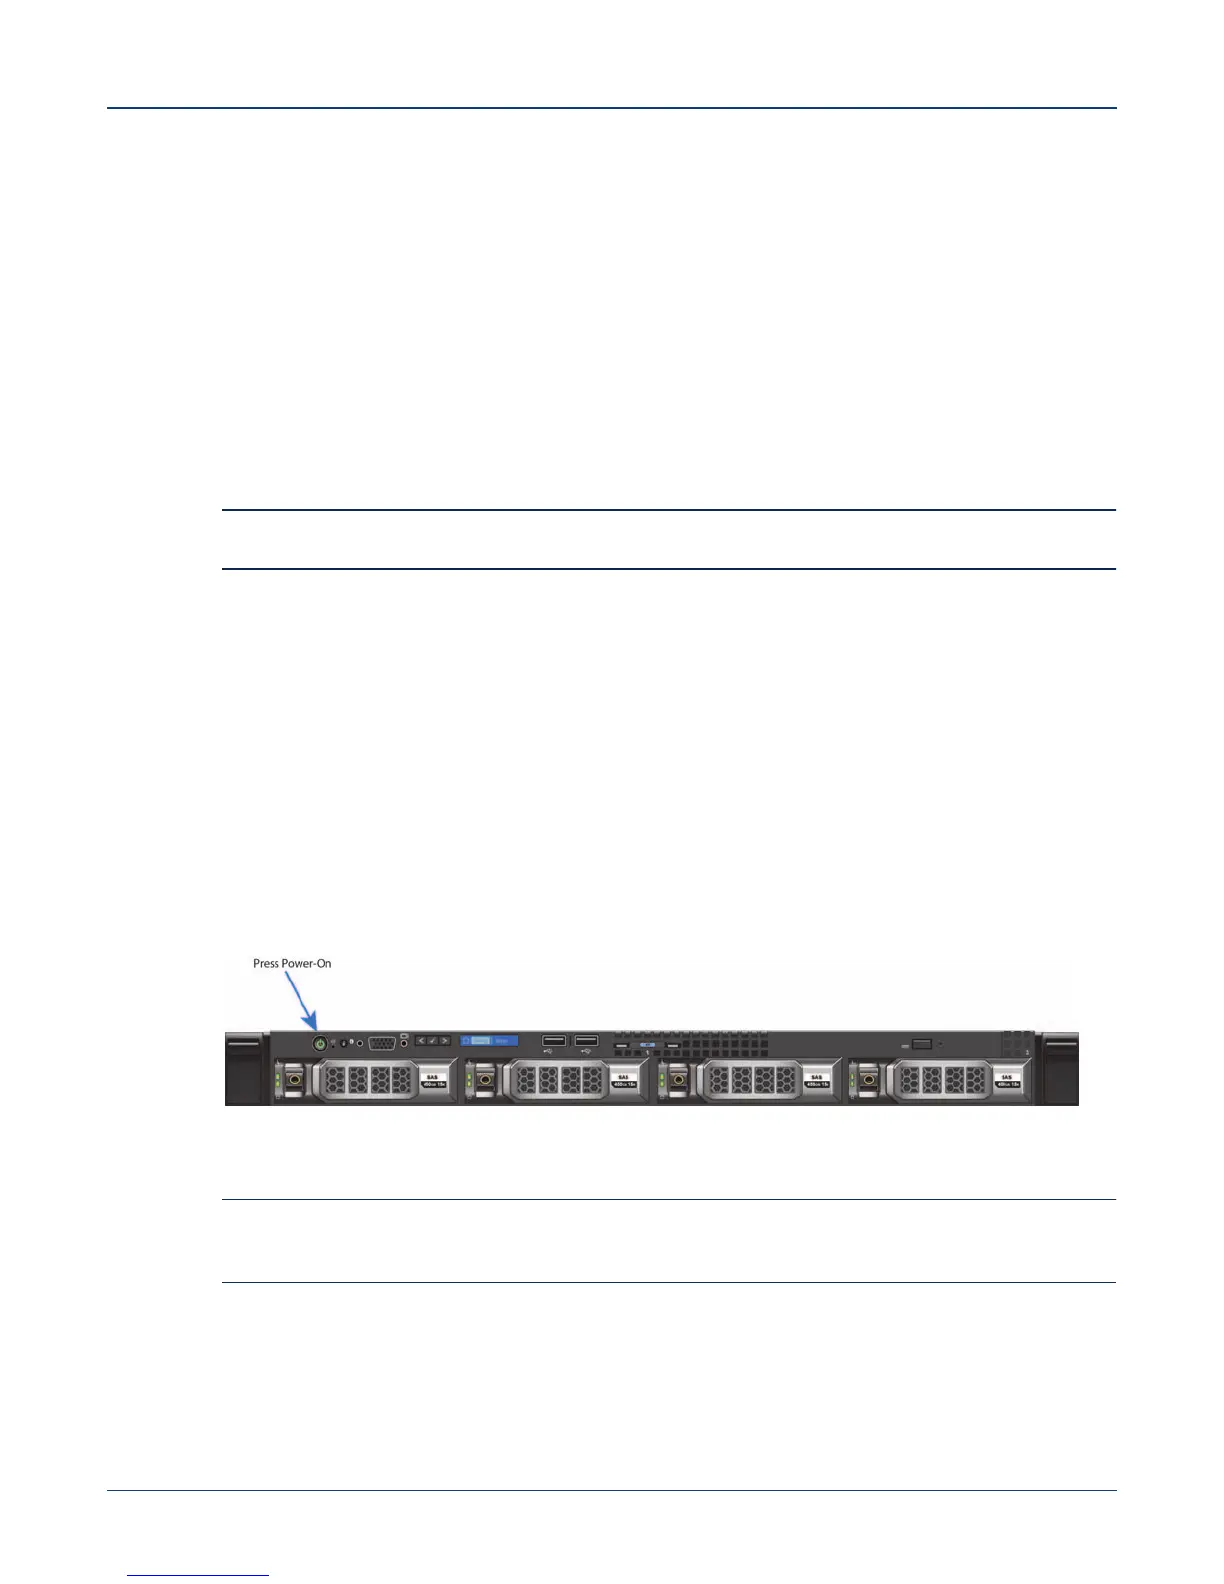
Turn the system on by pressing the power button located on the front of the system.
Figure 2-5: Power on the appliance
2.5.2 Manual IP Address Setup
Note Direct IP Address Setup requires a terminal connected to the VGA port of the appliance. This section
can be skipped if the Host and iDRAC IP addresses have been configured with a DHCP server. See
Appendix D for complete back panel descriptions.