46
5.4.3. How an IR Photoreector Works
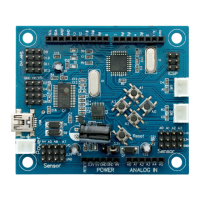
Let’s take a look at your IR Photoreector’s values. Use a USB cable to connect your Studuino to your PC.
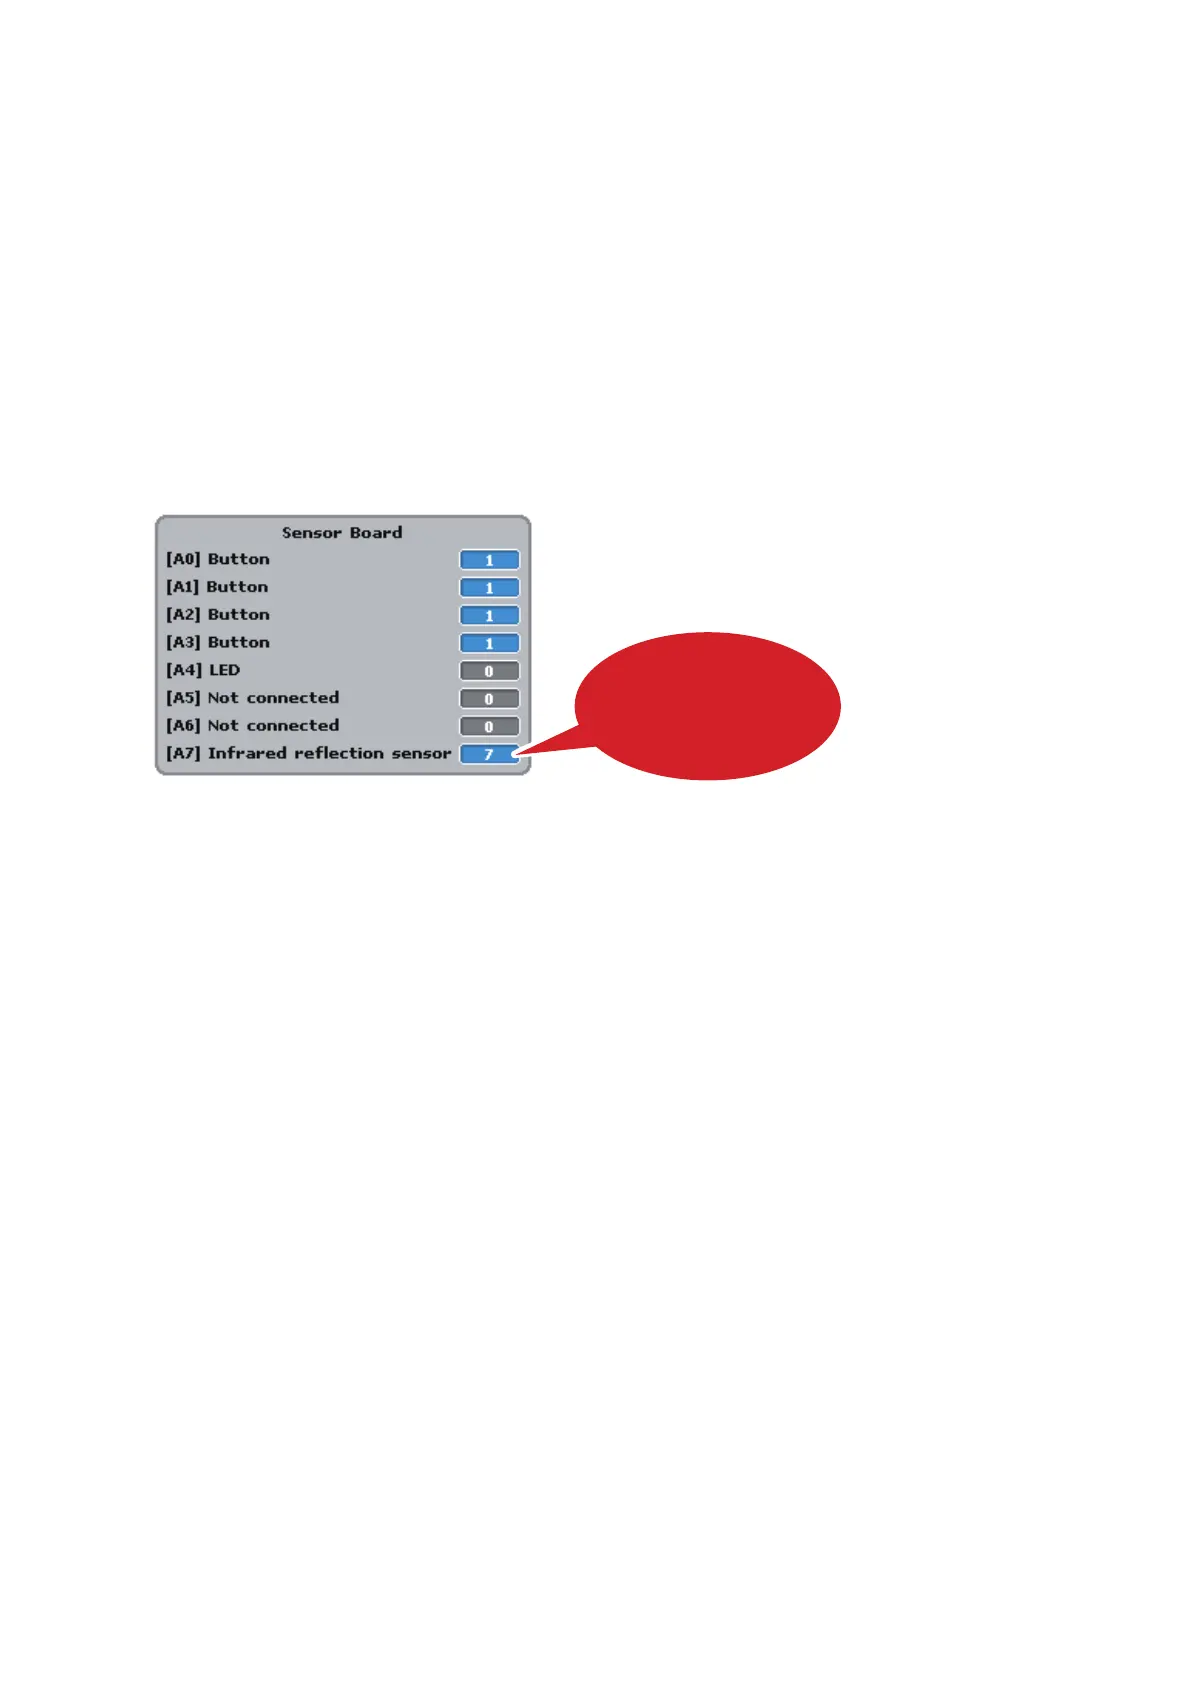
Now choose Test ON from the Run menu. Start Test Mode and you’ll see the Sensor Board displaying [A7]
IR Photoreector.
Your IR Photoreector measures 100 degrees of reected infrared light, with the values increasing towards
100 as an object becomes closer. The values will be at their maximum when 6-10 mm away from an object
and will decrease again as you move it closer to the object.
The color and texture of an object will also have an eect on the sensor’s values. (A white object will give
you higher values than a black one when placed close to the sensor.)
Move the object and check if the value indicated on the Sensor Board changes according to the distance
between the sensor and the object.
Once you’re nished, choose Test OFF from the Run menu to close Test Mode.
The values will change
in response to distance