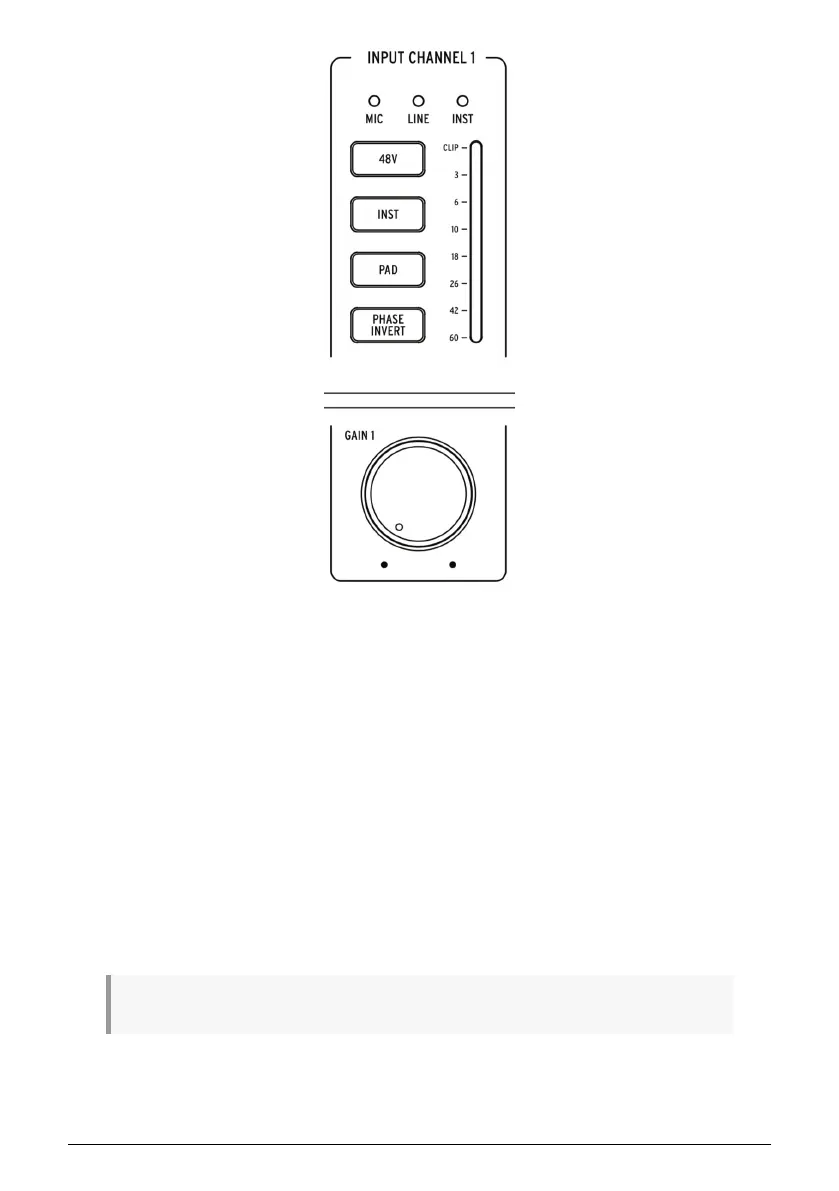
• Mic/Line/Inst Indicators: One of these LEDs automatically illuminates when you
plug in a sound source into AudioFuse Studio's front panel inputs.
◦ If an XLR cable is plugged in,
Mic
is illuminated and all microphone-
related functions become available on the buttons below (
48V
,
Pad
,
Boost
and
Phase Invert
).
◦ If a 1/4" cable is plugged in, the
Line
or
Inst
LED illuminates and
you can switch between modes by pressing the "Inst" button. Again,
only the appropriate options are made available on the buttons below
(
Inst
,
Pad
and
Phase Invert
).
• Gain: This knob sets the input gain of the channel's DiscretePro preamplifier. Use
each channel's VU-meter to ensure your gain levels are set properly.
• VU-Meter: These LEDs indicate the level of the incoming signals after the
DiscretePro preamplifier. Use this in conjunction with the Gain knob to make sure
your levels are set properly. Ideally your incoming signal should peak between
the -10 and -6dB LEDs. If you are seeing the Clip LED light up then reduce the
input gain to prevent clipping (unwanted distortion).
♪: Some high output devices may require engaging the Pad to prevent clipping (see below).
Arturia - User Manual AudioFuse Studio - AudioFuse Studio 5