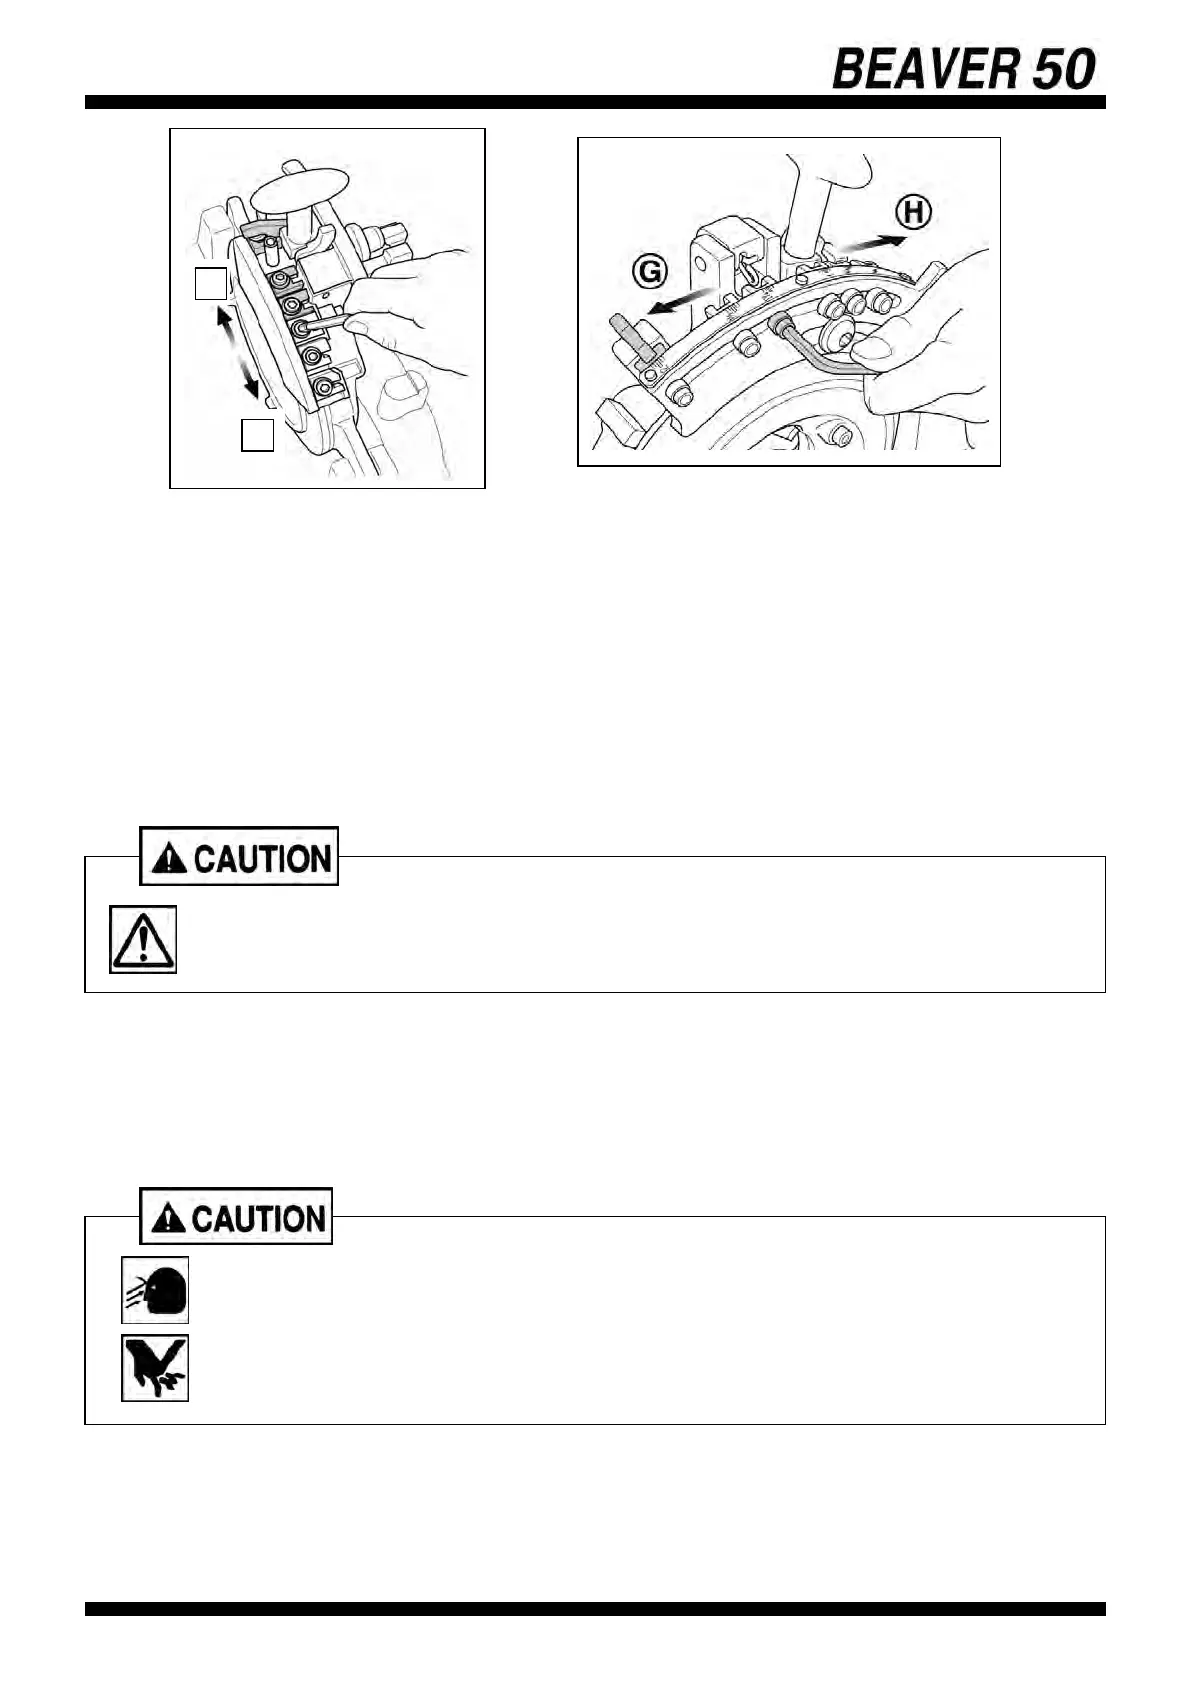
■ For Beaver Die-Head 1/2"-2"
(1)Set location plate to location block which is not fort he size to be adjusted.
(2)Loosen the screw and move location block to adjust the thread depth.
(3)Sliding toward “H” males deeper threads and sliding toward “G” makes shallower threads. The
thread depth will change 1.5 to 2 mm threads by one scale. (fig.33)
(4)With the aid of a measuring instrument, check the cut pipe for a tapered thread etc. and correct the
setting if necessary.
8) Removing the Work piece
(1) Turn the Rack Handle counterclockwise and return the Carriage.
(2) Loosen the Hammer Chuck.
(3) Loosen the Scroll and pull out the work piece.
9) Cleaning after Use
* Remove chips scattered on the machine or in the area.
* Use a wire brush and clean and remove chips from the Chuck, Dies of Die-Head and Reamer.
* Use waste cloth and wipe off the threading oil splashed over the machine and the area.
24
H
G
〈32〉
〈33〉
• The work piece is wet and slippery with threading oil. Use utmost care not
to drop on your feet.
• Do not blow off chips using air. They may get into eyes and loss of
eyesight may result.
• Chips are sharp. Do not touch them with bare hand. Always wear gloves.