ASD Document 600540 Rev. J 25 FieldSpec® 3 User Manual
www.asdi.com Chapter 2 Setup
Step 13 The pistol grip holder provides a convenient location for the pistol grip to be
stored when not in use.
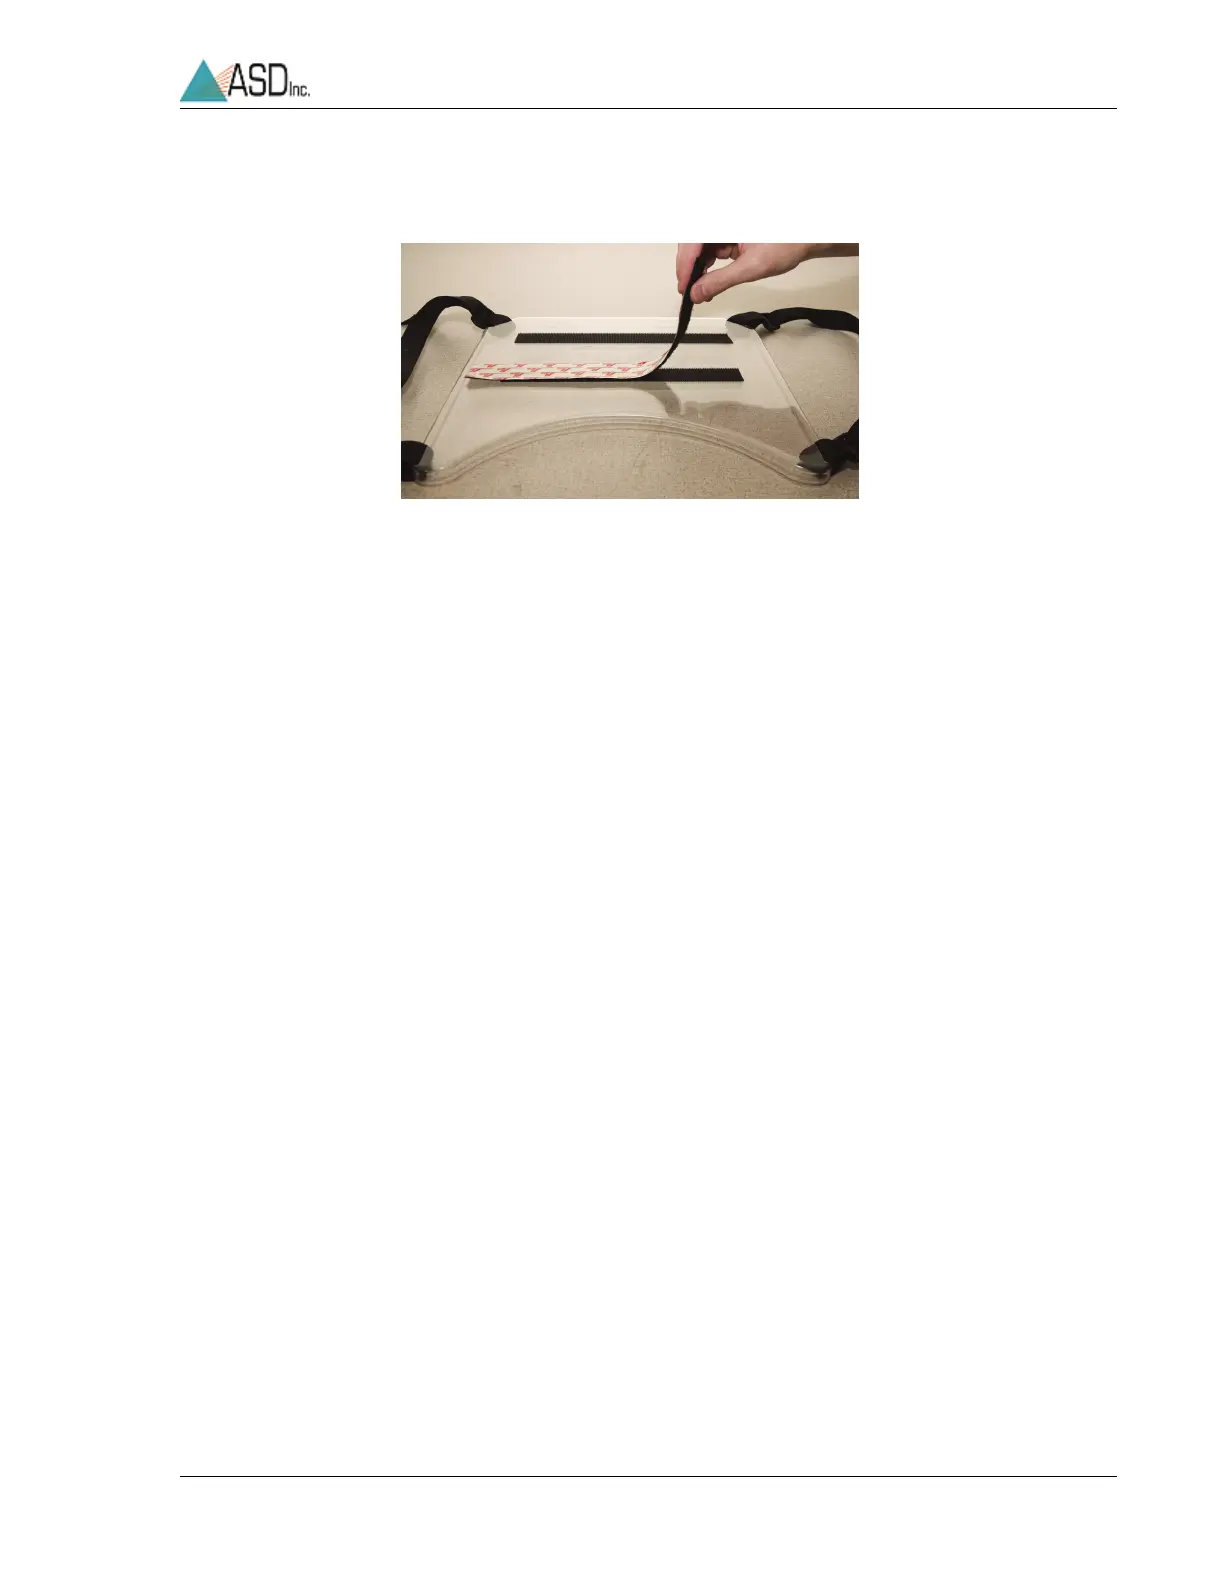
Step 14 With the hook and mesh velcro still mated, remove the backing from the
adhesive side on the mesh side of one strip.
Step 15 Recall the placement of the instrument controller on the laptop carrier from
Step
6. Set the instrument controller onto the exposed adhesive of the mesh
side of the velcro. Press down firmly.
Step 16 Gently separate velcro of the instrument controller from that of the laptop
carrier. Smooth over the velcro strips on both the instrument controller and
laptop carrier.
Step 17 Repeat from Step 14 for the other velcro strip.
The end result is shown in Figure 2-25.
Step 18 The laptop carrier is equipped with a pistol grip holder on the right-hand side.
The pistol grip holder can be unscrewed and moved to the left-hand side of
the laptop carrier, if necessary. It is recommended that the pistol grip holder
is removed when storing the laptop carrier in the shipping trunk.
Figure 2-23 Placing velcro strips on the laptop carrier and instrument controller.