05/15/15
Copyright © 2015, Sargent Manufacturing Company, an ASSA ABLOY Group company. All rights reserved.
Reproductions in whole or in part without express written permission of Sargent Manufacturing Company is prohibited.
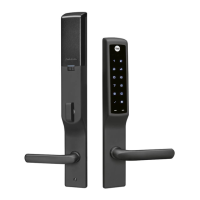
Harmony Series H1 Mortise Lock
A7877F • 800-810-WIRE (9473) • www.sargentlock.com
9
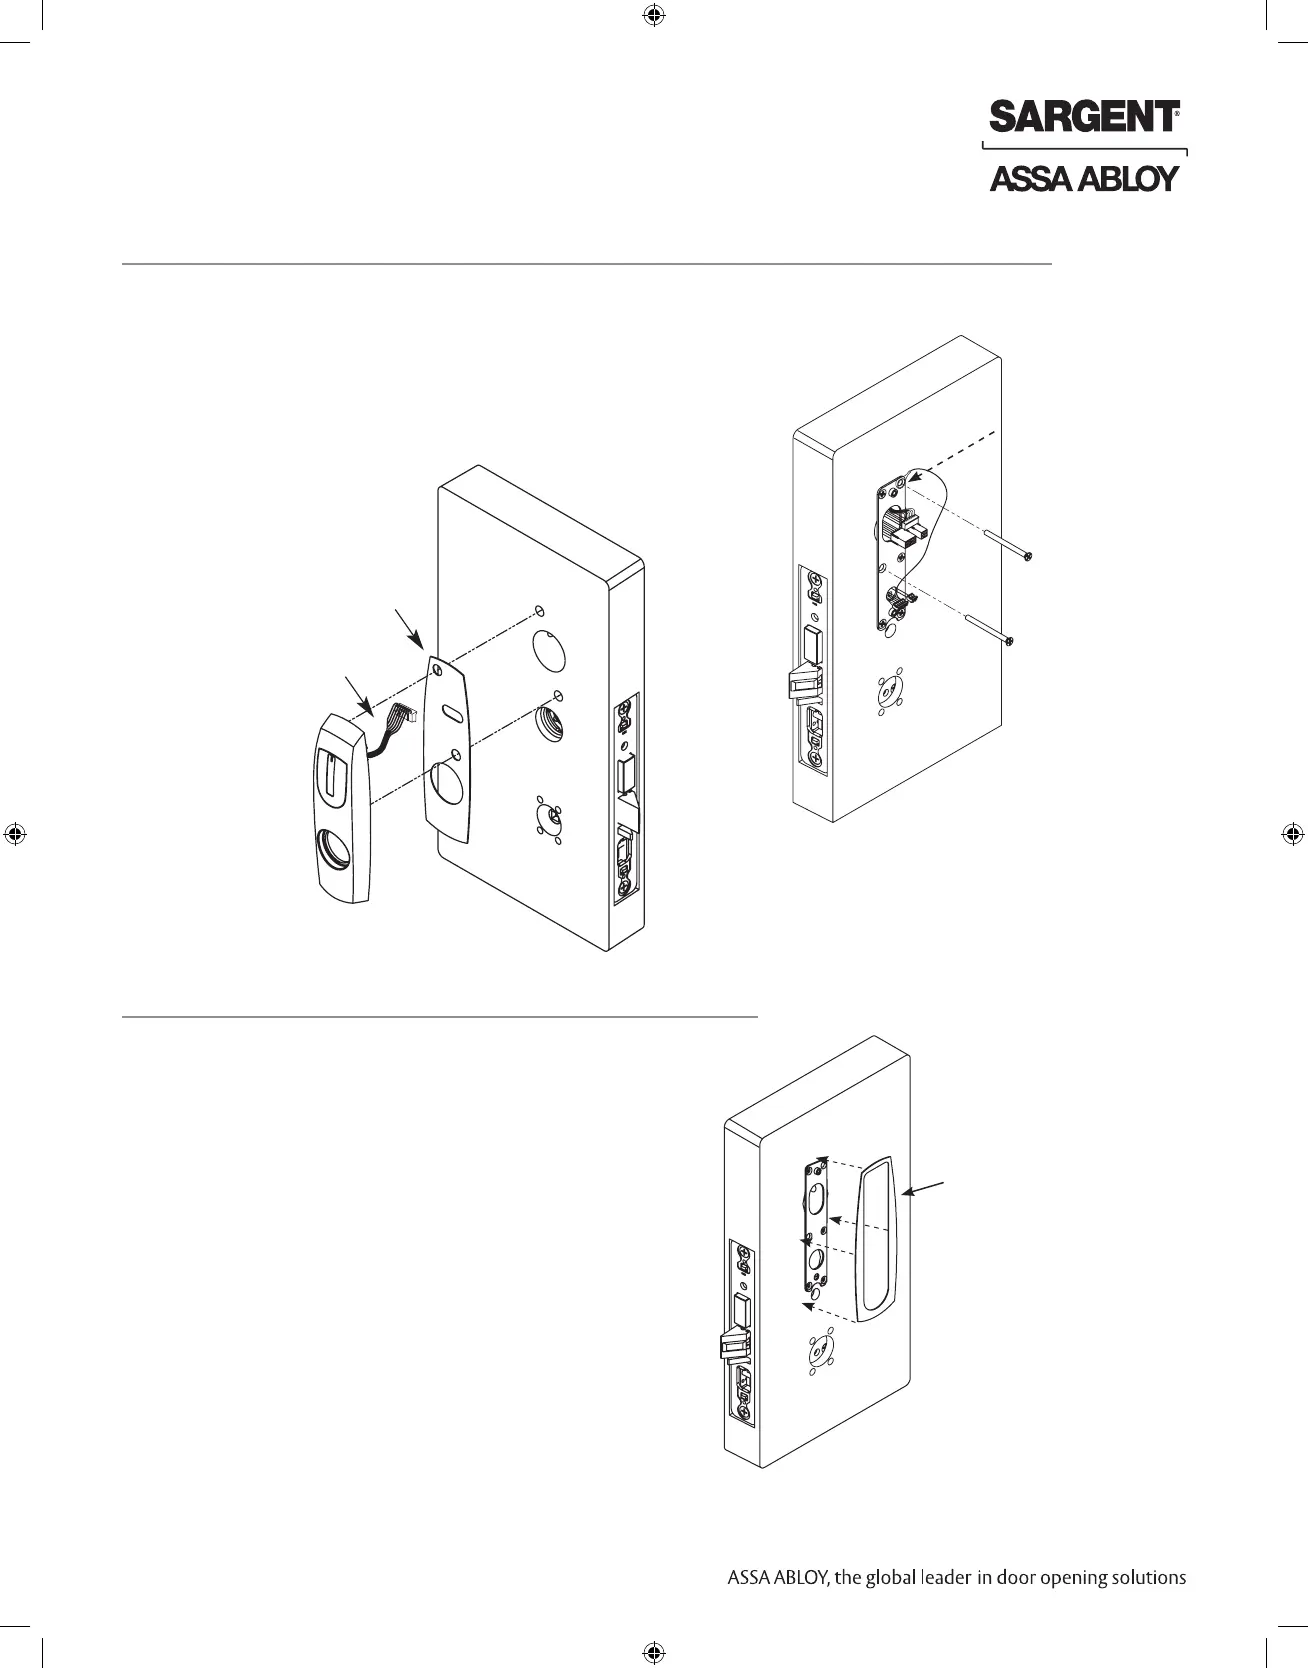
Add gasket (if necessary):
Remember to install inside gasket when
lock is being used in an outdoor application.
Gasket fits snug around plate at top and sides,
leaving room for the hole at the bottom.
Remove (peel) backing and place gasket
on door (Fig. 6).
6 Install Inside Gasket (if necessary)
Required for exterior
door applications.
Fig. 6
Inside of Door
Fig. 5B
Gasket required
for exterior door
applications
Reader Cable
Outside of Door
2. Feed the reader cable located on the back of the outside
escutcheon through the door prep. Remember, the outside
gasket must be used when installing Harmony in an
outdoor application (Fig. 5B).
3. Secure the mounting plate to the outside escutcheon with
(2) #8-32 x 2” flat head machine screws (Fig. 5C).
5 Outside Escutcheon and Inside Mounting Plate Installation (Continued)
Attach earth ground
ring terminal to top right screw
Fig. 5C
Inside of Door