14 HIRO Installation Manual GDO-12V1
6.5 Setting Speed and Limits
HELPFUL TIP: Alternatively set travel limits using a
Remote Control Transmitter, allowing free movement
around the garage to better assess the desired limit
positions. See Appendix D.
tip
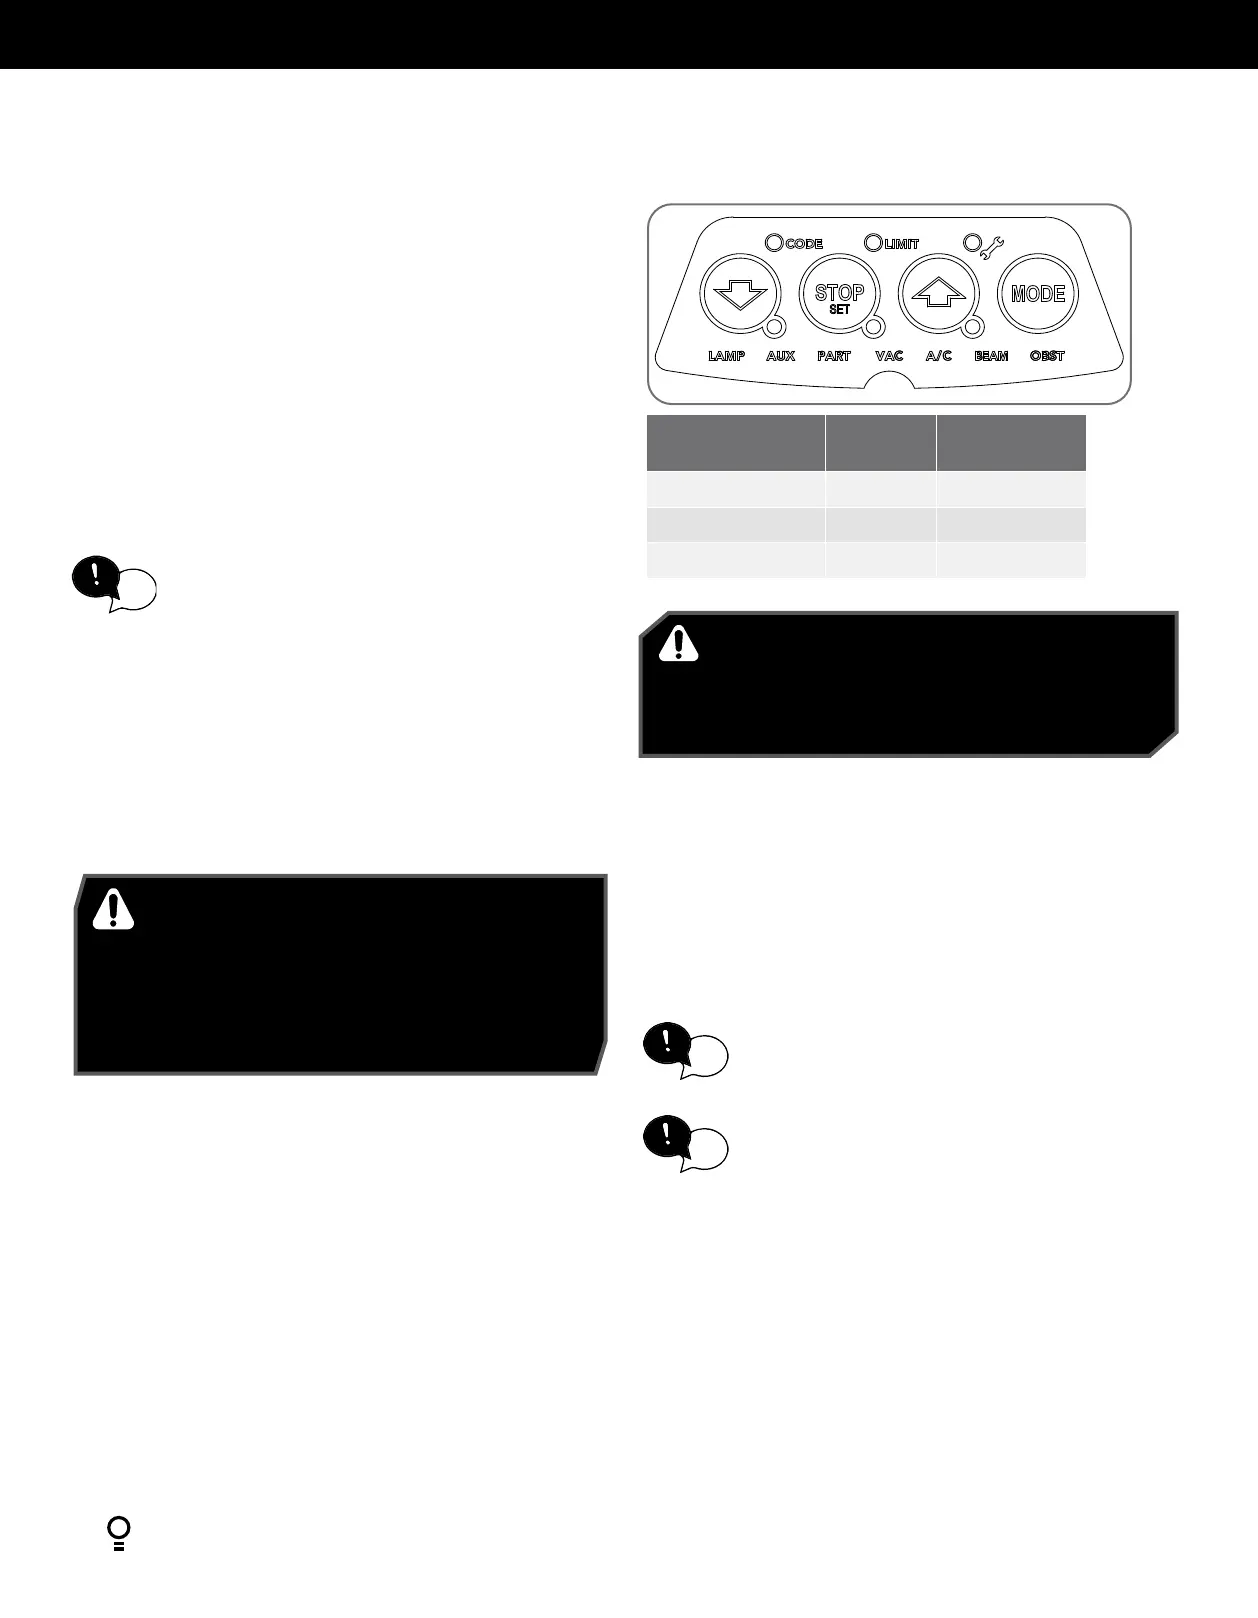
Fig 6.5.1
6.5.1 Set the Limit Positions and adjust drive speed:
The Limit Positions can vary due to site conditions, such as uneven
ground. When setting the Close limit, ensure the position is when the
door makes first contact with the ground. Alternatively for the Open limit
the position should be at the height of the garage opening.
NOTE: The drive speed is set to the fastest setting by default. This may
not be suitable for larger doors.
a. Move the door to the half way position.
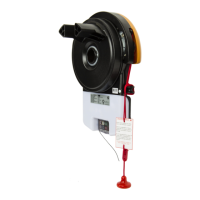
b. Engage the opener by pulling down on the manual release string until
a click sounds.
c. Switch power on and the BLUE LED on the BLUE CLOSE button will
start to flash.
WARNING! In setting the close limit position, do not
force the door into the floor with excessive force, as
this can interfere with the ease of operation of the
manual release mechanism.
AVERTISSEMENT! Ne pas forcer la porte contre le
sol lors du réglage de fin de course, car une force
excessive peut entraver le fonctionnement du système
de déclenchement manuel.
NOTE: If unhappy with the speed or travel limit setting, restart this
procedure by clearing the door limit positions as per below first.
6.5.2 Clearing the Door Limit Positions
Limit positions can be deleted by:
a. Switching off power to the unit.
b. Pressing and holding the RED STOP / SET button and switching
power on to the unit will clear the settings memory. (the LIMIT LED
will flash).
c. Follow from CLOSE limit: above to set new limit positions.
CLOSE limit:
(i) Press and hold the CLOSE button to start closing the door, taking
note of the speed the door moves.
(ii) If the close speed is not suitable, to make a change, press
and hold the CLOSE button and by pressing the
RED STOP / SET button on the opener it will cycle through all
three speed modes as shown in table. Fig 6.5.1
(iii) Once at the desired speed, release the CLOSE button.
(iv) To set the close limit, inch the door by making single presses
of the CLOSE button to the desired position. We recommend
the CLOSE limit position being the first point of contact of
the rubber strip ( at the bottom of the door) with the ground.
(v) If the door overshoots, press the OPEN button to move the
door in the OPEN direction.
(vi) When the door is at the desired CLOSE position, press the
STOP / SET button on the opener, the GREEN LED on the
OPEN button will now flash.
OPEN limit:
(i) Press and hold the OPEN button to start opening the door, taking
note of the speed the door moves.
(ii) If the open speed is not suitable, to make a change, press
and hold the OPEN button and by pressing the
STOP / SET button on the opener it will cycle through all
three speed modes as shown in table.
(iii) Once at the desired speed, release the OPEN button.
(iv) Continue inching the door to the desired position.
(v) To set the open limit, inch the door by making single presses
of the OPEN button to the desired position. We recommend
the OPEN limit position being the height of the garage
opening.
(vi) If the door overshoots, press the CLOSE button to move the
door in the CLOSE direction.
(vii) When the door is at the desired OPEN position, press the
STOP / SET button The door will now automatically close and
open to calculate the safety obstruction settings.
6.5.3 Re-profiling the Door
Re-profiling is a simplified way of re-learning the travel characteristic of a
previously setup Limit Switch travel installation. Re-profiling can be used
when the travel characteristics of the door change due to mechanical
adjustments etc. To initiate a re-profile:
a. Limits must be set.
b. Press the MODE button repetitively until the LIMIT LED is lit.
c. One of the word LEDs (LAMP etc) will highlight. Press the BLUE
CLOSE button to move to OBST
d. Press and hold the STOP / SET button for two seconds, the door will
open and close by itself to record profile.
Door Opener
Speed Mode
STATUS BEEP
Fast (Default) On 3 Beeps
Medium On 2 Beeps
Slow On 1 Beeps
HELPFUL TIP: The door can be set to a partial open
position and programmed to a Remote Control
Transmitter button. Refer to Appendix B.
tip
WARNING! The door will automatically close, open and
close again after the next step. Ensure that nothing is in
the door’s path.
AVERTISSEMENT! La porte va se fermer puis s’ouvrir
automatiquement, avant de se fermer. S’assurer que rien
ne bloque l’ouverture ou la fermeture de la porte.
HELPFUL TIP: If the door moves in opposite direction,
press and hold the OPEN and CLOSE buttons at the same
time (approx 3 seconds) until you hear a beep. This will
reverse the direction of the motor.
tip