18 HIRO Installation Manual GDO-12V1
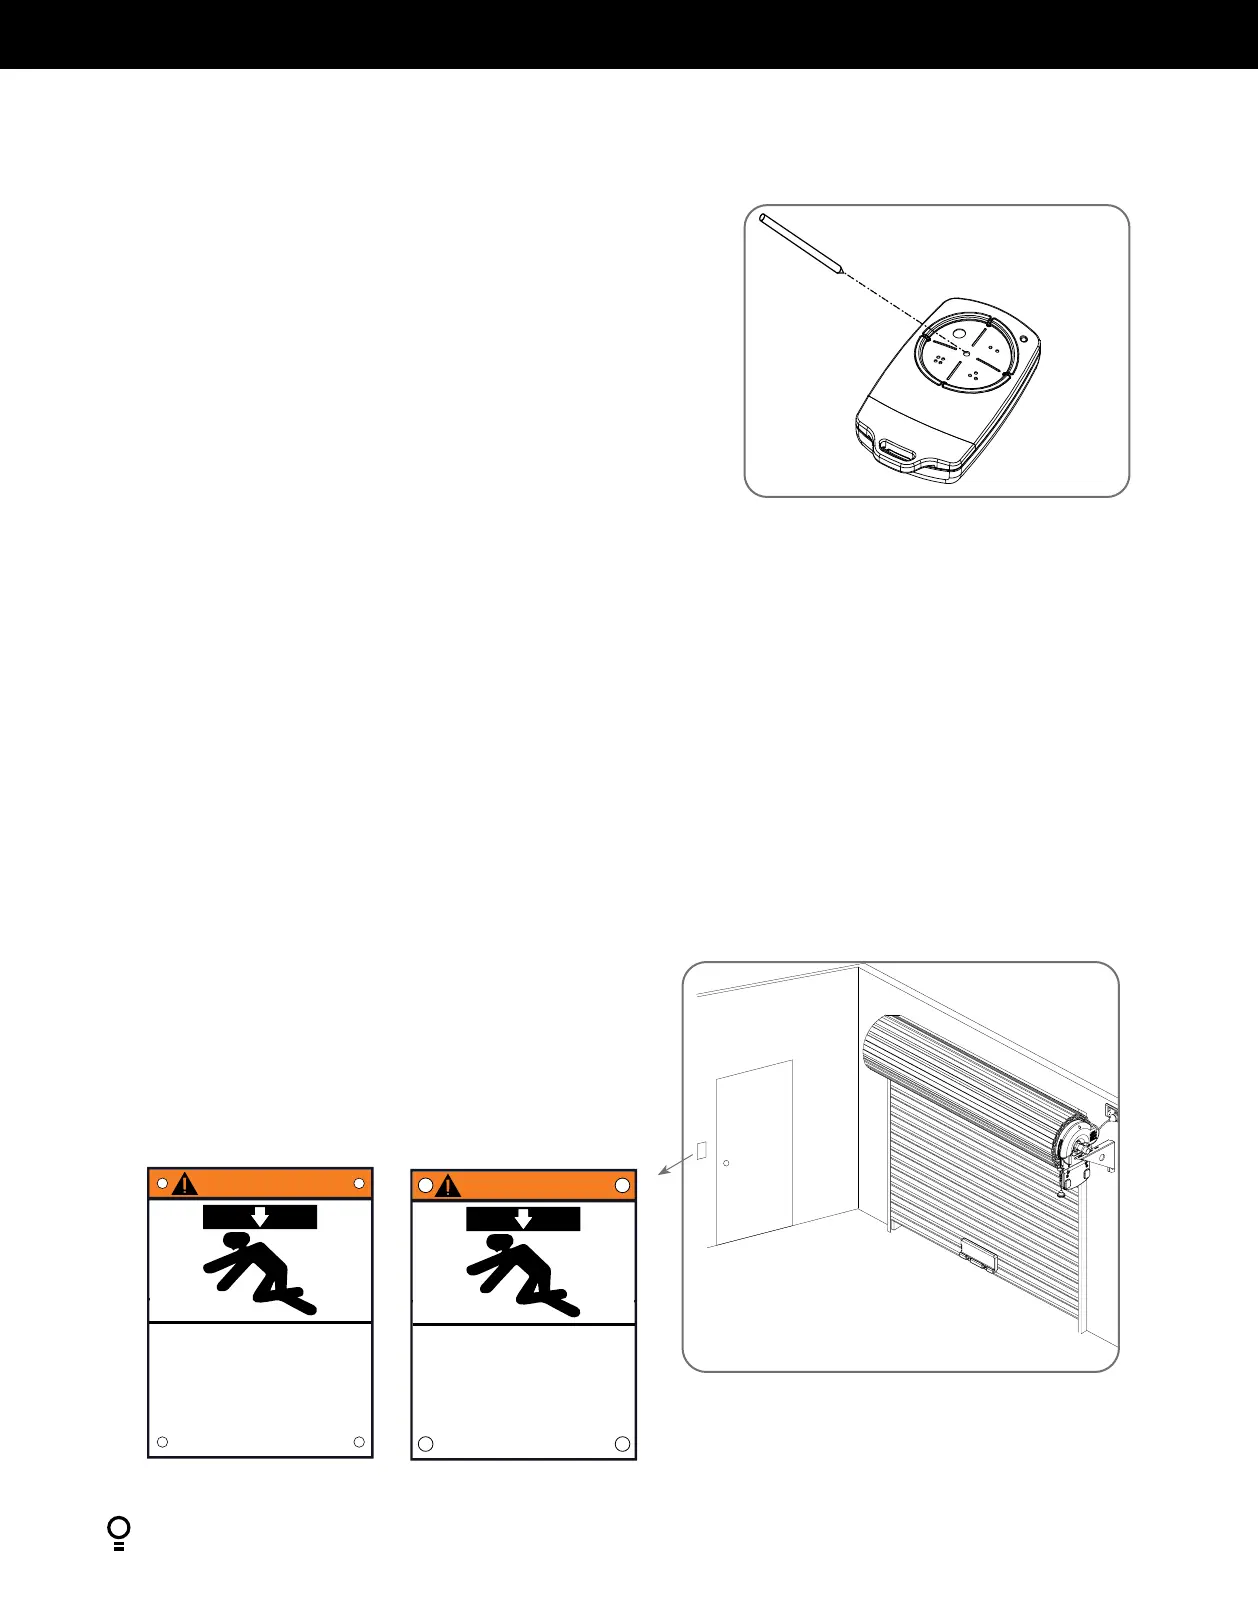
6.8.1 Placement of Warning labels
• Attach the entrapment warning label on the wall near the door control
with tacks or staples at a minimum height of 5 feet above floors, landings,
steps or other adjacent walking surface so shall children are not able to
reach it.
• DO NOT REMOVE OR PAINT OVER THIS PLACARD.
• NE PAS ENLEVER CETTE ÉTIQUETTE NI LA COUVRIR DE
PANNEAU
Fig.6.8.1
AVERTISSEMENT
Restez à l’écart de la porte. Celle-ci peut être active
à n’importe quel moment sans avertissement.
Ne laissez pas les enfants manœuver la porte ou
jouer dans la zone de la porte
Gardez la porte en vue en tout temps lorsqu’elle est
en mouvement
ou la mort
La porte en mouvement peut
causer des blessures graves
WARNING
Moving Door Can Cause
Serious Injury or Death
Keep Clear! Door May Move at any Time Without
Prior Warning
Do Not Let Children Operate the Door or Play
in the Door Area
Keep Door in Sight at all Times When Door is Moving
6.8 Attach Warning Labels
6.7 Coding Transmitters
Fig.6.7.4
If a Remote Control Transmitter is already coded into the opener, additional
Remote Control Transmitters can be coded without being in direct contact
with the opener’s wall console unit.
NOTE: Only the function of the existing Remote Control Transmitter
button can be assigned to a new Remote Control Transmitter. Please read
instructions prior to proceeding - there is a time-out facility for security
reasons.
6.7.4 Selecting The Function To Be Coded
a. Using the existing Remote Control Transmitter, operate the Door with the
Remote Control Transmitter button which has the function to be coded
(e.g. Button 1 has been coded with the OSC function assigned).
b. If the button’s function activates the Door (PART, OSC, CLS, STP or OPN)
wait for the Door to complete its cycle.
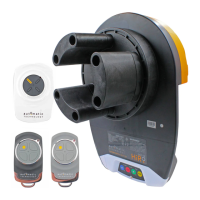
6.7.5 Activate Remote Code Set Mode
a. Use a small pin / pen to press and hold through the Coding Hole of the
existing Remote Control Transmitter for 2 seconds (Fig. 6.7.4).
b. Within 10 seconds, press the button on the new Remote Control
Transmitter you wish to code for 2 seconds.
c. Press the same button again (within 10 seconds) for confirmation.
d. Test Operation. The new Remote Control Transmitter button should now
function as the existing transmitter.
NOTE: To code other buttons from an existing Remote Control Transmitter
repeat process pressing the button your wish to replicate.
Existing
transmitter