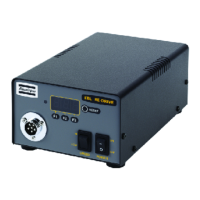
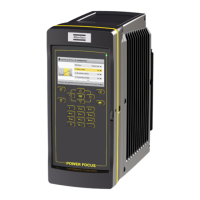
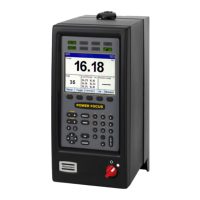
EBL Drives and Controllers EN EBL RE-Drive and EBL RE Module
© Atlas Copco Industrial Technique AB - 9836 5849 01
19
7.
* System Setting mode ( )These settings control the Batch display, Batch buzzer, Reverse count,
Screwdriver operation and Tightening buzzer. See System setting tables. Ex: To set Batch display,
Batch buzzer, Reverse counter, Screwdriver operation and Tightening buzzer to ON ( 03), press
F3 three times.
Functions
1.
Batch Setting Mode ( )
Set the number of screws to be tightened. Setting range:1 to 99. Set the position for 10 and 1. A set-
ting of 00 cannot be entered (warning buzzer will sound).
2.
Re-hit Timer Setting Mode ( )
Setting range: 0.01 to 0.99 s. This SW setting prevents counting the second tightening of a screw
due to re-hit tightening. The buzzer will sound for a short time while countdown is possible. Use the
buzzer while confirming the tightness of screws that have been tightened as a guide to setting the re-
hit timer operating time. The screwdriver will only operate while the re-hit timer is running, regardless
of other settings
3.
Tool Disable 1 Setting Mode ( )
Setting range: 0.1 to 3.9 s. This setting changes the time allotted until the screwdriver is operational,
as well as generating a valve signal when the set signal is received by the terminal block. Use the
time taken for the LED to light after receiving the set signal as a guide to setting the Work Set Timer.
4.
Tool Disable 2 Setting Mode ( )
Setting range: 0.1 to 3.9 s. Will disable the screwdriver function. Set the time between the end of the
valve signal after work has been completed, and the time for which the screwdriver is not operational.
Use the time taken between the start and end of the buzzer sound after work has been completed,
as a guide to setting the Work Reset Timer.
5.
Reverse Timer Setting Mode ( )
Setting range: 0.1 to 1.0 s. Set the time taken until reverse counting starts. Use the time taken to the
start reverse counting as a guide to setting the Work Reset Timer.
6.
System Setting Mode ( )
For programming the system, press F1 to function (system setting mode, and then F2 (0 to 8) and F3
(0 to 3).
These settings control the status of display, buzzer, reverse count, screwdriver operation and tightening
ok buzzer.
Troubleshooting
Symptoms Confirmation
The unit does not supply power Confirm that the
power supply cord is connected correctly to a specified
voltage outlet. although the main power switch is
turned on.
■ Confirm that the power supply cord is connected
correctly to a specified voltage outlet.
If unplugged, and after connecting correctly, turn
on the main power switch again and confirm that
the main power switch LED lamp lights up.
■ Confirm that the fuse has not failed.
If the fuse has failed, replace it with a spare. Then
turn on the main power switch again and confirm
that the main power switch LED lights up.
 Loading...