Atomos Ninja Blade – User Manual Edition 1: Feb 2014 33
6PDUW/RJZLWK)&3;
3ULRUWRLPSRUWLQJWKH;0/ÀOHVLQWR)&3;HQVXUHWKDW
• You have exported XML whilst the drive is in your Ninja Blade
• You have connected your Master Caddy Docking Station and inserted
your Master Caddy into the Dock
• You are using an operating system that supports ExFAT
• Your QuickTime version is up to date
• FCP X is the latest version
7KHUHDUHZD\VWRLPSRUWWKH;0/ÀOH
1. Directly from the docked hard drive
0DQXDOO\LQWR)&3;
1. Automatic Import
•
Open Finder
•
Select the drive (in this example it is EXCVIDEO)
•
'RXEOHFOLFNWKHXQLWQDPH)&3;0/ÀOH
•
7KLVZLOORSHQ)&3;DQGLPSRUWWKH[POÀOH
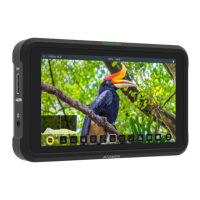
FCP X will make a event of the disk name and reference all the footage
in that event.
You will notice that on the clips you have added Smart Tags too, with
Green and Red indicating Favorite and Reject.
You can sort these by using the pull-down menu to show favorites.
This will show all the individual favorites as separate clips in the Event
Viewer.
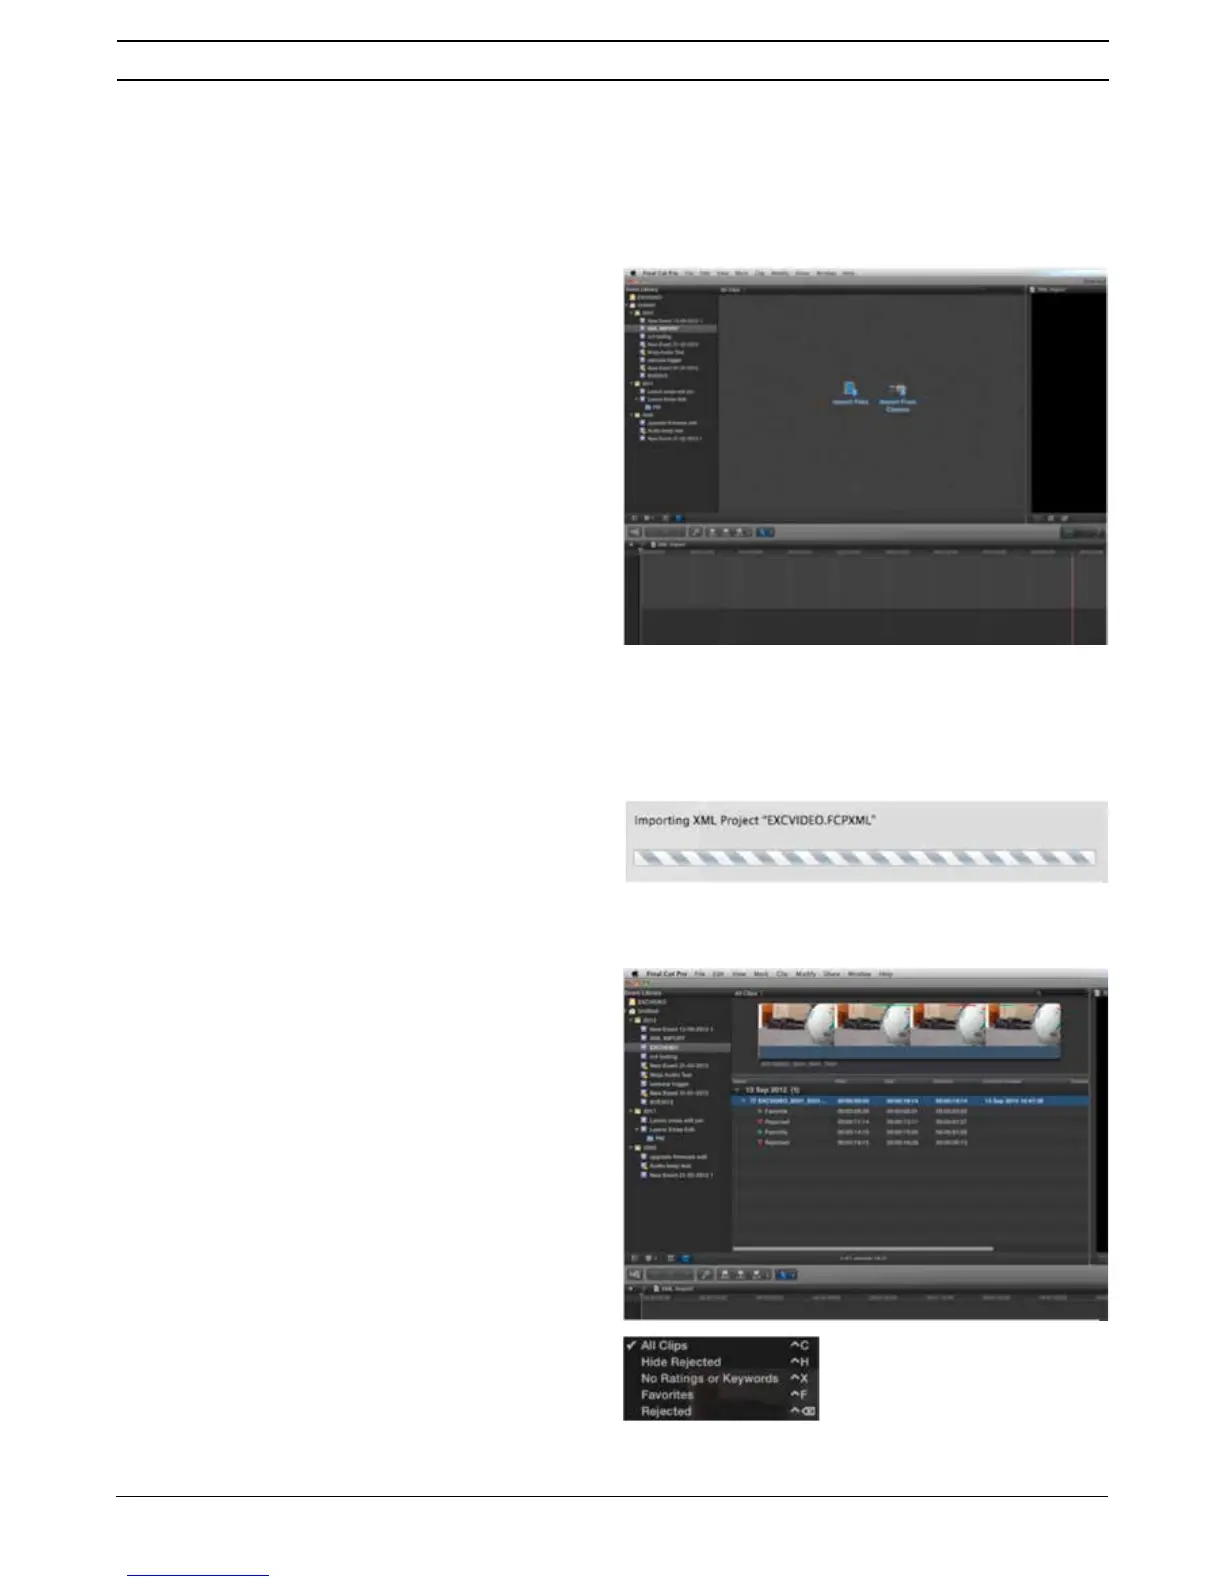
2. Manual
•
Open FCP X
•
Create a New Project (or you can use an existing project); in this
example it is called XML Import
•
Select File, Import, XML
•
Select the Ninja Blade drive under Devices (in this example it is called
EXCVIDEO)
•
Choose the unitname.FCPXML, select Import
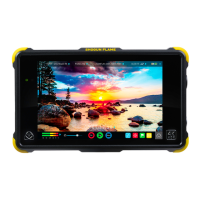
7KH;0/ZLOOLPSRUW
Once imported you can expand the clip and you will see the Favourite
DQG5HMHFWWDJV<RXFDQDOVRÀOWHUWKHYLHZWRRQO\VHH)DYRXULWHHWF
12. Connecting and Editing