5. Indicator LED
Displays the Bluetooth connection status by blinking/ lighting.
6. Wireless function button
Use to connect the product to a Bluetooth® device.
7. Dust cover hinge holders
Attachment points for dust cover hinges.
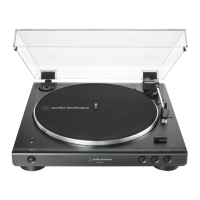
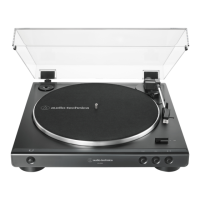
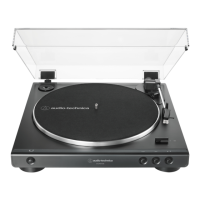
8. Tonearm
9. Tonearm rest
10. Headshell and cartridge
The cartridge (AT3600L) is attached to the headshell.
11. Size selector
Switch between 12″ and 7″, according to the size of the record.
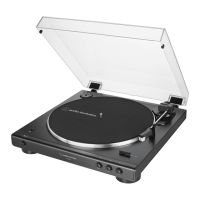
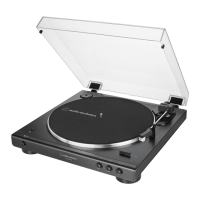
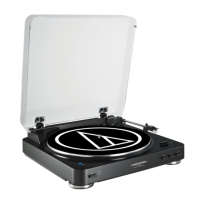
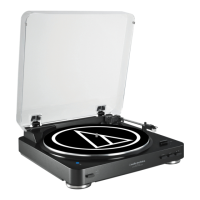
12. Dust cover
13. Platter speed button
Select the platter speed (33-1/3 or 45 RPM).
14. START button
Spins the platter and moves the tonearm.
15. STOP button
Returns the tonearm to its original position and stops the platter.
16. Tonearm lift button
Lifts and lowers tonearm for manual selection.
17. Pre-amplifier selector switch
If using an amplifier with a PHONO input jack, set this switch to the PHONO position. If connecting to the AUX
jack of an amplifier, set this switch to the LINE position.
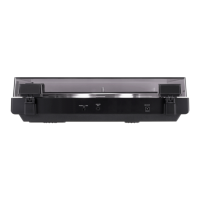
18. Stereo output terminals
Connect the RCA audio cable.
19. Power input jack
Connect the AC adapter.
Preparation for use
Installing the turntable
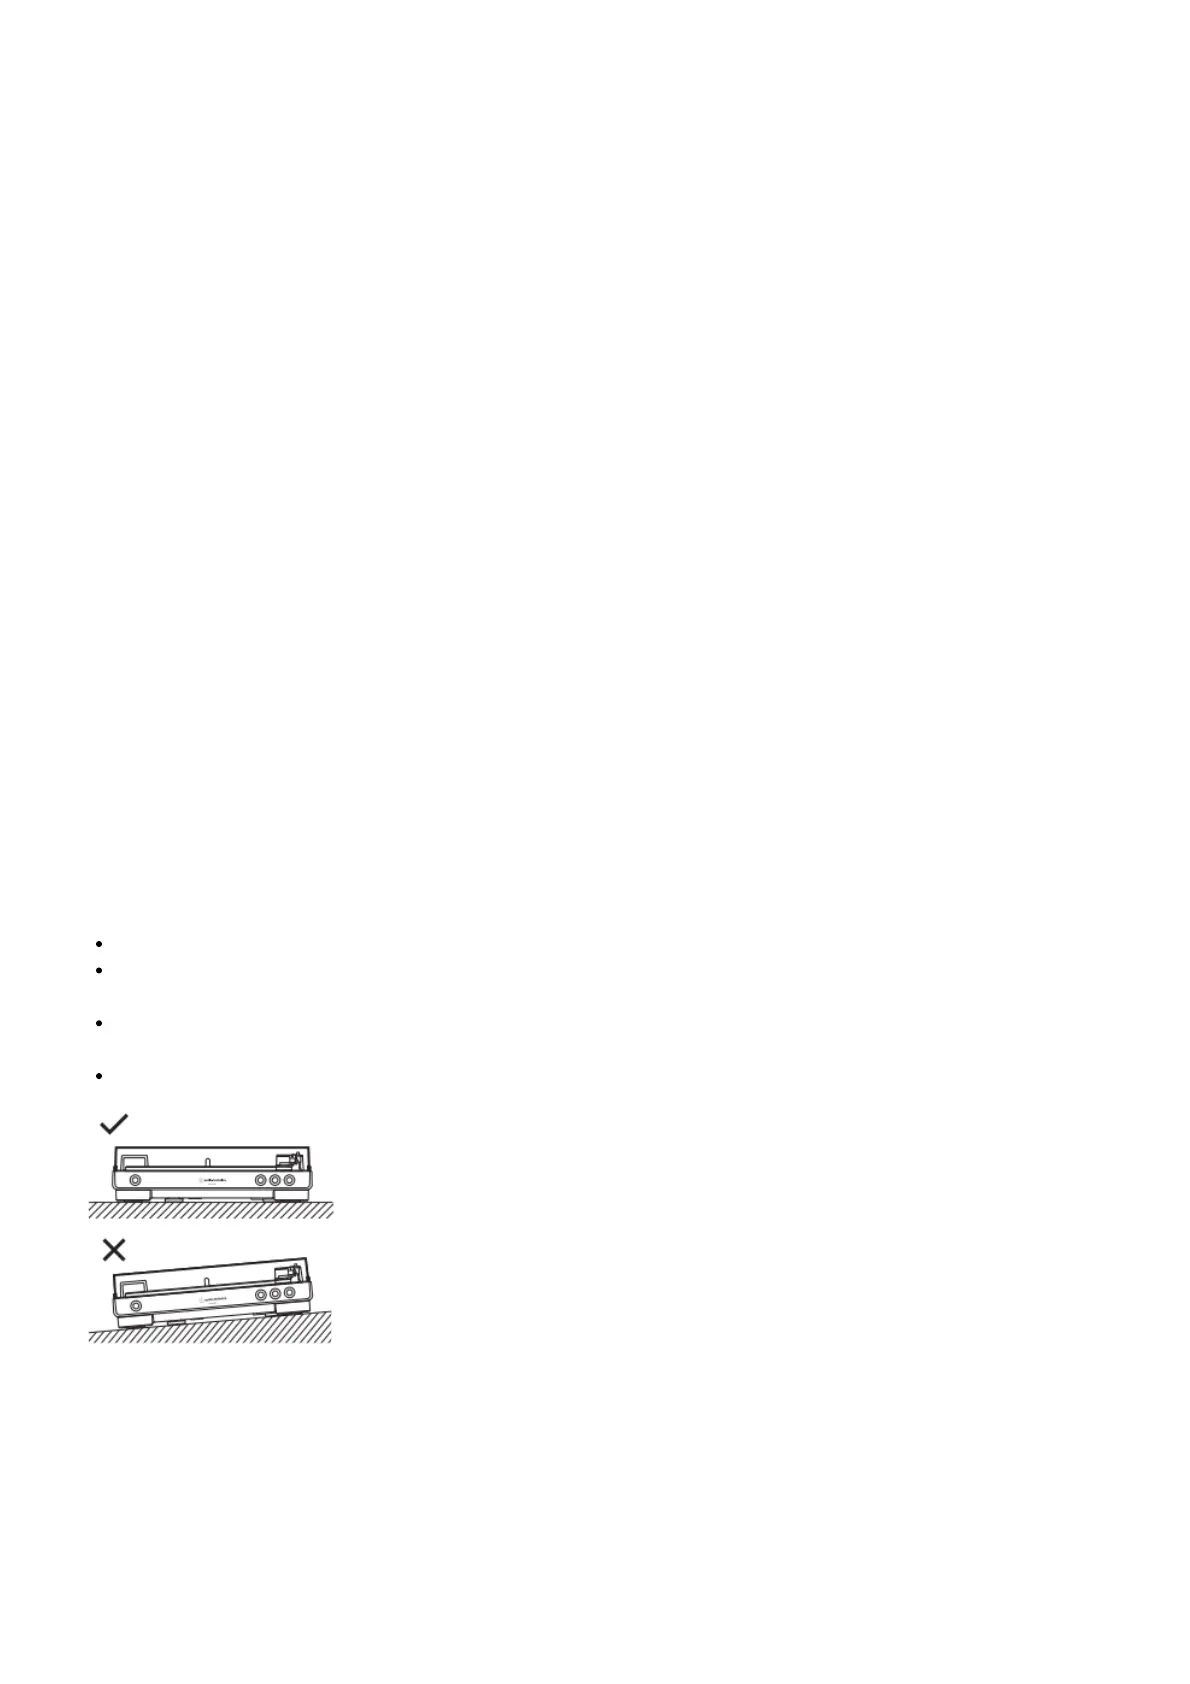
Mount the product on a level surface.
To avoid the effects of vibrations and acoustic pressure, do not mount the product next to such items as
speakers.
The product may pick up radio static if placed next to a radio. Therefore, try to keep the product away from
radios.
If the product is near equipment (cell phone, etc.) that emits strong radio waves, noise may occur.
Installing/removing the dust cover
When removing the dust cover, slowly pull the dust cover out from the dust cover hinge holders. When attaching the
dust cover, insert the hinges of the dust cover into the two dust cover hinge holders on the back of the body.
 Loading...