4.2 Wall Mounting
The device can be mounted on a wall using side mounting brackets (separate orderable
item).
To mount the device on a wall:
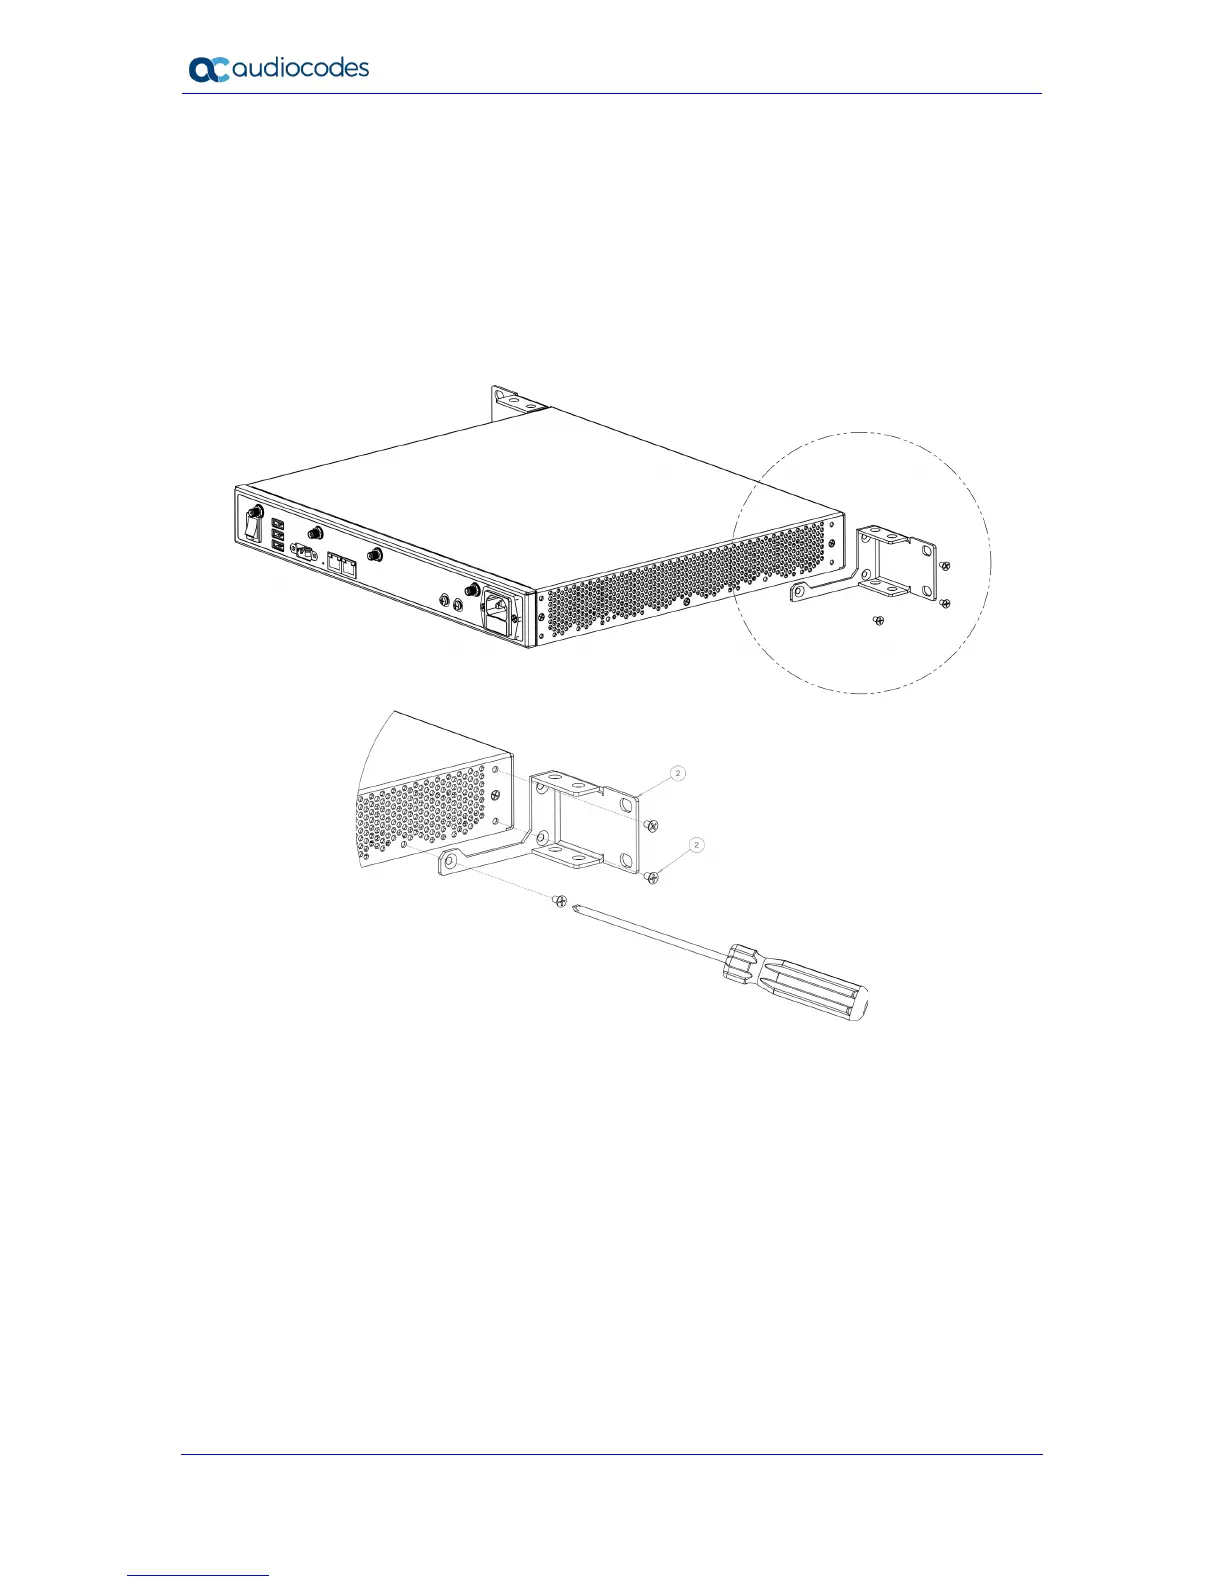
1. Using a Philips-head screwdriver, attach the mounting brackets (supplied) to both sides
of the chassis using the screws (supplied), as shown in the figure below. Each bracket
is secured to the chassis using three screws.
Figure 4-2: Attaching the Mounting Brackets to Chassis
2. Mark the drilling locations of the four mounting holes on the wall. You can use the
chassis with the attached wall-mounting brackets as a template. For this two people are
needed, one to hold the chassis and one to mark the holes. Hold the chassis so that the
mounting brackets are flush against the wall. Make sure that the orientation of the
chassis is correct –front panel facing up (toward the ceiling). Make sure that the chassis
is horizontal with the floor (you can use a level). With a pencil, stencil the mounting
brackets' keyholes on the wall.
3. Remove the chassis and place it on a horizontal surface.
4. Drill holes in the wall where you marked the keyholes.

 Loading...


