Owner Installation Instructions GDO-6v3 EasyRoller
®
25
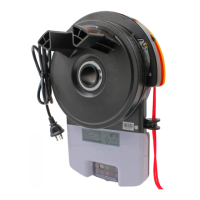
Battery Back Up Kit Installation
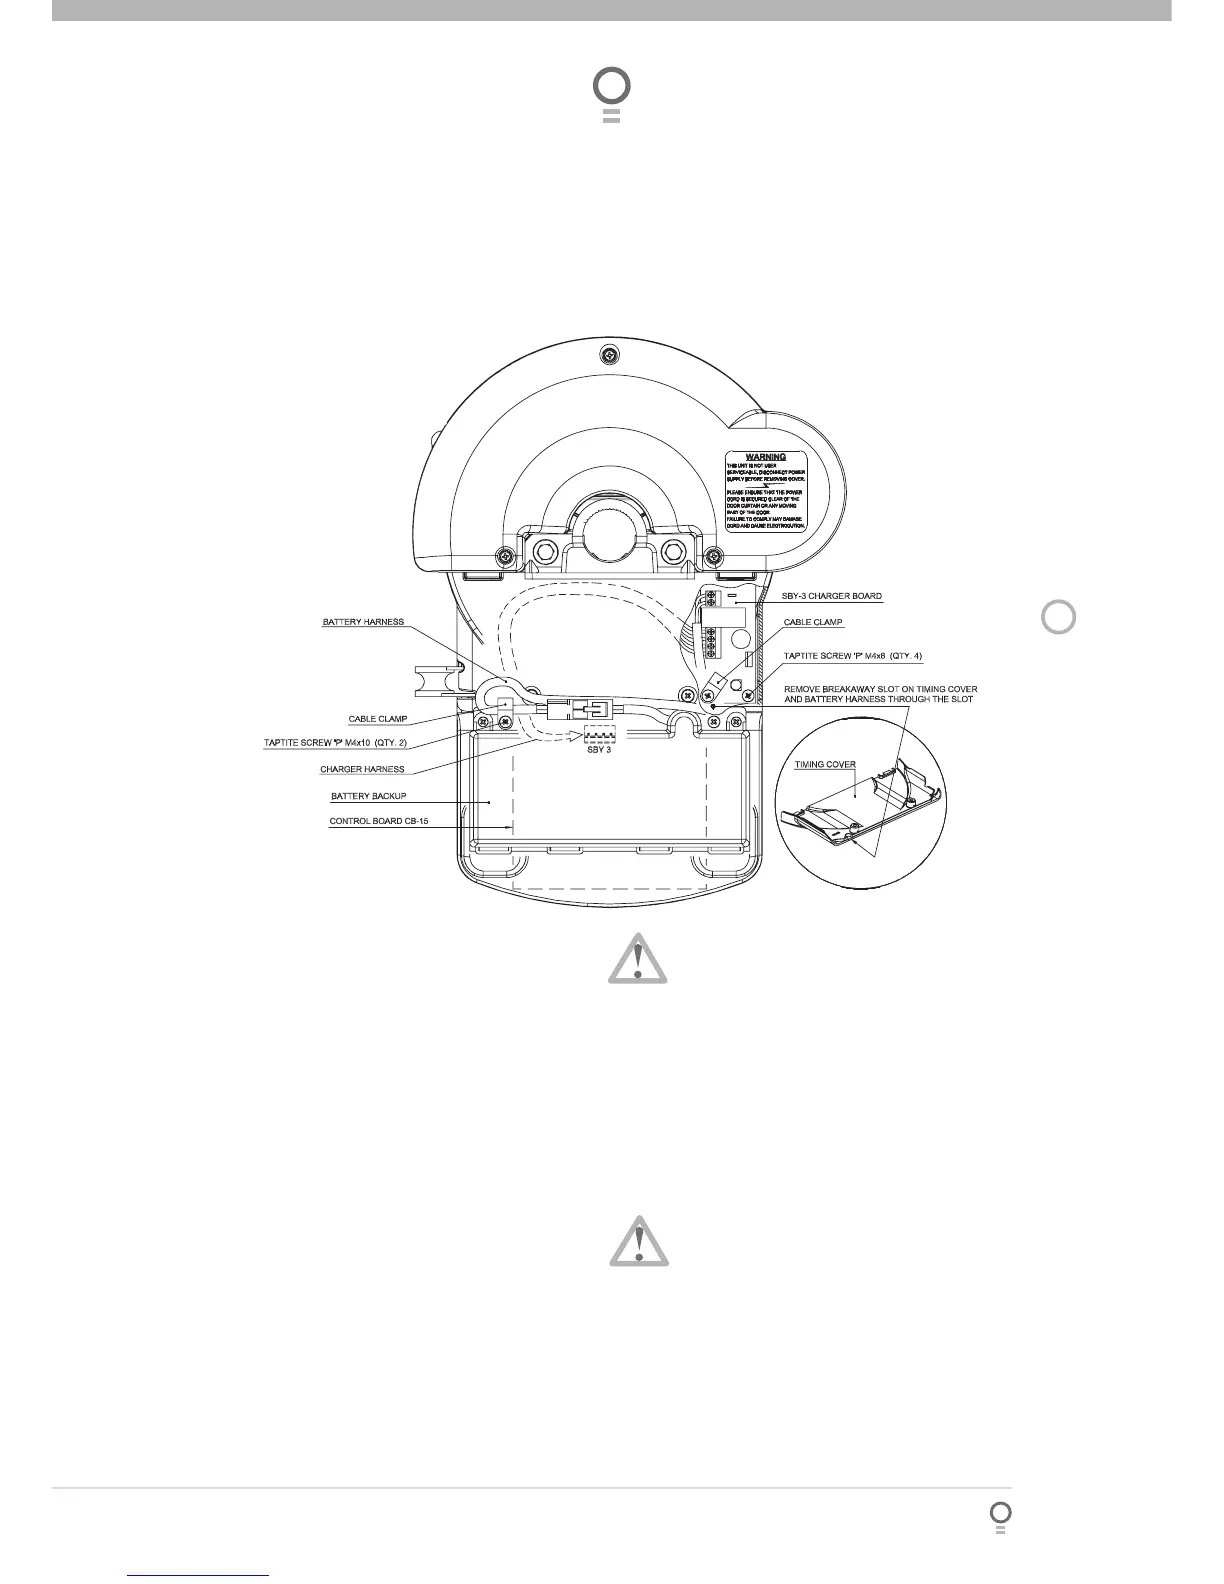
Step 21.1 - Connect the Battery Back Up Kit
Turn off power to the opener and disengage
motor.
Remove timing cover and light diffuser.
Remove cable clamp and screw (Fig. 36). Retain
cable clamp for later use.
Mount the SBY-3 Charger Board on base and
secure with four (4) Taptite ‘P’ M4 x 8 screws.
Secure lower left corner with cable clamp
holding brown transformer wires.
Feed 4-Wire harness around timing assembly,
through opening and plug into control board’s
SBY-3 connector (Fig. 36).
Remove breakaway slot on timing cover.
Feed 2-wire battery harness through slot and
replace timing cover and secure in place with
screws.
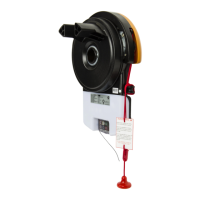
Mount Battery Back Up Kit onto support chassis
and secure right side screw fi rst (charger board
side).
Position 2-wire battery harness neatly and secure
left side of battery kit with cable clamp.
a.
b.
c.
d.
e.
f.
g.
h.
i.
j.
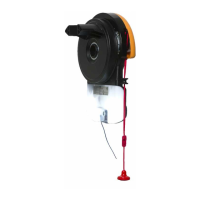
WARNING: After Step 21.1(k) the opener may
become active (even when power is off). This is
a result of a residual charge in the batteries.
Connect battery harness together (Fig. 36).
Reconnect power and re-engage the motor.
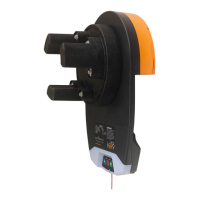
Step 21.2 - Testing the Battery Back Up Kit.
Press either the OPERATE button or transmitter
button to activate the door.
Whilst the door is in motion disconnect mains
power. When mains power is cut, the Battery
Back Up Kit should respond to the shut down.
The door should continue operating as normal.
NOTE: Wait for the door to complete its
travel.
Press OPERATE or a transmitter button to
activate the door.
Whilst door is in motion re-connect power.
The door should complete the cycle as normal.
Unplug the drive unit from mains power.
k.
l.
a.
b.
c.
d.
36
fig