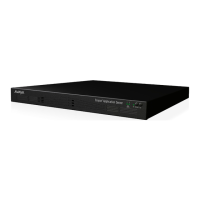
Figure 12: Securing rail extensions to the device
c. Repeat these steps on the other side of the device.
2. Slide the device on to the rails until the holes on the device front panel align with the front
post (see Figure 13: Sliding the device onto the rails on page 18).
As you slide, you should hear two clicks; one mid-way and one near the end. These are the
safety latches to stop the device from accidentally sliding out.
Installation Guide for Avaya Scopia
®
Application Server Version 2 Setting up the Device | 17

 Loading...