35146AJ
27
To set up a Remote Assist Session:
1. Contact AvertX Technical Support by visiting
http://www.avertx.com/contact-support/
or call the AvertX
ProTeam during available phone support hours.
2. Once you are connected with a Support agent, click Enable, and
then enter the Connection Code given to you by the Support
agent.
Note When a Remote Assist Session is enabled and the session
code is entered, the Support agent will have full remote
access to your recorder to provide assistance.
3. Click Connect.
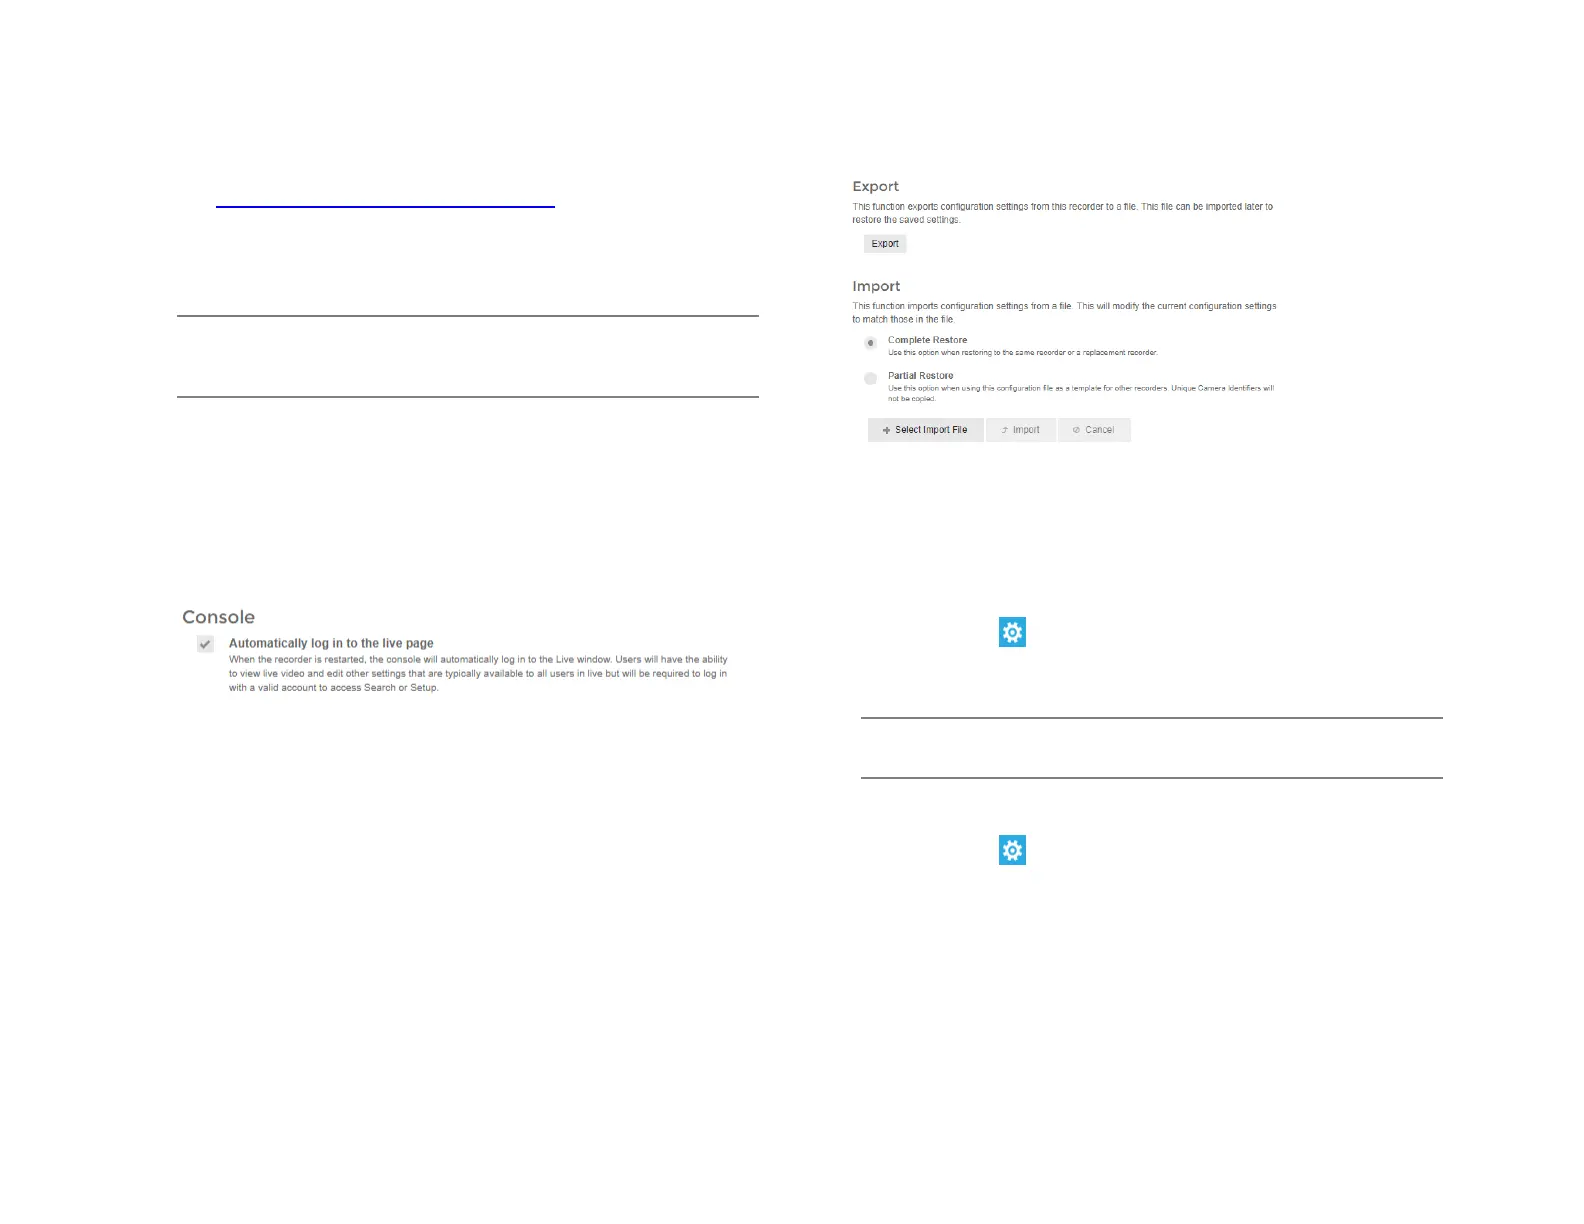
Console
Check the box to automatically log in to the live page. This allows the
recorder to boot directly into live display and be used as a live display
monitor.
When the recorder is restarted, the console will automatically log in to
the Live window. Users will have the ability to view live video and edit
other settings that are typically available to all users in Live but will be
required to log in with a valid account to access Search or Setup.
Retention Limit
This option sets the maximum number of days that recorded video will
be kept.
To enable Retention Limit:
1. Select Enable next to Retention Limit
2. Enter the number of days recorded video should be kept.
3. Click Save.
Export/Import Configuration
This function exports most configuration options on the recorder to a
file. This file can then be imported as needed to restore the
configuration options to the saved state. The AvertX Connect account
information is not exported and will therefore need to be manually
configured upon import.
To export recorder configuration settings:
1. Click Setup , and then click Settings.
2. In the General Settings tab, click Export.
3. When prompted, Save the exported configuration file.
Note In the ProConnect Web Interface, the default location to save
the .dat archive file is in the Downloads folder.
To import recorder configuration settings:
1. Click Setup , and then click Settings.
2. In the General Settings tab, Click Complete or Partial Import,
and then click Select Import File.
• Select Complete Restore when restoring to the same recorder
or a replacement recorder.
• Select Partial Restore when using a configuration file as a
template for other recorders. Unique Camera Identifiers will not
be copied.
3. Navigate to the desired file.
4. Click Import.