View Manual: Click “View Manual” to view or print the detailed user
manual for the scanner and Button Manager V2 respectively.
3. Click Install Scanner Driver to install the scanner driver and then click
Install Button Manager V2 to install the Button Manager V2 unto your
computer.
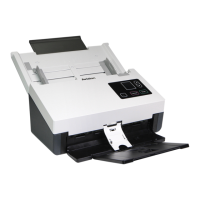
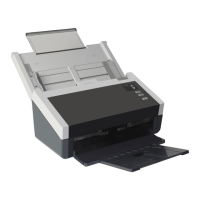
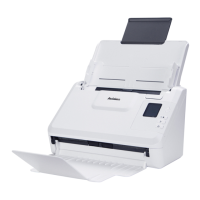
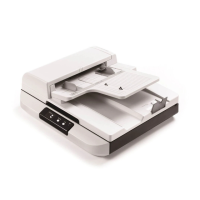
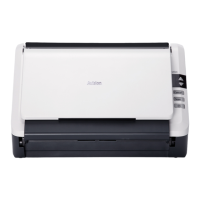
Connecting to the Computer
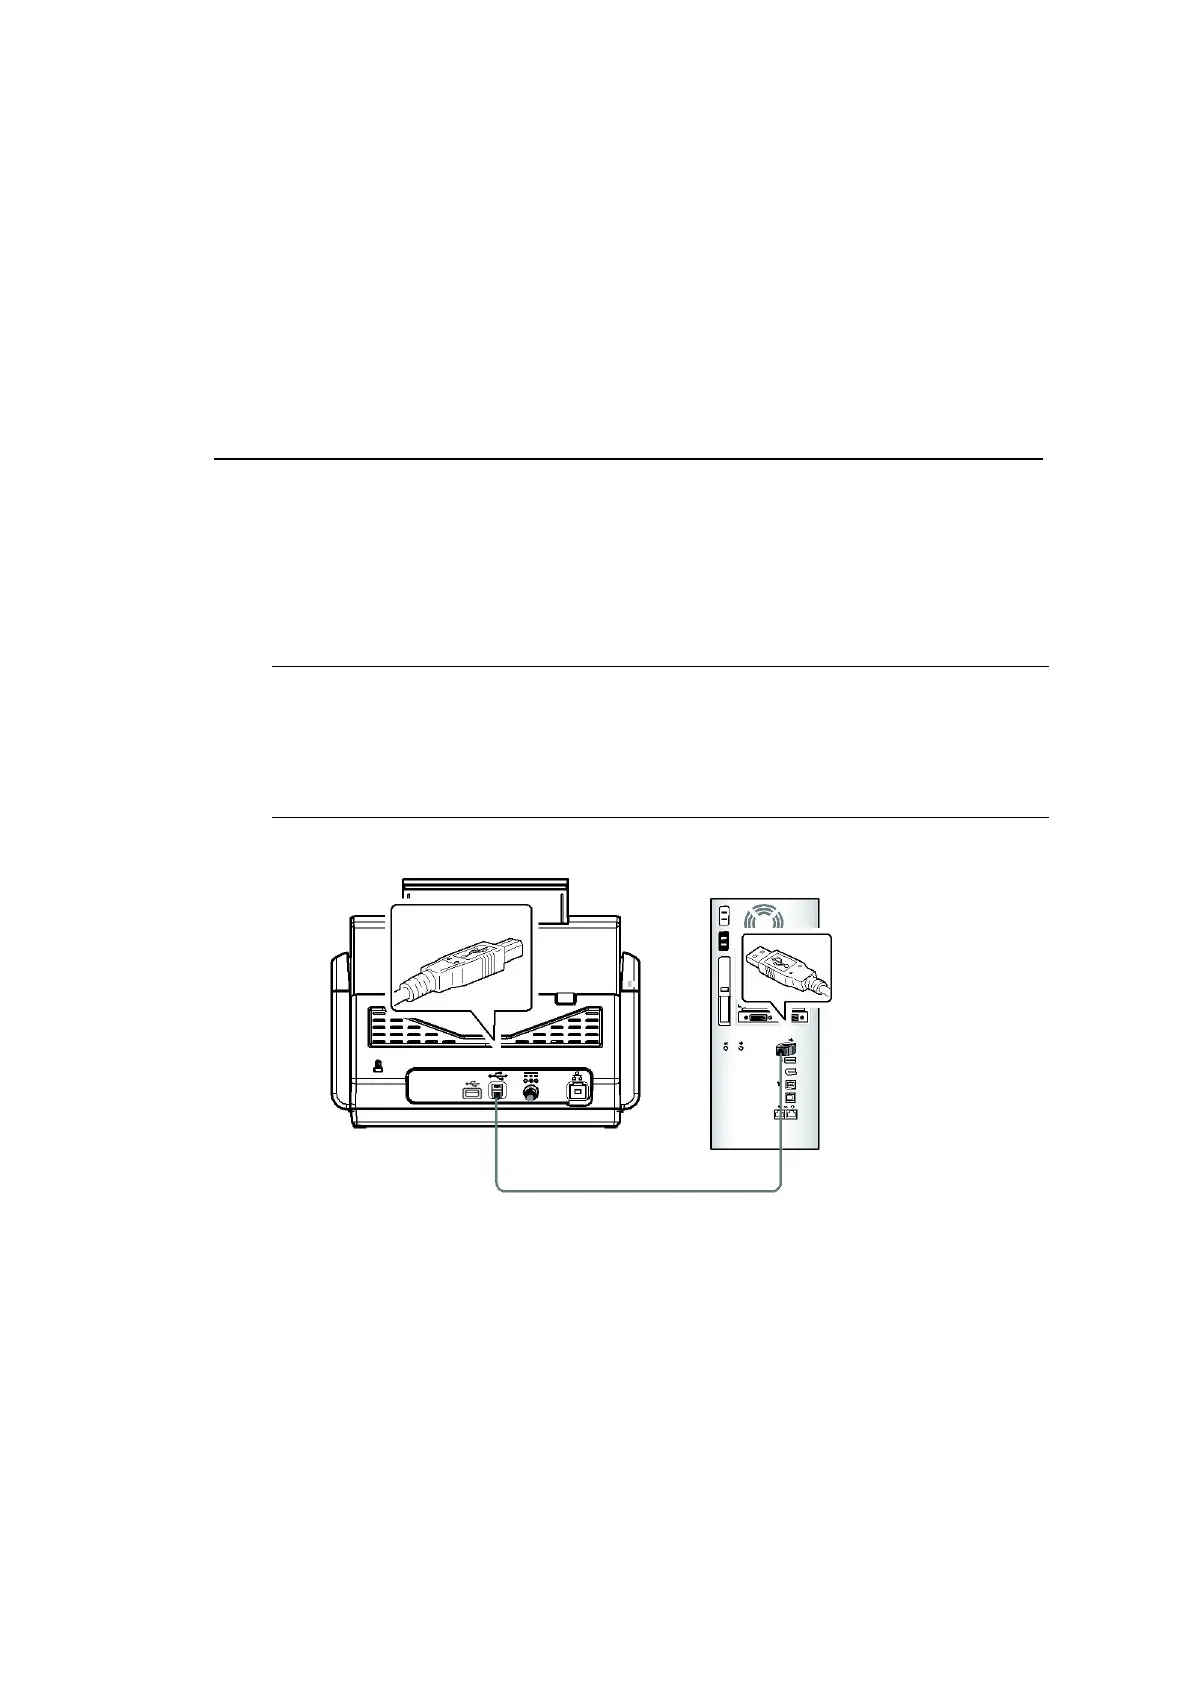
Via a USB Cable
1. Connect the square end of the USB cable to the USB port of your scanner.
Connect the rectangle end to the USB port at the rear side of your computer.
Note: The scanner is designed with a USB 3.2 Gen 1x1 interface to ensure
the optimal speed. If your computer comes with a USB 3.2 Gen 1x1 port,
make sure to connect the scanner to your computer to the USB 3.2 Gen
1x1 port which is distinguished in blue color at the back of your computer.
The USB 3.2 Gen 1x1 port enhances your scanning speed and is also
compatible with USB 2.0 and USB 1.1.
2. The computer should detect a new USB device and prompt a “New
Hardware Found” message.
3. By following the on-screen instructions, click the Next button to continue.
When the certification screen appears, click Continue Anyway to complete
the installation.
4. When the Finish dialog is prompted, click the Finish button.