Execute the following steps to save your settings:
1. Click SAVE to apply your settings. A small confirmation dialogue appears in the bottom right
corner.
2. Reboot the camera.
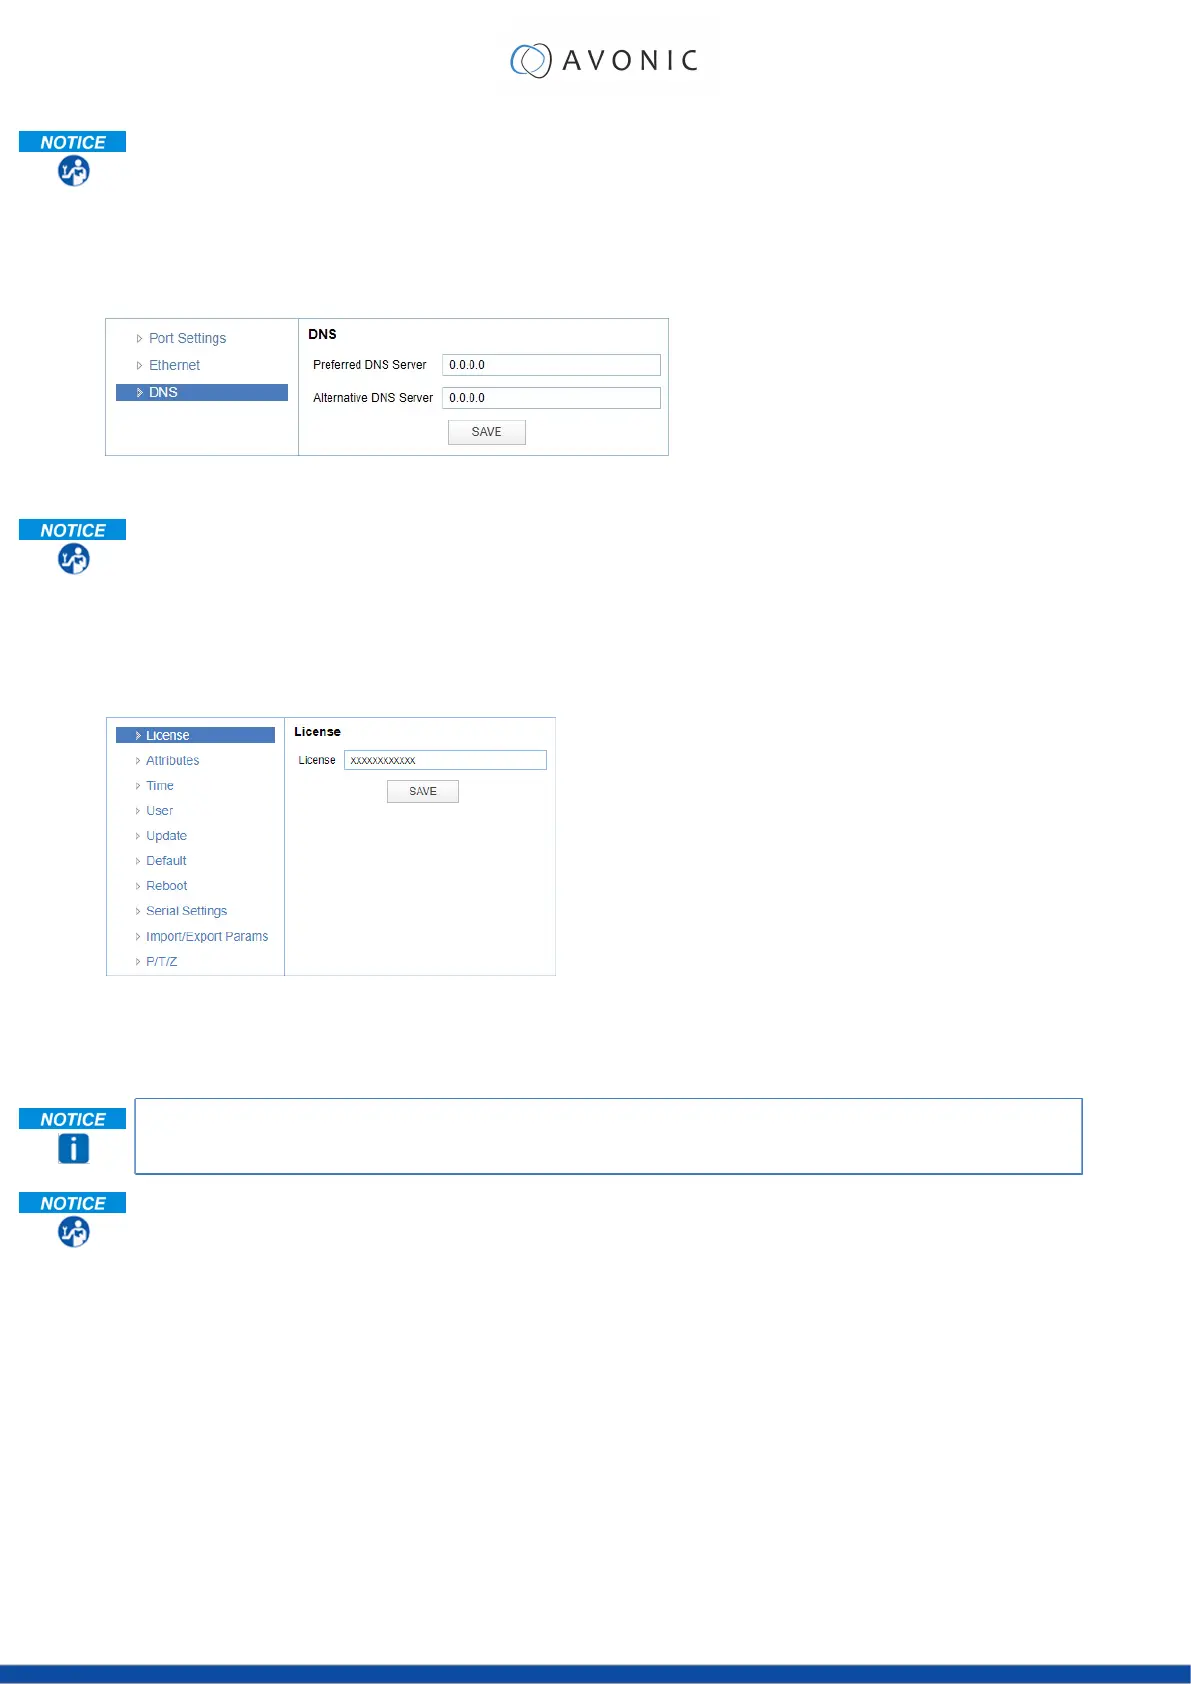
NETWORK - DNS
Here, you can specify the Preferred and Alternative DNS Server.
Figure 36: WebGUI > NETWORK > DNS
Click SAVE to apply your settings. A small confirmation dialogue appears in the bottom right corner.
SYSTEM
You can use the SYSTEM tabs (described below) to define the desired system settings.
License
Figure 37: WebGUI > SYSTEM > License
If you have purchased the license for the premium features of this camera, you can enter the License key here to
unlock these features. Reboot is not required as the license is instantly activated.
You can acquire a license through your local sales channel or directly at Avonic.
Execute the following steps to enter your license key:
1. Enter your license key in the License field.
2. Click SAVE to apply your settings. A small confirmation dialogue appears in the bottom right
corner
36
 Loading...