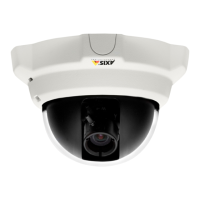
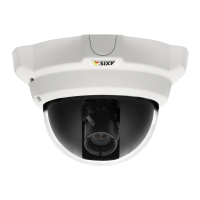
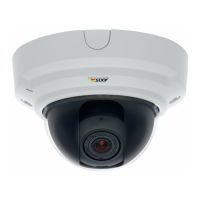
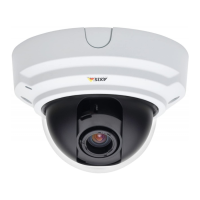
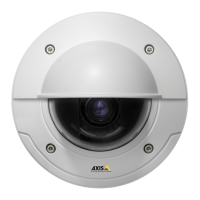
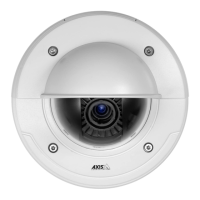
AXIS P3301 Fixed Dome Network Camera
System Options
The following traps are available:
•Coldstart
•Warmstart
•Linkup
• Authentication failed
SNMP v3 provides encryption and secure passwords. To use traps with SNM P v3, an SN MP v3 management application is required.
To use SNMP v3, HTTPS must be e nabled, see HTTPS, on page 31. To enable SNMP v3, check the box and provide the initial user
password.
Note
The initial password can only be set once. If the password is lost, the Axis product must be reset to factory default, see
Reset to factory default s ettings, on page 40.
UPnP
TM
The Axis product includes support for UPnP
TM
.UPnP
TM
is enabled by default and the product is automatically detected by operating
systems and clients that support this protocol.
UPnP
TM
can be disabled under System Options > Network > UPnP
TM
.
RTP/H.264
The RTP port range a nd multicast settings are configured under System Options > Network > RTP.
The RTP port range defines the range of ports from which the video/audio ports are auto
matically selected. For multicast streams,
only certain IP addresses and port numbers should be used.
Select Always Multicast Video and/or Always Multicast Audio to start multicast streamin g without opening an RTSP sess ion.
Bonjour
The Axis product includes support for Bonjour. Bonjour is enabled by default and the prod u ct is automatically detected by op erating
systems and clients that support this protoc
ol.
Bonjour can be disabled under System Op
tions > Network > Bonjour.
Storage
Network Share
Network share allows you to add network storage such as a NAS (Network Attached Storage) or any server that uses CIFS (Common
Internet File System) and use them for storage of recordings.
To add a netwo rk share:
1. Go to System Options > Storage.
2. Click Network Share.
3. Enter the IP address, DNS or Bonjour name to the host server in the Host field.
4. Enter the name of the share in the Share field.
5. If required, select The share requires login and enter the user name and password.
6. Click Connect.
37