Azure Imaging System User Manual Page 12
3.3 Chemi Blot Imaging Mode
Use this with samples that have luminescent and
chemiluminescent signals such as from HRP.
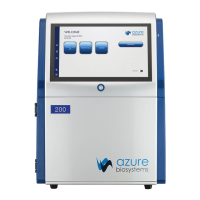
1. Place sample in the center of the Black Tray.
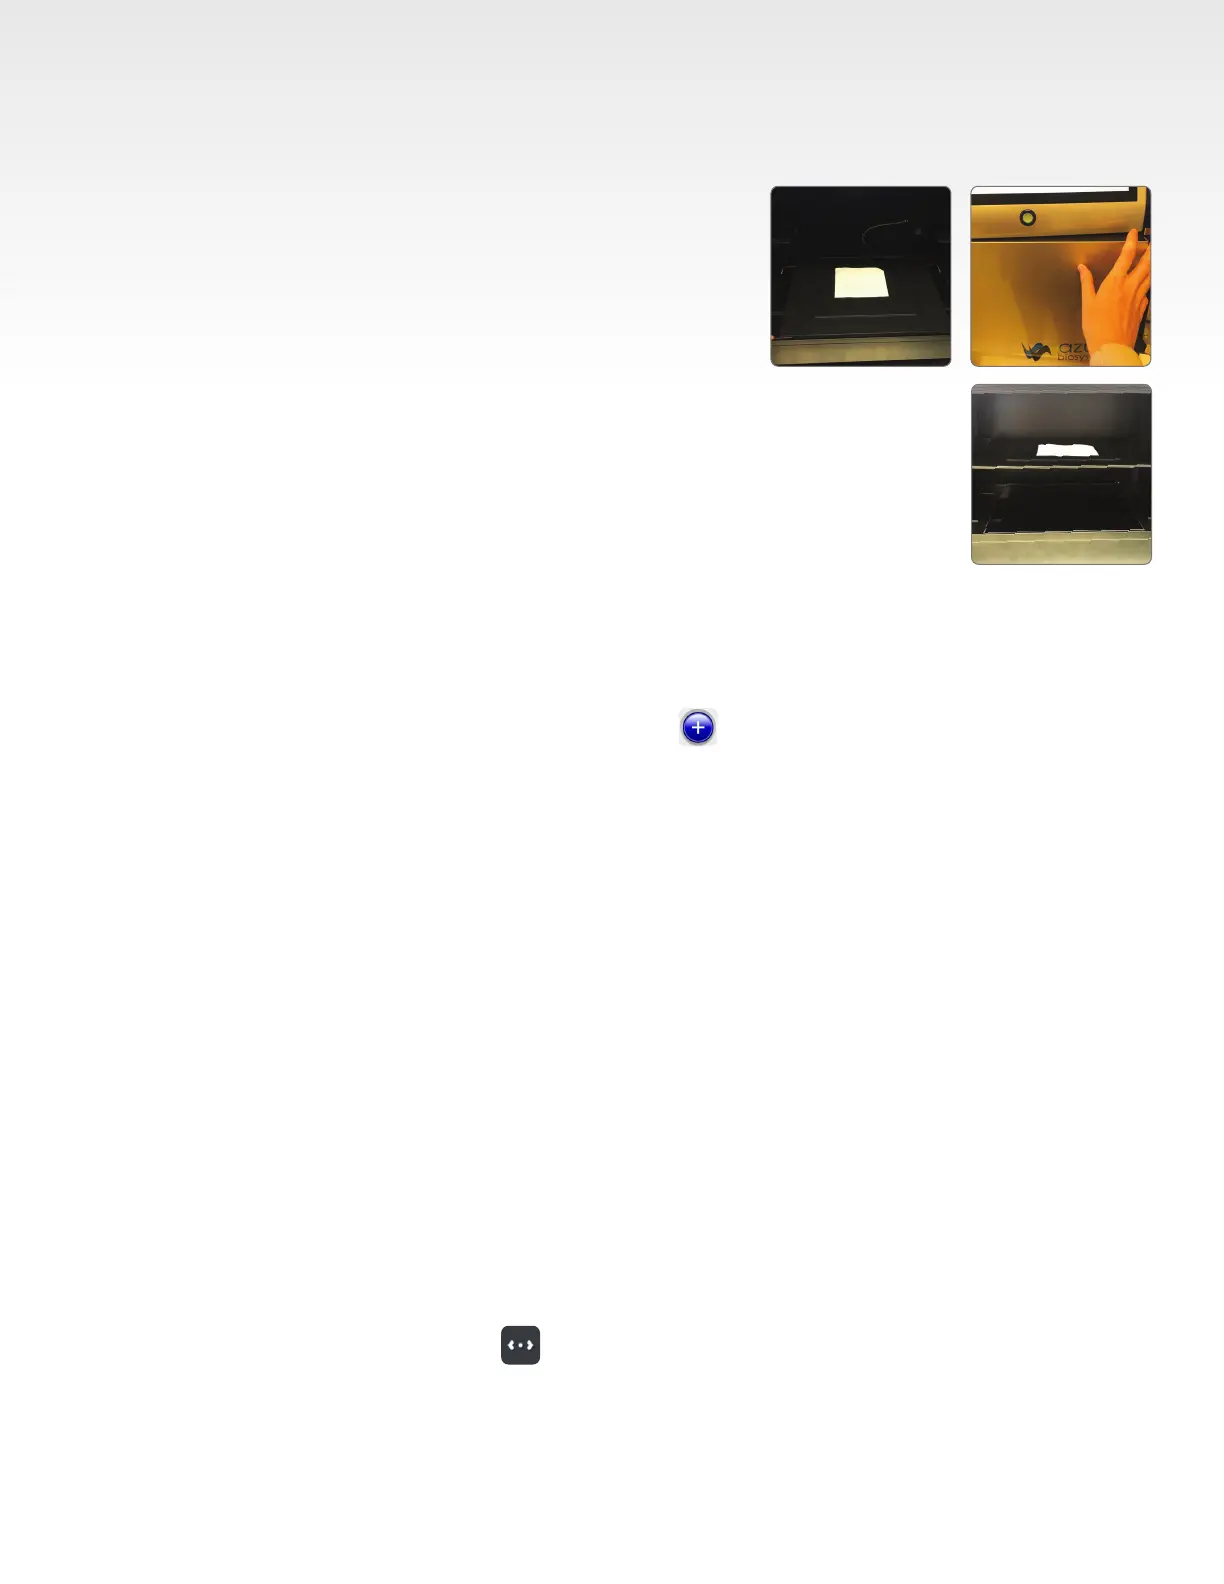
2. Place the tray in one of two positions: on the UV
transilluminator or on the upper shelf, in the middle of
the imaging system.
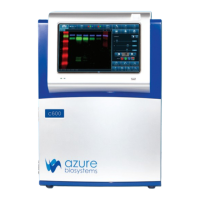
Note that using the upper shelf will block the shelf
underneath, so shelves must be used one at a time.
• Use the position on the UV transilluminator for larger samples.
• Use the position on the upper shelf for small samples. Using this top shelf
increases the resolution of the blot.
3. Close the door to the system.
4. Select Chemi Blot from the home screen.
5. The program is set to image chemiluminescent signal in the gray channel.
6. Choose additional imaging channels, such as Blue Ladder for imaging blue-stained ladders using
red uorescence, or TotalStain Q for total protein normalization, if the corresponding channels are
available in the system.
To select an additional dye, hit one of the colored buttons to bring up the dye selection menu.
Click the name of a dye to select it.
Note: List of dyes available is customizable in the Settings tab.
7. Select Color Marker to create an overlay of the visible molecular weight marker/ladder and the ECL
signal. The marker image can be manually overlaid on top of the chemi image, maintaining the
positions on the gel or membrane in the gallery, or automatically merged after capture by selecting
Auto Merge in Settings. The Color Marker button will appear green when active.
Note: The option for color marker imaging will disappear if multiplex imaging the chemi channel with
additional uorescent channels (such as uorescent ladders and total protein stains).
8. Use Auto Image if you want the system to determine the optimal default exposure for each selected
channel using the RapidCapture exposure mode.
9. Select Manually Image to control all imaging settings.
10. Select the Pixel Binning setting based on the desired sensitivity and imaging resolution. See Section
3.2 for more details.
11. Exposure type can be selected for each channel. Select between the different auto exposure modes
or choose Manual Exposure Type to enter the desired exposure time. See Section 3.2 for more details
on the different Auto Exposure options.
12. The CCD Cooled icon will turn green once the CCD has reached optimal cooling.
13. The info button offers recommendations on imaging and directions on whether a tray is required for
the imaging type chosen.
14. In Manually Image menu, tap to enable Live Mode. Click again to close. Live Mode illuminates
the imaging area to allow you to see a live image of the position of your sample, and offers the
following additional options:
• Auto-exposure to region – set area that you want the autoexpose to focus on.