Azure Imaging System User Manual Page 19
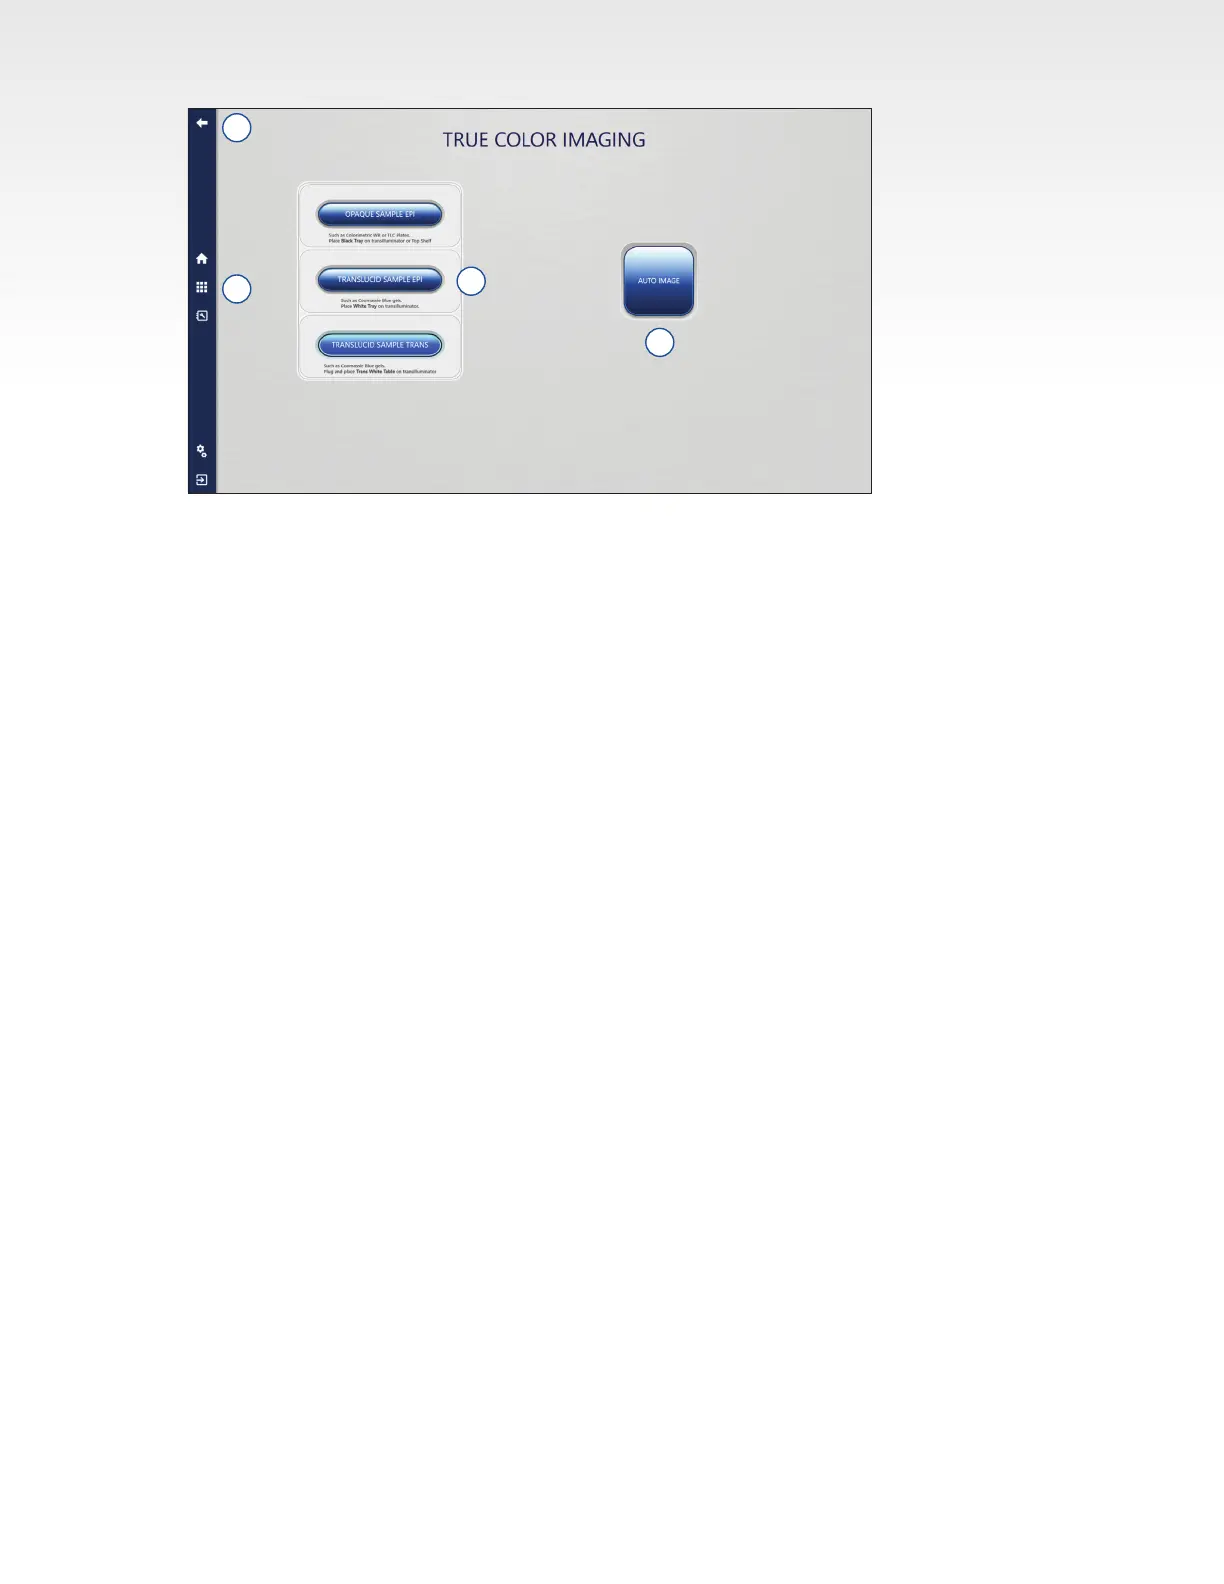
3.8 Custom Imaging Mode
Use this imaging mode to select every aspect of your imaging protocol.
1. Place sample in the imager using the black tray if necessary and close the Azure Imaging System
door. If the Black Tray is used, make sure that the tray is in the desired position (i.e.: on the top shelf
or on the transilluminator) before selecting Custom Imaging on the Home Screen. The position of the
Black Tray will select the default focal plane for imaging.
2. Select Custom Imaging from the home screen.
3. Click on the Protocols button. Select an existing protocol to use as a base or select New Protocol to
create a new protocol from scratch.
4. Select the Pixel Binning setting based on the desired sensitivity and imaging resolution. See Section
3.2 for more details.
5. Select the appropriate Light Source and Emission Filter and assign the desired pseudo color to
the channel.
6. Adjust the aperture according to sample type or as desired. We recommend a wider aperture for
chemiluminescence and a mid-level aperture for RGB and NIR. The most narrow aperture is best for
UV applications.
7. Select to adjust the camera focus. The focus value in custom defaults to the focus value of the
selected lter and tray position. If desired, the focus can be manually adjusted by moving the slider.
Note: For Azure 200, the focus does not need to be adjusted for the UV table or black tray.
8. Select to adjust the exposure type for each channel. Select between the different auto exposure
modes or choose Manual Exposure Type to enter the desired exposure time. See Section 3.2 for more
details on the different Auto Exposure options
9. Click to add additional dyes to the capture protocol. Repeat steps 5 through 8 for each dye added
(e.g. Excitation/emission/channel, aperture, focus, and exposure times). Up to four individual dyes
may be captured per image (displayed in red, green, blue, and grayscale pseudocolor).
10. Select to display a preview image using the selected settings.
11. Click to enter Live Mode to visualize the position of the sample.
12. Save Protocol to recall the protocol as set after imaging, or Delete Protocols as needed.
13. Select the Capture button to capture the image according to the set specications.
14. After capture, images will appear in the Gallery automatically. The Gallery can be reached at any
time by pressing the Gallery icon.
7
4
6
5