– 16 –
FORM 36728 (January 2014) PRINTED IN U.S.A.
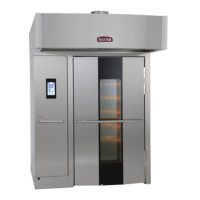
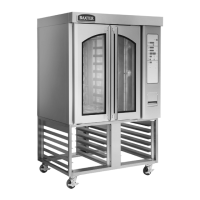
Rear Lamp (OV450W Only)
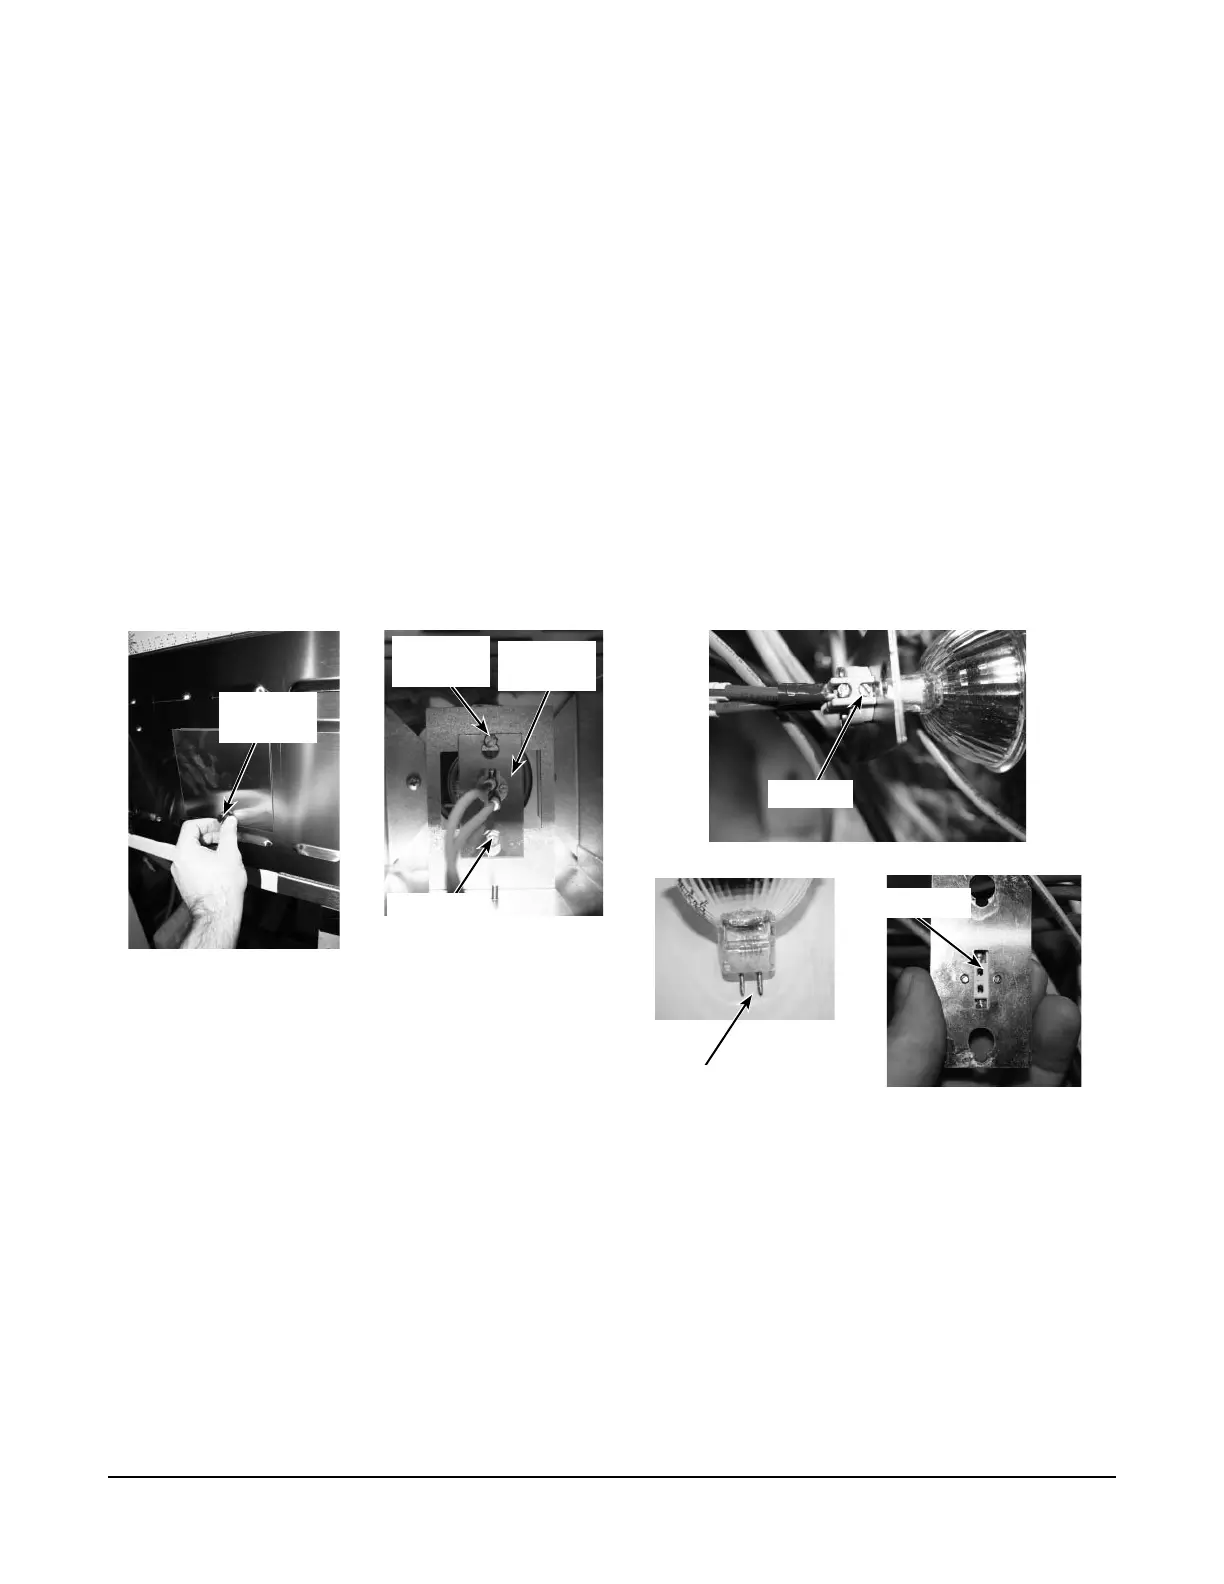
1. Remover lamp fi xture cover on left side panel by removing thumb screw (Fig. 10).
2. If necessary, loosen (do not remove) the 7mm screws (Fig. 11) on the top and bottom of the lamp
fi xture.
3. Remove lamp fi xture by sliding the fi xture up and over the screws.
4. Loosen (do not remove) the two screws (Fig. 12) that hold the bulb in the socket. They are the screws
next to the metal plate, one on each side.
5. Remove bulb.
6. Install new bulb into fi xture sockets (Fig. 12). The metal prongs (Fig. 12) insert into the sockets of
the fi xture. It does not matter which prong goes in which socket.
7. Tighten the socket screw (Fig. 12).
8. Place lamp fi xture back into opening and slid light fi xture over the 7mm screws (Fig. 11).
NOTE: The 7mm screws do not need to be tightened.
9. Close lamp fi xture cover and reinstall thumb screws (Fig. 10).
SERVICE AND PARTS INFORMATION
Contact your authorized service offi ce for any repairs or adjustments needed on this equipment.
Fig. 10 Fig. 11
Fig. 12
THUMB
SCREWS
LIGHT
FIXTURE
7mm
SCREW
7mm
SCREW
SCREW
PRONGS
SOCKETS