22
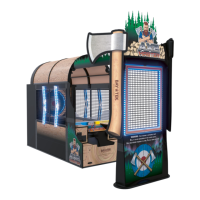
AXE MASTER SETUP
Locate both of the black plastic wire covers.
The left cover (Label 7) (Part # WACA29081) The right cover (Label 8) (Part # WACA29082)
8
7
On the left side of the safety wall, connect the 2 connectors together
CE29071 from the pole to CE29072 from the marquee.
Tuck the wires up into the hole and cover the wires with the left cover (Label 7) (Part # WACA29081)
Ensure the wires do not get pinched as the cover is pushed in place.
Secure with 4 of the black 6 X 1 1/4” screws using a # 2 Square Head bit.
Repeat the process on the right side of the safety wall, connect the 2
connectors together (Yellow, Black) CE29063 from the pole to
CE29065 from the marquee.
Tuck the wires up into the hole and cover the wires with the right cover
(Label 8) (Part # WACA29082)
Make sure the wires are in the channel of the cover.
Ensure the wires do not get pinched as the cover is pushed in place.
Secure with 4 of the black 6 X 1 1/4” screws using
a # 2 Square Head bit.
A5SCFH040
A5SCFH040