7
AXE MASTER SETUP
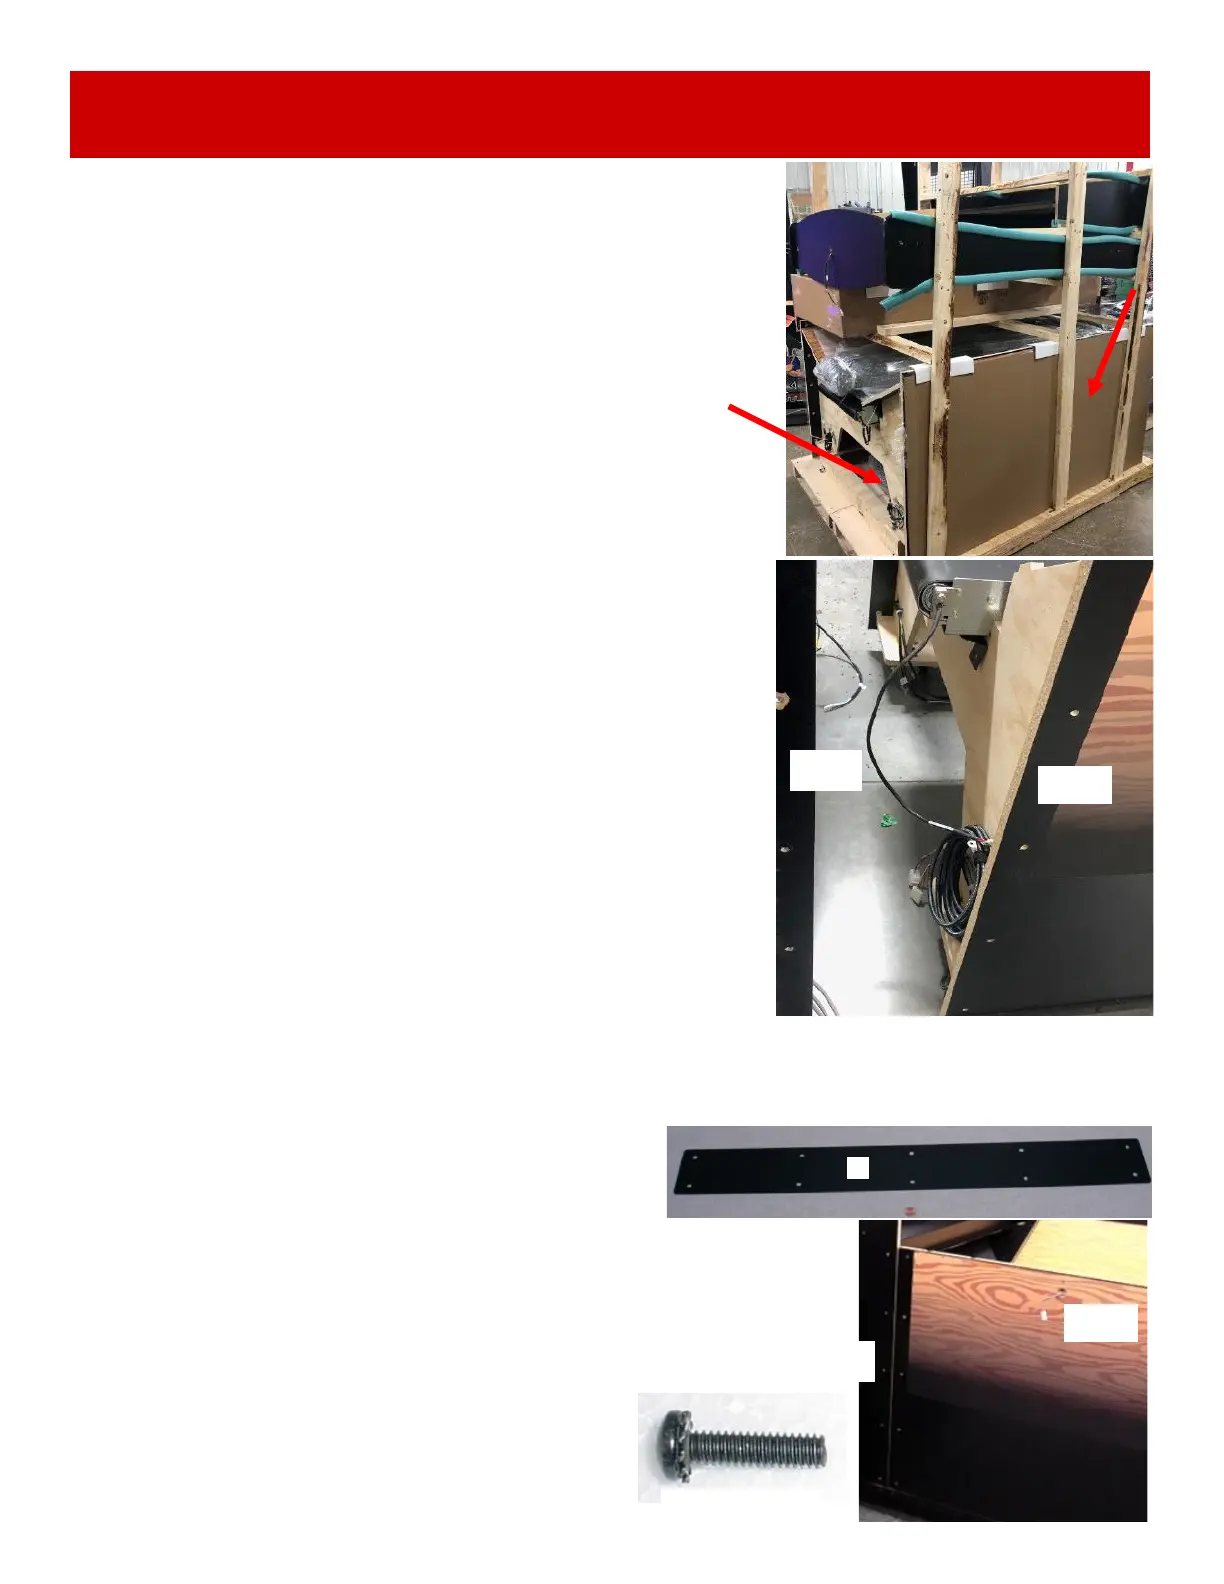
From the large middle cabinet pallet:
Remove the parts stacked on the middle cabinet and set aside.
Remove the 2 bolts holding the middle console to the pallet
using a 9/16” wrench. There is one bolt on each end of the
pallet.
Rear
Cabinet
Middle
Cabinet
Position the rear cabinet in position about 2 feet away from the
wall near the game’s final location.
Position the middle cabinet into position close to rear cabinet.
Snip plastic wire ties holding cables carefully to avoid cutting
wires.
Connect wires on the right side:
CE29006 to CE29005
CE29002 to CE29003
AC Power plug to the female AC power plug
CE29056 to CE29057
Connect wires on the left side:
CE29039 to CE29038
CE29060 to CE29059
CE29074 to CE29073
CE29025 to CE29024
CE29035 to CE29031
CE29017 to CE29041
Unwind the HDMI cable from the middle cabinet section and route into the back cabinet and up
toward the top of the rear cabinet. This will plug into the marquee further into the assembly process.
Locate the 2 of large metal connector plates. (Label A)
Install the plates on both sides of the cabinet with 20 of the black
¼-20 X 1 Phillips head bolts using a # 3 Phillips
Head bit. (10 per side)
A5BOPH312
A
Slide the middle section tight up against the rear section.
Ensure the cables do not get pinched between the wood sections.
Rear
Cabinet
Middle
Cabinet