8
AXE MASTER SETUP
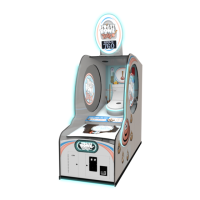
Locate the 2 of large metal connector plates.
(Label A) (Part # A5ME29012)
Install the plates on both sides of the cabinet with 20 of the black
¼-20 X 1 Phillips head bolts using a # 3 Phillips
Head bit. (10 per side)
Front
Console
Cabinet
Middle
Cabinet
A5BOPH312
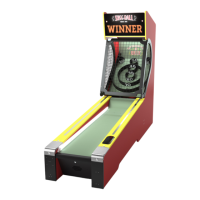
Position the front console cabinet into position close to middle cabinet.
Snip plastic wire ties holding cables carefully to avoid cutting wires.
Connect wires on the right side:
CE29000 to CE29002
CE29004 to CE29006
CE29055 to CE29056
AC Power plug to the female AC power plug
Connect wires on the left side:
CE29053 to CE29018
CE29075 to CE29074
CE29030 to CE29035
CE29040 to CE29039
CE29028 to CE29029
Unwind the HDMI cable from the middle cabinet section and route into the front console cabinet and
toward motherboard. Plug this HDMI cable into the motherboard.
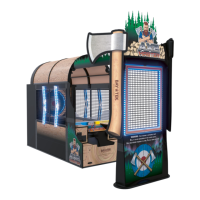
A
Slide the front console section tight up against the middle section.
Ensure the cables do not get pinched between the wood sections.
Front
Console
Cabinet
Middle
Cabinet
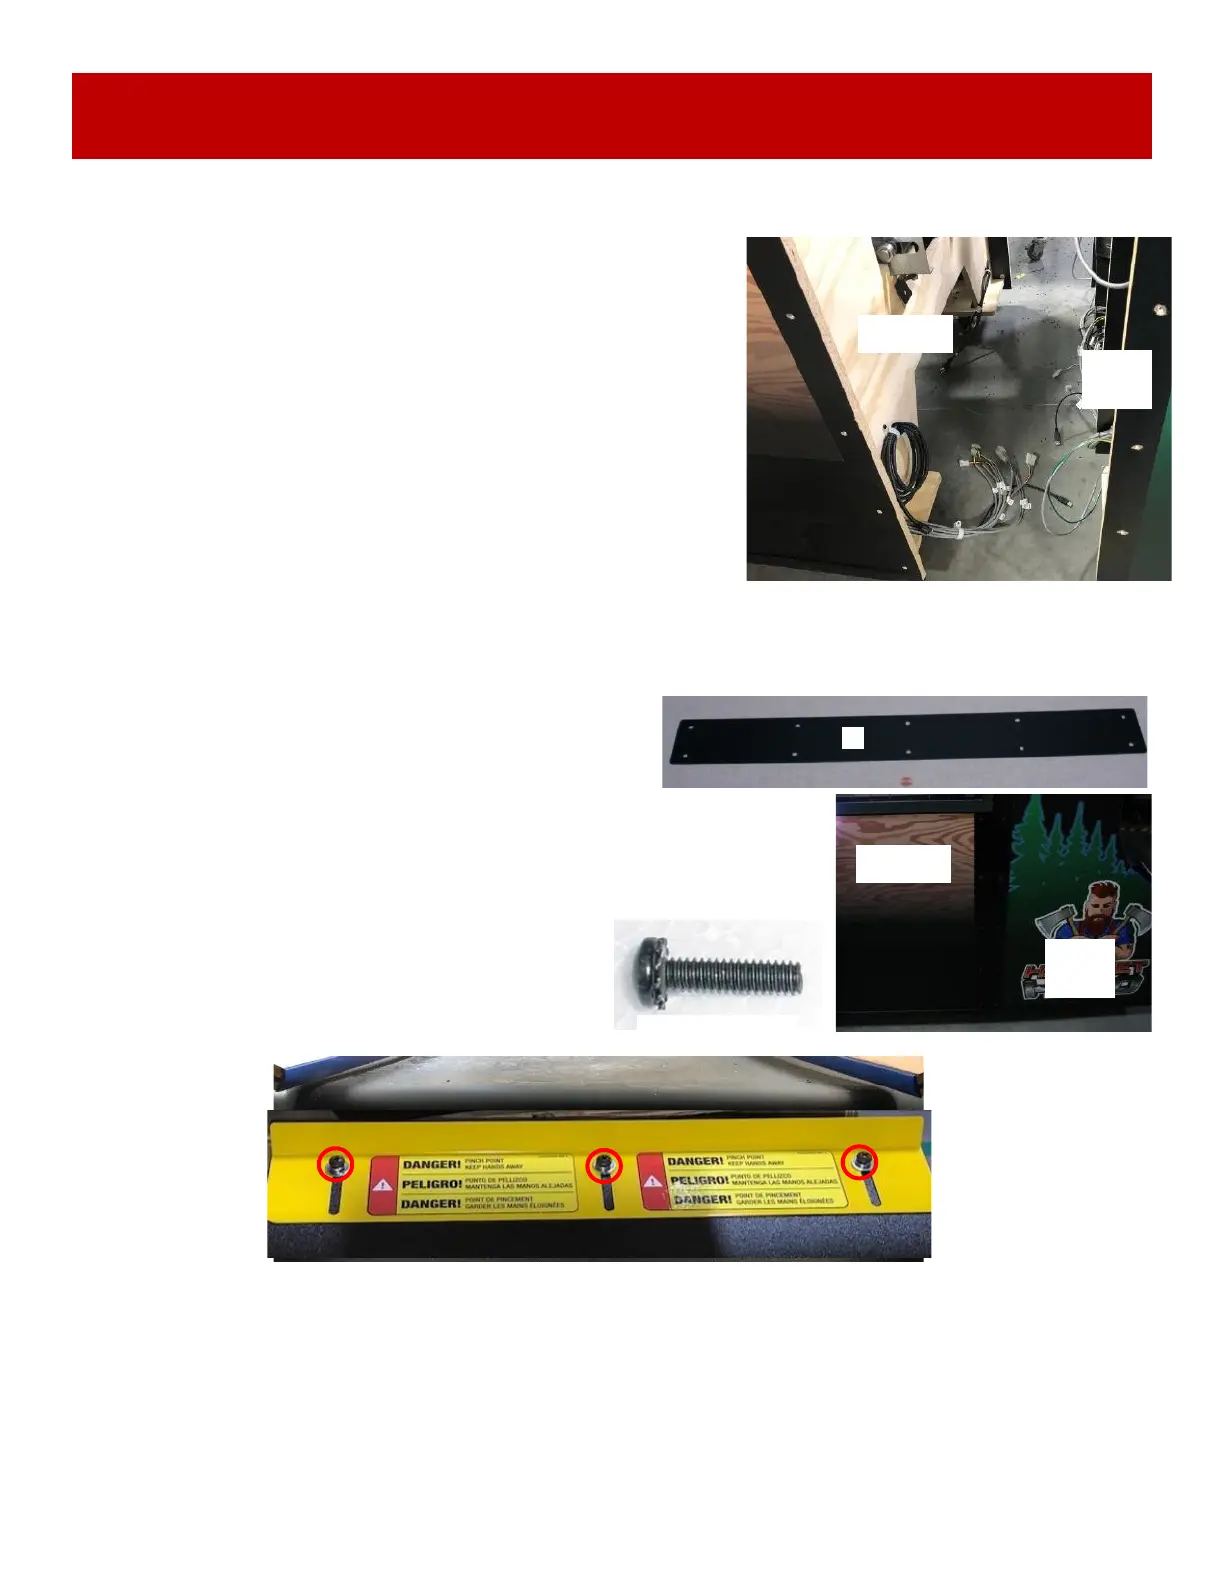
The Conveyor Guard is designed to keep fingers from getting pinched by the conveyor roller.
It is very important to adjust this metal bracket at game install, and anytime the game is moved, con-
veyor is adjusted or taken apart.
Use a Phillips screwdriver to loosen the 3 bolts.
Move bracket up very close to the conveyor belt and tighten screws.
Make sure the bracket does not touch the conveyor belt, but is close to it.