9
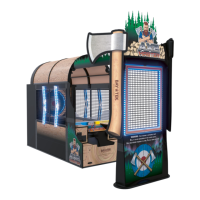
AXE MASTER SETUP
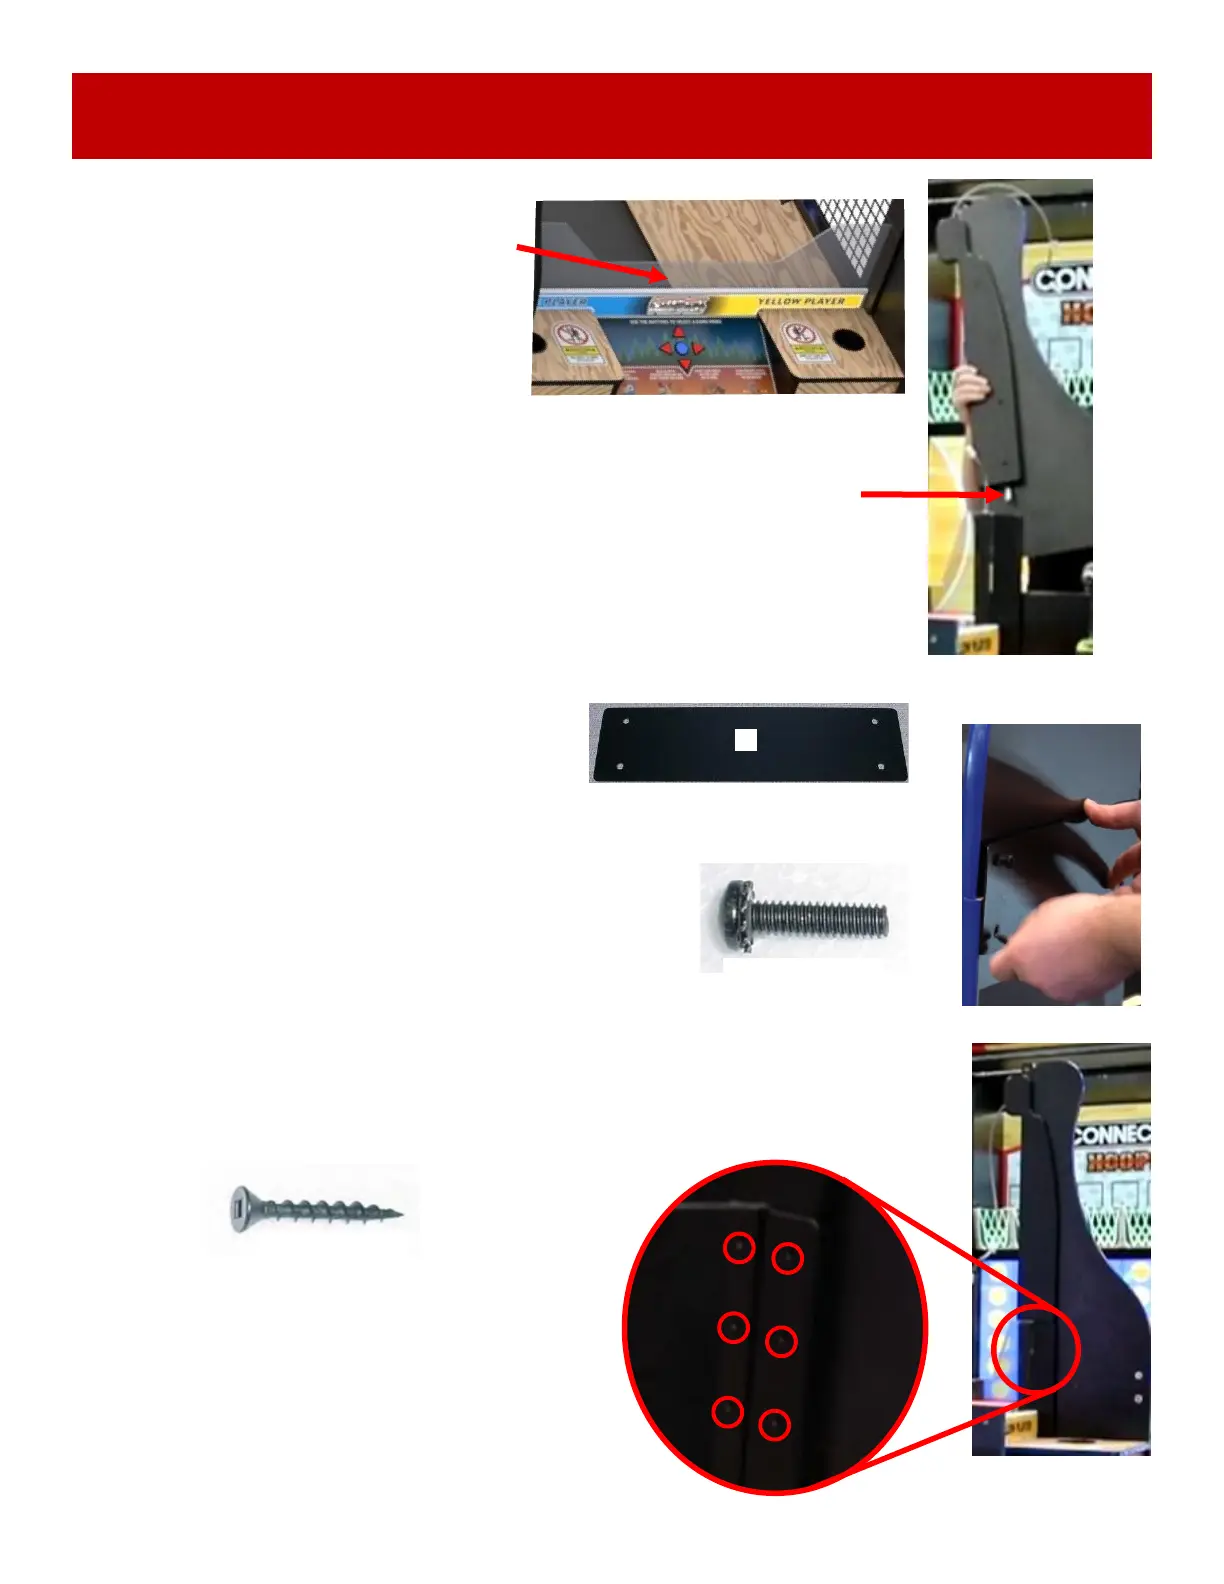
Install the plate across the wood pieces of the cabinets with 4 of the black ¼-20
X 1 Phillips head bolts using a # 3 Phillips Head bit.
A5BOPH312
Locate the front plexi guard and install
into notch with “V” notch pointing
upward.
Ensure it sits fully down into the notch.
Locate the 1 of medium metal connector plates.
(Label D) (Part # A5ME29011)
Secure the inside of the right upright to the black plastic using
6 of the black 6 X 1 1/4” screws using a # 2 Square Head bit.
A5SCFH040
Locate piece L - the front right side upright. (Part # AACA29056)
The will be a cable inside the groove - connect this cable with the cable
coming up from the lower front console cabinet. (CE29061 to CE29062)
The wire colors should match up across the connectors.
Connect this connector and tuck the access wire up inside the groove.
Place right side upright flat against lower front console cabinet.
Ensure the cable does not get pinched between the wood sections.
D