COM
NO
2
ACT N.O.
ACT N.C.
ACT COM.
SAFE N.O.
SAFE N.C.
SAFE COM.
STALL N.O.
STALL N.C.
STALL COM.
75.5753.15 LZR-MICROSCAN T 20180720 Page 7 of 16
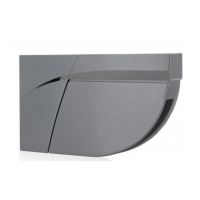
Door Control Harness
Plug Door Control Harness into
hub port labeled Door Control A.
Wire Door Control Harness to
door control.
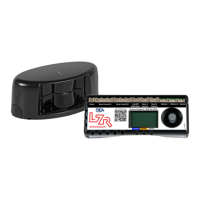
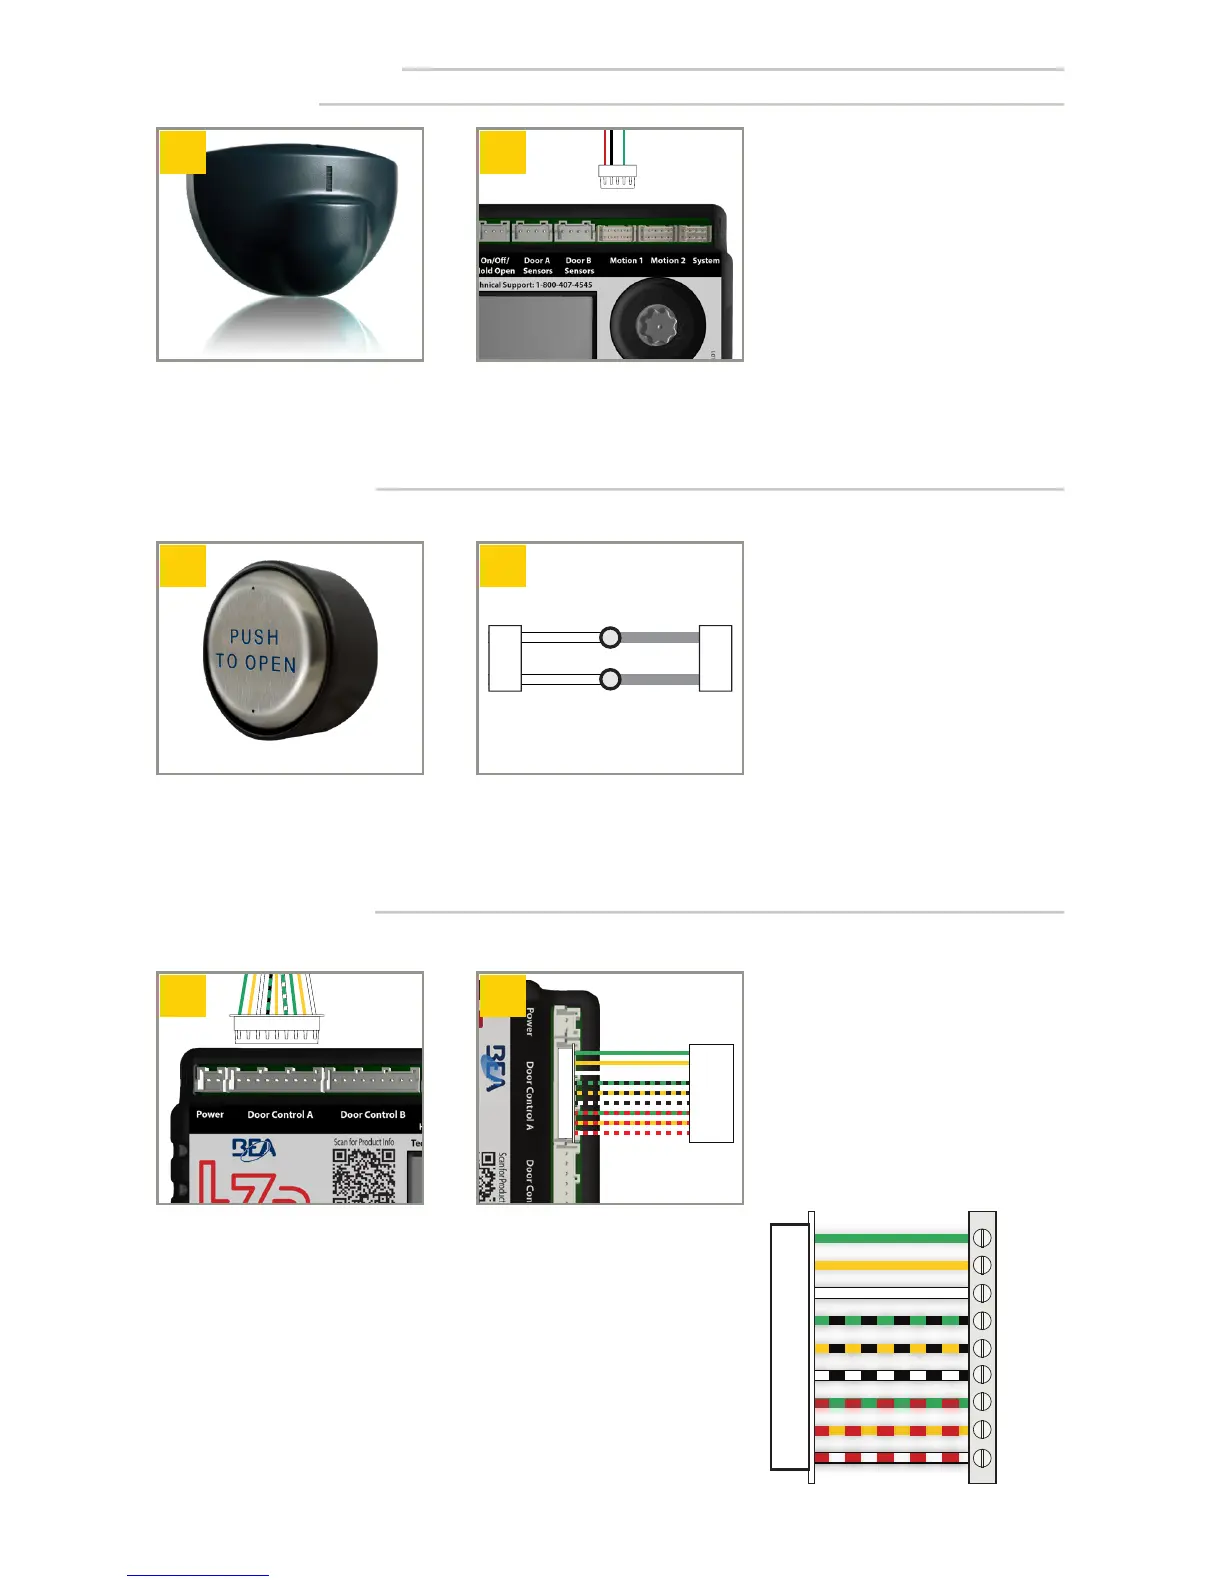
Eagle (optional)
Install Eagle(s). For complete
installation instructions refer to
BEA User’s Guide 75.5601.
Plug Eagle Harness(es) into hub
port labeled Motion 1 and, if
applicable, Motion 2.
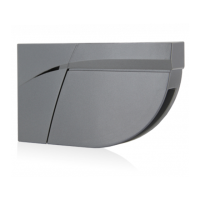
Install push plate(s). For complete
installation instructions refer to
the appropriate BEA User’s Guide.
Wire-nut push plate wires or
wireless receiver (COM and NO)
to gray wires of System Harness
plugged into hub.
Push Plates (optional)
INSTALLATION (cont.)
Multiple push plates can be paralleled to gray wires of System Harness.
If door system utilizes independent door controls, repeat steps 1 – 2 for the second control.
For dual-egress doors with independent
stall, two (2) Door Control Harnesses
must be used.
All white wires (white, white/black, white/red)
are always used.
For each function (activation, safety, stall), either
green or yellow are used - not both.
See Tech Bulletin #53 for more information.
PLU G
GREEN
YELLOW
WHITE
GREEN/BLACK
YELLOW/BLACK
WHITE/BLACK
GREEN/RED
YELLOW/RED
WHITE/RED