

R
Rhonda SmithSep 12, 2025
What happens if BEA Security Sensors door moved manually during closed door tracking?
- MmurilloerinSep 13, 2025
If the BEA Security Sensors door moved manually during closed door tracking, perform an Automatic Recovery.
What happens if BEA Security Sensors door moved manually during closed door tracking?
If the BEA Security Sensors door moved manually during closed door tracking, perform an Automatic Recovery.
Why is the BEA LZR-MICROSCAN T hub LCD not on?
If the LCD on your BEA Security Sensors hub is not turning on, there could be a few reasons. First, verify the power supply connection to ensure it's properly connected. If the connection is good, check the power supply itself, ensuring it's a BEA power supply. If both of these are fine, the hub might be faulty and may require replacement.
What to do if BEA LZR-MICROSCAN T Security Sensors door(s) keep recycling (ghosting)?
If your BEA Security Sensors door(s) keep recycling or 'ghosting', it could be due to the approach-side sensors detecting motion. Try adjusting the Activation Distance and/or motion sensor settings of the approach-side sensors. Another cause might be the Home Switch not properly registering when the door is closed. In this case, adjust the Home Switch and check its wiring.
What to do if BEA LZR-MICROSCAN T experience internal microprocessor fault?
If the BEA Security Sensors experience an internal microprocessor fault, cycle the power. If power cycling fails, replace the hub.
What does it mean if BEA LZR-MICROSCAN T Security Sensors signal an internal fault?
If the BEA Security Sensor signals an internal fault, cycle the power. If the orange LED flashes again, replace the sensor.
What to do if Laser Photo Diode voltage is out of tolerance in BEA LZR-MICROSCAN T?
To resolve a Laser Photo Diode voltage out of tolerance issue with BEA Security Sensors, replace the sensor.
How to fix 'Height/Angle Error' on BEA LZR-MICROSCAN T Security Sensors?
To address a 'Height/Angle Error: No floor recognized' issue with BEA Security Sensors, check the mounting height and angle against the template. If a transfer loop is present, ensure it is trimmed and not hanging under the sensor. Also, verify the sensors are handed correctly for the mounting location (i.e. Left Mount / Right Mount). If the sensor is detecting door hardware, tighten the tilt adjustment screw and install LZR spacers if necessary.
What to do if BEA LZR-MICROSCAN T Security Sensors do not show “CLEAR AREA” during setup?
If the BEA Security Sensors do not show “CLEAR AREA” during setup, verify the sensor harness connection.
What to do if sensor motor RPM is too low in BEA Security Sensors?
To resolve a sensor motor RPM too low issue with BEA Security Sensors, replace the sensor.
What to do if BEA Security Sensors door(s) will not open/ close?
If the BEA Security Sensors door(s) will not open or close, verify that the door control is operational without any wiring. Also, ensure all connections are secure, including sensors and the On/Off/Hold Open switch. Check if the Knowing Act is turned on and either turn it off or use Knowing Act devices. Verify the wiring from the hub to the door control and confirm monitoring settings and wiring are correct.
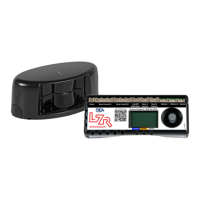
Shows different display modes and their meanings during normal operation.
Explains the difference between factory default and user-saved parameter values.
Step-by-step guide to navigating the LCD menus using buttons.
Process for selecting and changing parameter values using the adjustment knob.
Explains the color and signal meanings of the Hub and Sensor LEDs.
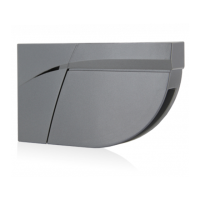
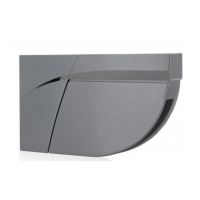
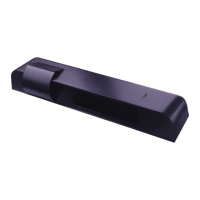
Instructions for installing the hub in the door header, ensuring accessibility.
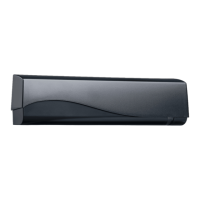
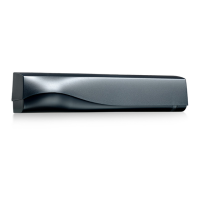
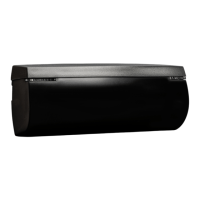
Guidance on determining sensor handedness and mounting it on the door loop side.
Using the template to position sensors, mark holes, and drill for accurate mounting.
Instructions for installing and wiring the Home Switch for door status indication.
Instructions for installing and wiring the Home Switch for door status indication.
Mounting and wiring the On/Off/Hold Open switch and understanding jumper wire functions.
Instructions for installing optional Eagle sensors and push plates.
Instructions for installing optional Eagle sensors and push plates.
Connecting the Door Control Harness for independent door controls and dual-egress systems.
Instructions for connecting the power supply to the hub and wiring to a power source.
How to use monitoring wires for external system status checks.
Details basic parameters like Door Type, Detection Zone, and Guiderail settings.
Explains advanced settings such as Monitoring, KnowingAct, and AdvanceSafe options.
How to view door status, active devices, and system parameters through diagnostic menus.
Solutions for common issues like no hub LCD, no clear area, or sensor errors.
Covers errors like incorrect mounting height, angle, or sensor visibility during setup.
Solutions for boundary errors, environmental factors, and communication loss.
Explains errors indicating internal or external faults, power supply, or temperature issues.
Notes on installer qualifications, safety inspections, and compliance with standards.
| Brand | BEA |
|---|---|
| Model | LZR-MICROSCAN T |
| Category | Security Sensors |
| Language | English |