Programming the CentronicPLUS transmitter
With brand new products, devices from another installation or products that have been re-
stored to factory settings, programming mode must be established beforehand (see Es-
tablishing programming mode).
Bring the transmitter as close as possible to the receiver to be programmed.
3s
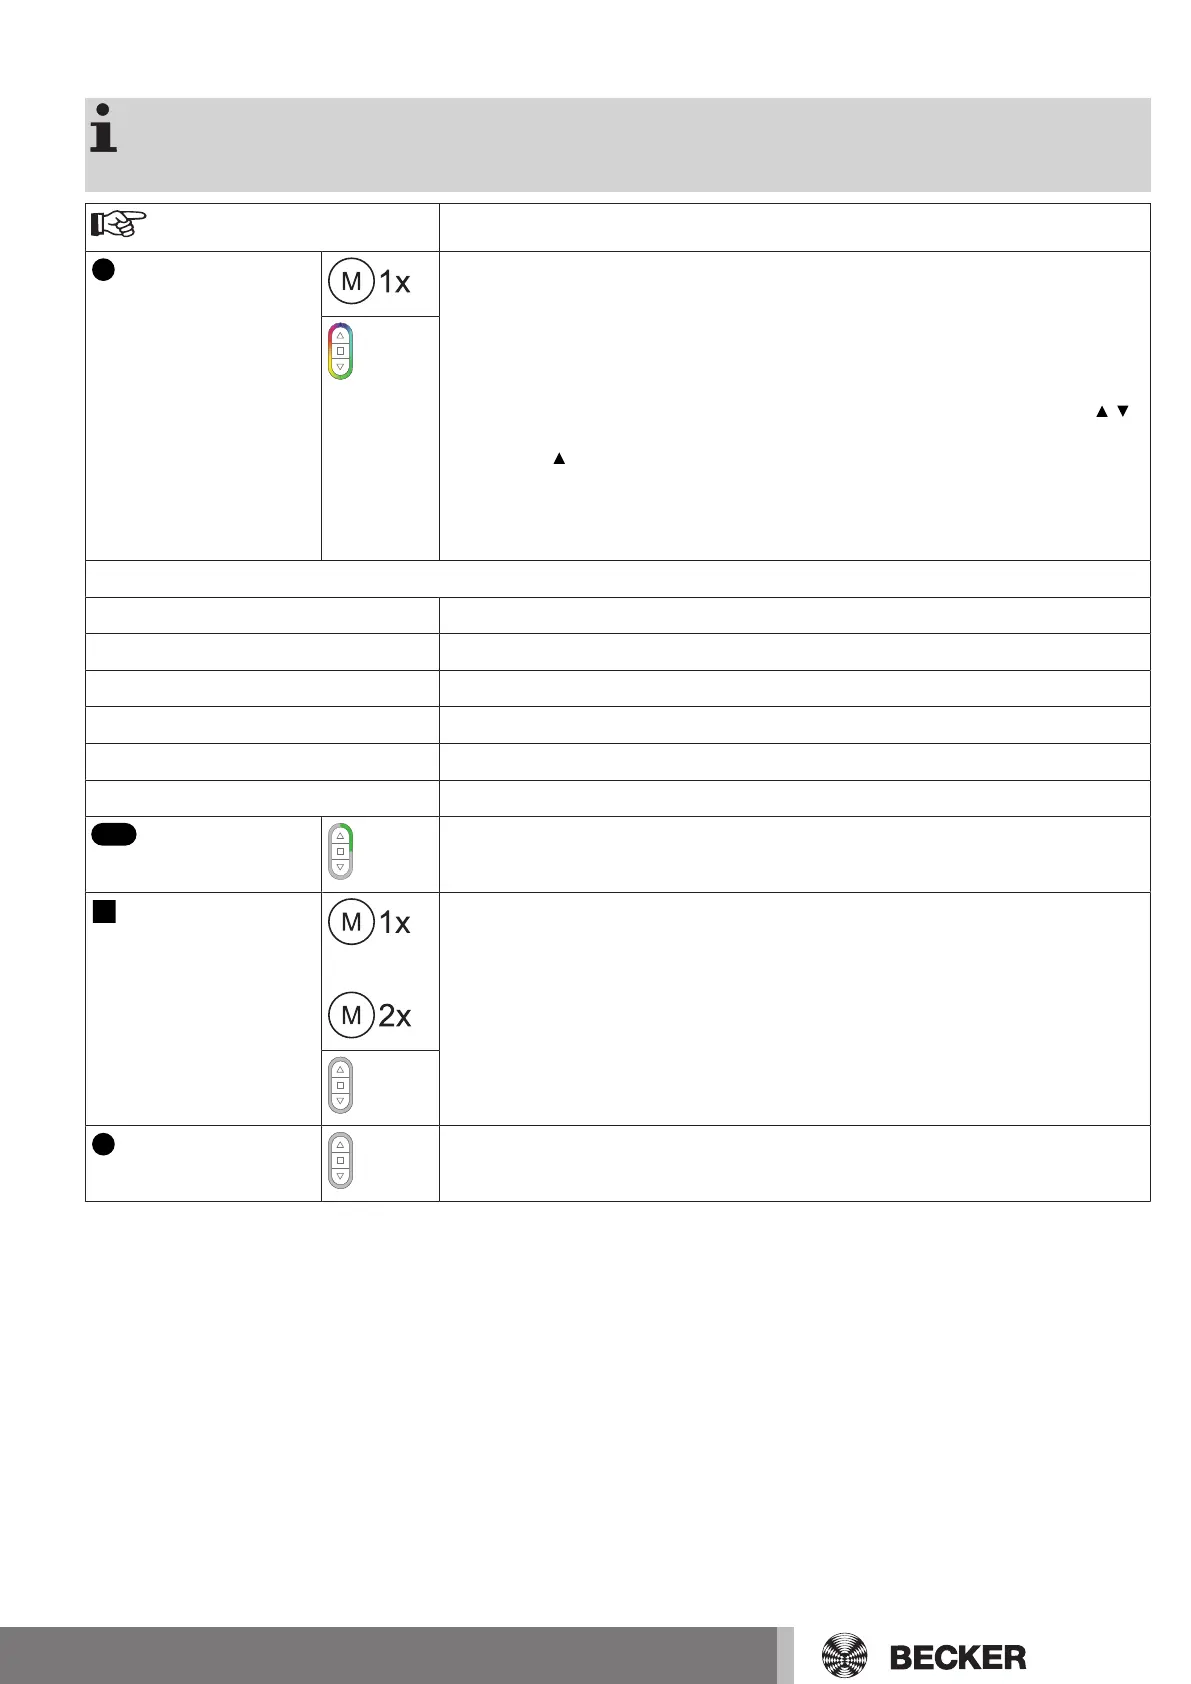
Press the programming button for 3 seconds when it is ready to program. The trans-
mitter performs a search and the LED ring continuously changes colour. The trans-
mitter then switches to receiver selection and selects the receiver with the best con-
nection quality.
▻
The receiver confirms.
If you do not receive confirmation from the required receiver, you can press the /
button to toggle between the available receivers until the required receiver confirms.
Pressing the button for 3 seconds confirms the receiver with the best connection
quality.
▻
The transmitter displays the current assignment status of the receiver via the
LED ring.
Assignment status
Lights up yellow: The receiver is not yet part of the installation or is in the as-delivered condition.
Lights up blue: The receiver is not assigned to the selected channel.
Lights up green: The receiver is assigned to the selected channel.
Lights up white:
Centronic PLUS sensor selected.
Lights up purple
Centronic PLUS transmitter selected.
Lights up red:
No receiver located.
Select the desired channel by pressing the function key on the multi-channel hand-
held transmitter.
or
Press the STOP button to change the assignment status of the selected receiver. If
the receiver is not yet part of the installation, it will be added and assigned to the se-
lected channel.
▻
The receiver signals once to confirm the channel assignment, or signals
twice to cancel the channel assignment.
▻
The transmitter lights up accordingly to confirm the new assignment status.
►
The receiver is now part of the installation with the required channel assignment.
3s
Then press the programming button for 3seconds to change to normal mode.
►
The LED ring goes out.
11-en