Commissioning/application notes
EK1122, EK15xx 65Version: 3.4
Wear indicator
The wear indicator of the sanding gauge consists of four points on the underside. The sanding
gauge should be replaced when one of these points is no longer visible.
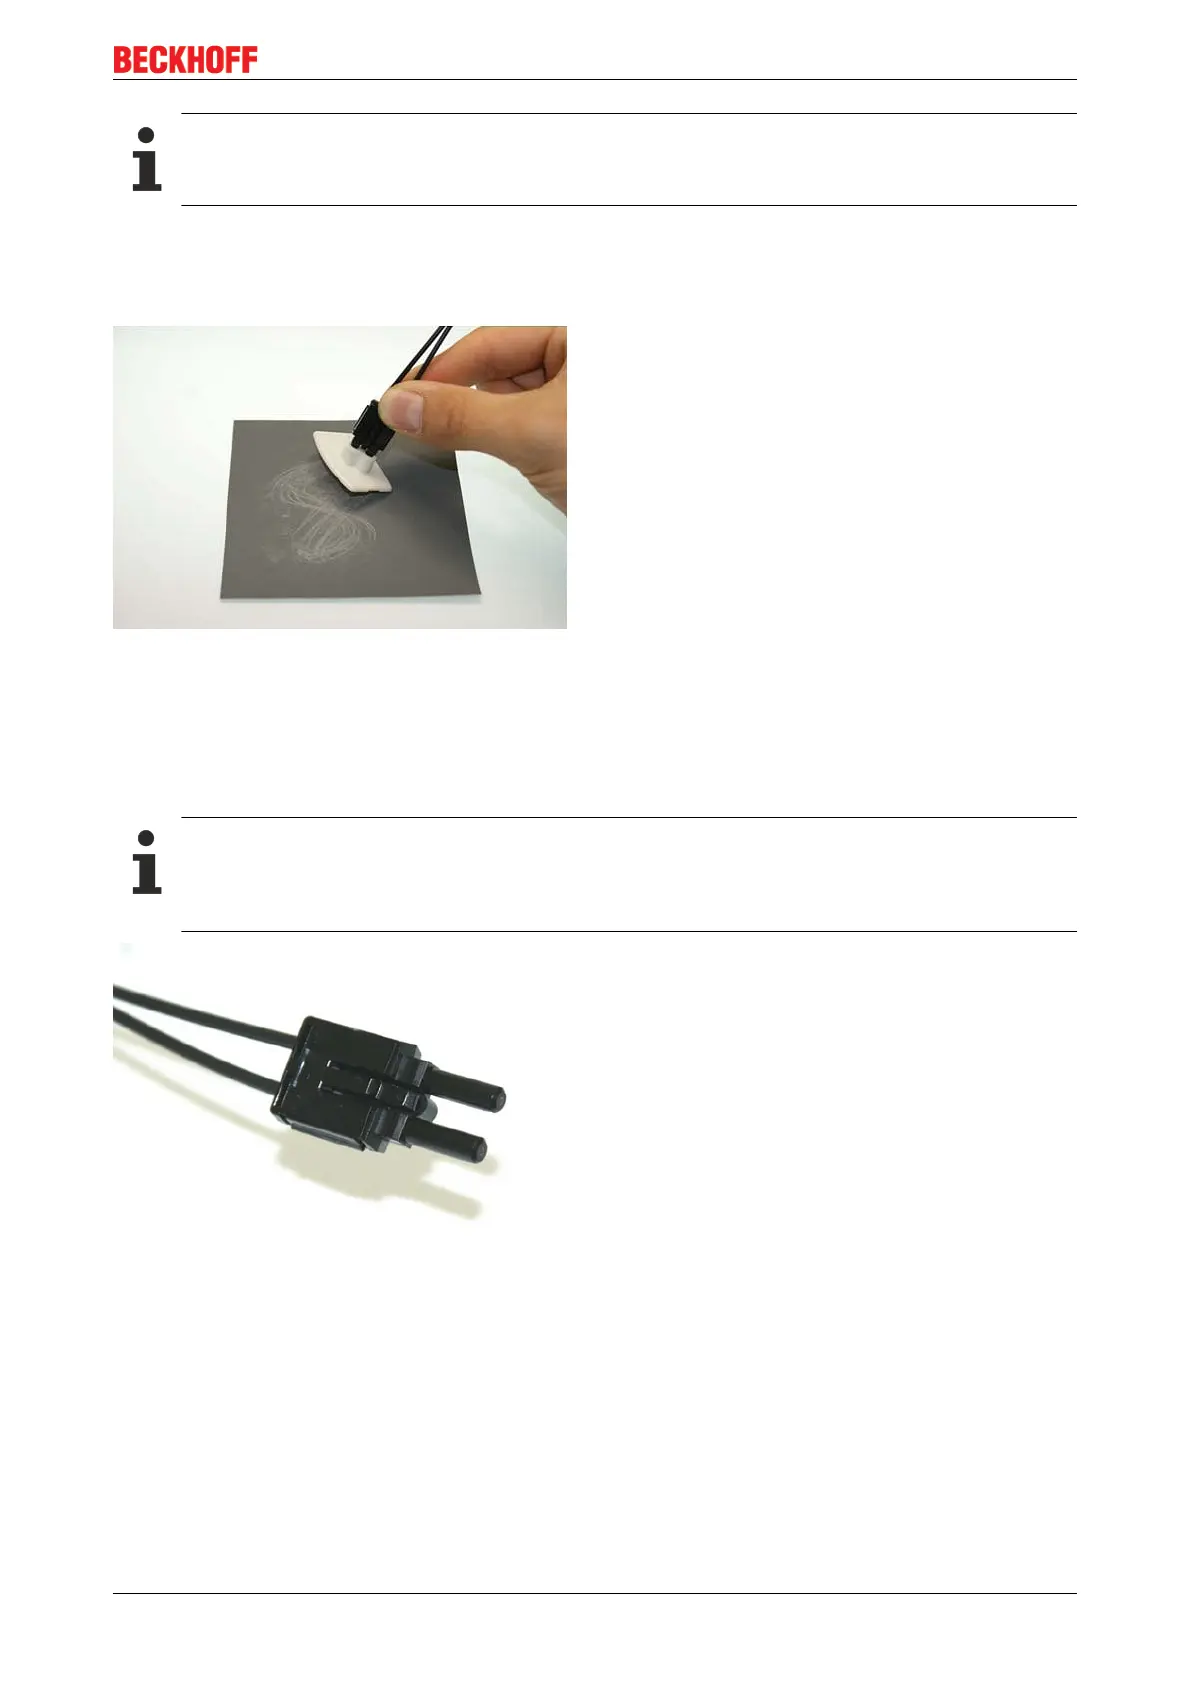
Now press the sanding gauge onto the abrasive paper with uniform pressure and as perpendicular as
possible. In order to achieve a uniform result, use the abrasive paper in the form of a figure of 8, until the
fibers are flush with the sanding gauge. Then clean the sanding gauge and the connector from below with a
soft, dry cloth.
Fig.55: Polishing in the form of a figure of 8
4. Fine polishing
Now use the pink polishing sheet for fine polishing in the same manner. Apply the connector with the
sanding gauge to the matt side of the polishing sheet with slight pressure and polish in the form of a figure of
8 up to 25 times. After the procedure the fiber end should be flat, smooth and clean.
Improving the transfer performance by fine polishing
Fine polishing with a polishing sheet can improve the transfer performance between the transmitter
and the receiver or in the cable joint by up to 0.5 dB compared with to treatment with abrasive paper
alone. For short transfer distances the polishing step can be omitted.
Fig.56: Fine-polished fibers in the connector
 Loading...