2.4.3 DCX.Server software
• Install the DCX.Server software at your MS-Windows computer (see chapter 2.2)
• Connect a USB-RS232 interface (min. 38400 baud) to your computer and the Behringer
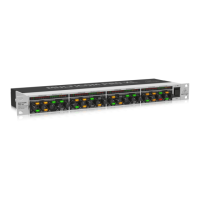
DCX2496 device
• Switch on your DCX2496 device
• Open the DCX.Server program
o Press the button “Change COM port…”.
o Select a COM port and press “OK”. The COM led shines green
• Check the displayed “Server IP” address
o Is it a valid IP of your local network? E.g. 192.168.178.23
2.4.4 DCX.Client software
Note: Devices with DCX.Client and DCX.Server must be in the same network!
• Install the DCX.Client software at your computer or tablet/mobile phone (see chapter
2.2)
• Open the program DCX.Client (DCX.Server should already started)
o For the first start wait 20-30 seconds. The client searches for the DCX.Server
Note: Via the button “Find DCX.Server” from the “Settings/Network” tab you check the
network connection to the DCX.Server.
2.4.5 Control your DCX2496 device
• Follow the chapter “First steps”
• Power on your DCX2496 device
• Open the DCX.Server software
• Open the DCX.Client software
o “Home” tab: Select the device ID of your
DCX2496 (default= 1)
▪ Alternative press “Find DCX devices…” to scan for DCX2496 devices
o Wait until the button is enabled “highlighted”
o Press the button “Connect/Read” to connect the client with a DCX2496
▪ The progress bar in footer displays the status of the data import (not
Android)
o The software is ready to control the DCX2496
• E.g., select the tab “A B C Sum”. Change the dB gain of “In A”
• Check the level at the Behringer DCX2496

 Loading...
