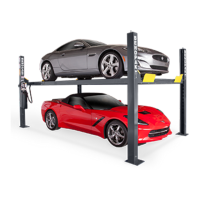
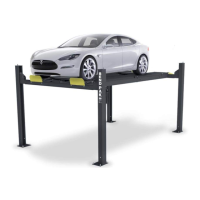
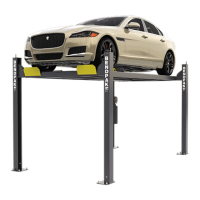
HD-973P Series Multi-Level Parking Lift 43 P/N 5900076 — Rev. B3 — January 2024
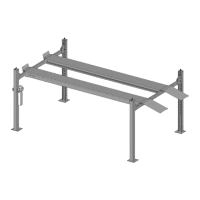
To install the Air Lines:
Find the roll of supplied ¼ inch, black, polyethylene Tubing and three Tee Compression Fittings.
Pick a Platform to start with, then measure the distances for each of the seven (7) Tubing pieces
you will need for the Air Lines.
Important: Make sure to cut the Tubing piece that will go through the Flex Tube
on the Upper Platform long enough so it will not pull taut when the Platform is raised.
Cut seven pieces of Tubing to the measured lengths from the roll of Tubing.
Connect the various pieces of Tubing to the Tee Compression Fittings on the Lift, making sure to
route the route Tubing piece through the Retaining Rings along the inside of the Runway.
Make sure to position the Tee Compression Fittings as shown in the drawing.
⚠ WARNING Make sure to route the Tubing pieces on the outside ends of the Front and Rear
Crosstubes through the Steel Tubes on the ends of the Crosstubes. This keeps the
Tubing and the Tee Connectors from being disturbed as you use the Lift. This is
important, because if the Air Lines are disturbed, the Safety Locks on the Lift may
not work correctly. If you notice that Tubing has become disconnected from a Tee
Fitting, take the Lift out of service, and get the Air Lines fixed.
Refer to Working with Compression Fittings and Tubing for more information about
connecting the Tubing to the Tee Compression Fittings.
Leave the Power Unit end of the Air Line hanging out of the Flex Tube opening for now.
It will be connected to a Tee Fitting and the Pushbutton Air Valve later.
Repeat Steps 1 through 5 for the other Platform.