Rev 9 2022
23
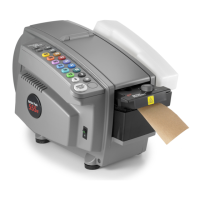
Maintenance & Repair Solenoid Repair
11. Pull the plunger from the solenoid
12. Using 80 grit sandpaper or emery cloth clean the
contacts on the solenoid unl shiny
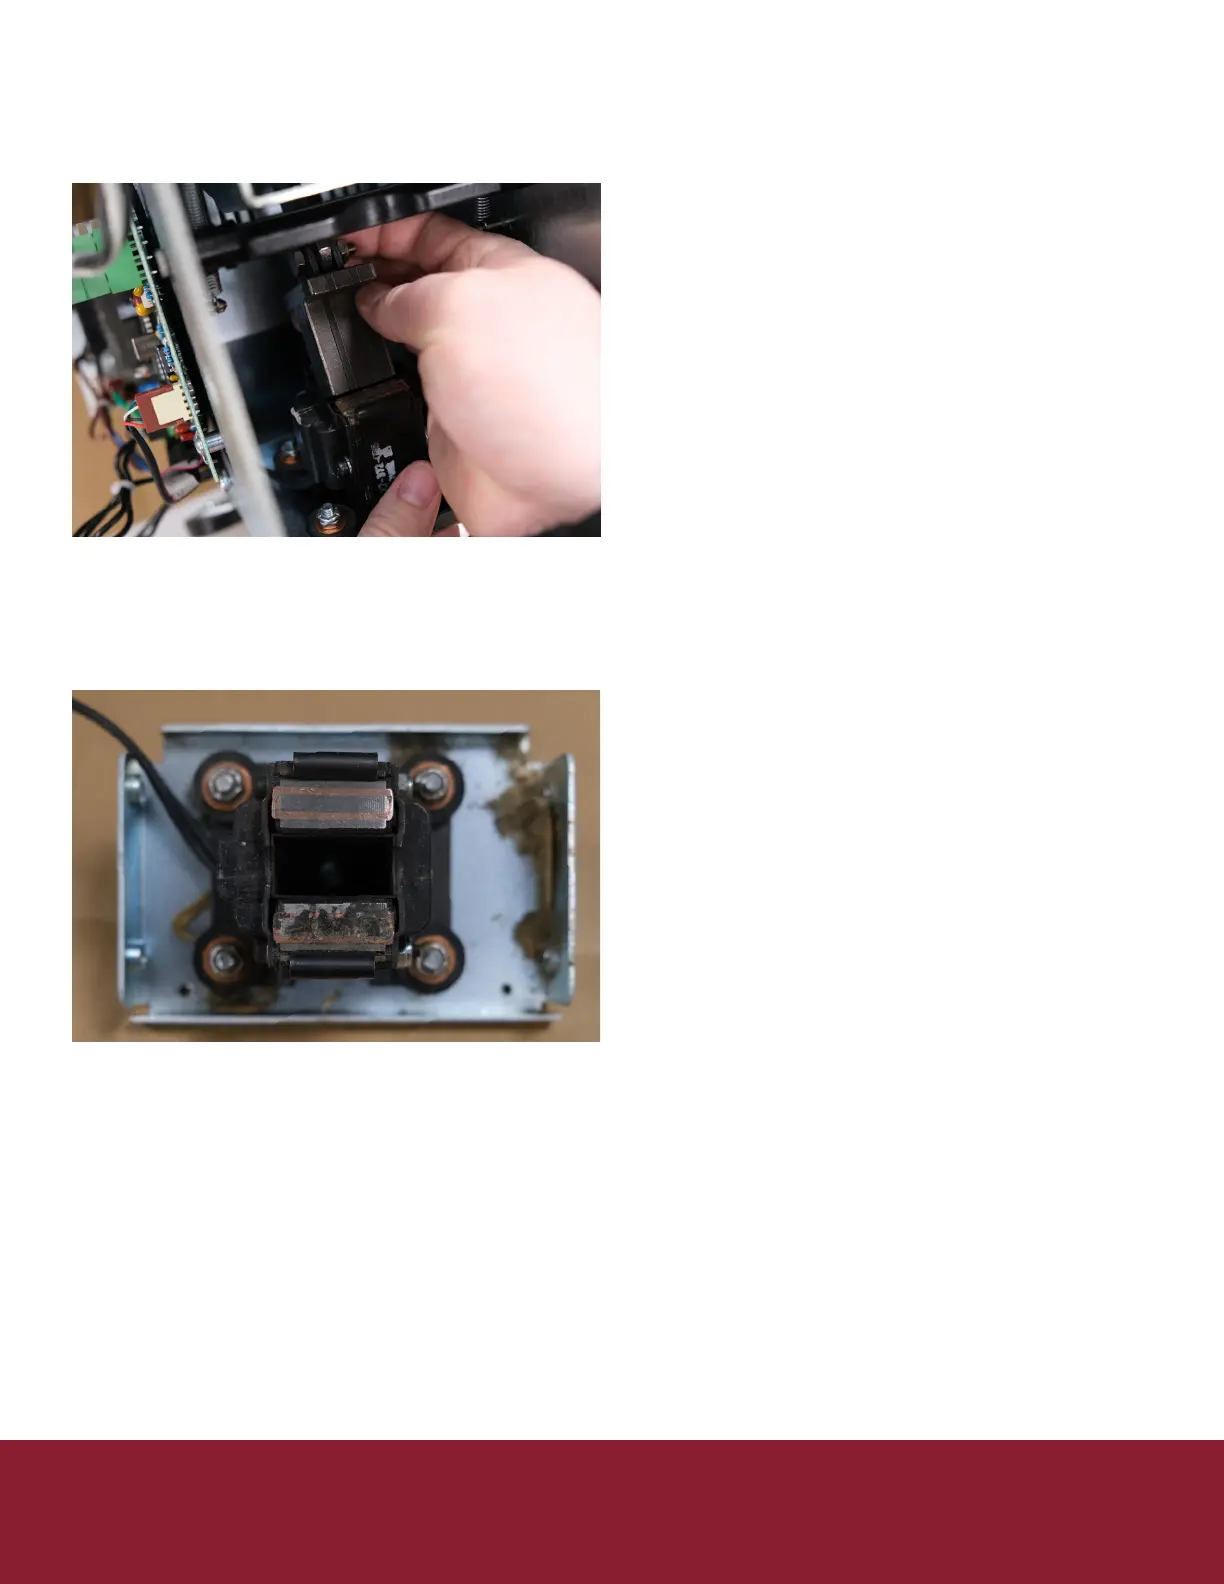
a. Your solenoid contact should look like the top
of the below image, the lower one will need
cleaning
13. Repeat this process on the corresponding
contacts on the plunger
14. Reinsert the plunger into the solenoid body
15. Align the solenoid shelf and replace the 2 front
screws
16. Tighten down all screws on the solenoid shelf
17. Reinstall the spring
18. Replace the access plate
19. Reinstall the bae safety
20. Snap the tank shelf back into place
21. Replace the right cover (5 Philips screws)
22. On le cover plug keypad ribbons back into
controller board
a. Be sure not to miss any pins as this will eect
the length selected
23. Reinstall le cover be sure not to pinch or drive a
screw through the keypad ribbons.
24. Replace water tank, brushes, and water bole
Connued