MANUAL INSTALLATION
Version: 6.1 (05-12-2011) 21
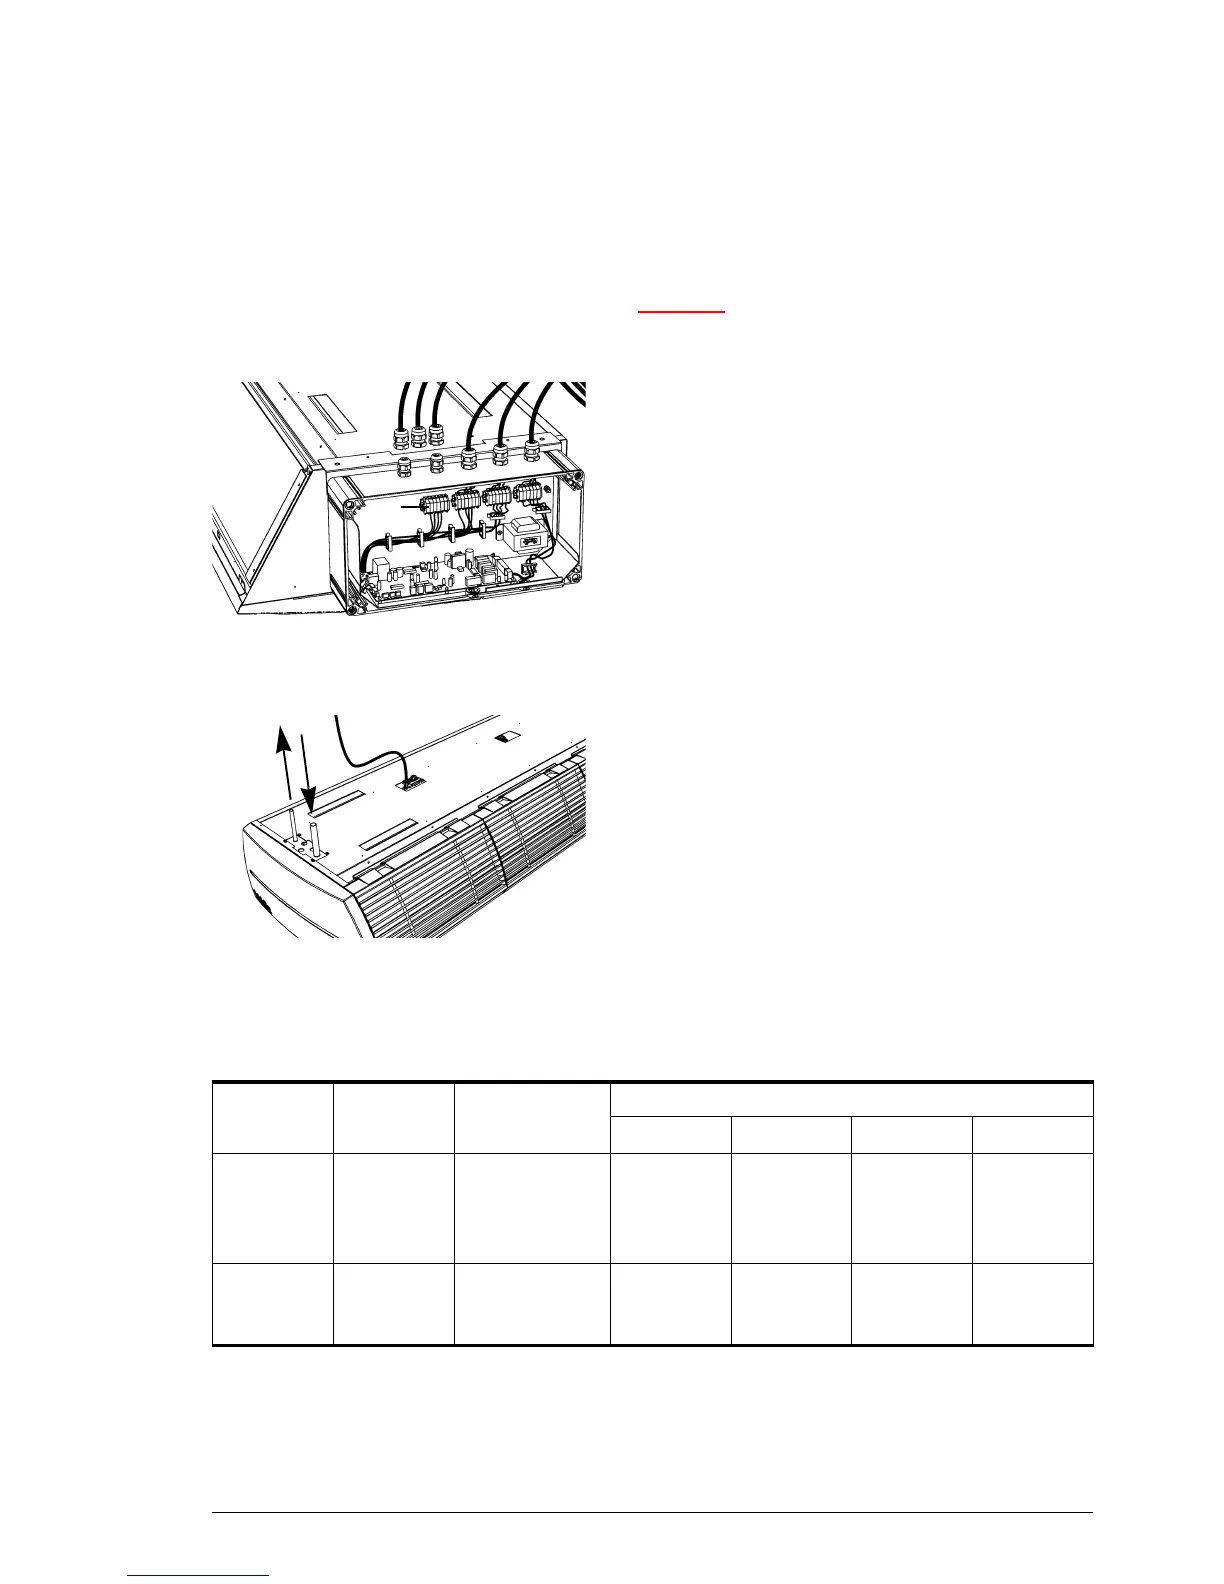
- Remove the bracket 2 from the unit and the box.
- Install the box on the wall at an appropriate point.
Caution:
c Do not disconnect the wiring between the box and the
unit.
3
4
3. Lay the control cable(s) into the box, through the free
cable gland(s) 3.
4. Connect the controller of the system to the terminal block
4:
- Connect the control cable of the outdoor unit to F1/
F2.
- If installed on y
our unit: Connect the Daikin control
panel to P1/P2.
5. Tighten the cable gland(s).
6. Install cover 1 on the box again.
2.6.3 Connection of cooling medium
• Install the lines according to the installation manual of the
Daikin outdoor unit.
• Solder the lines to the pipes protruding out of the upper
side of the u
nit.
2.6.4 Settings on the Daikin control panel
You can make local settings on the Daikin control panel as
described in the cor
responding installation manual.
The units described in this manual have a few additional setting
possibilities:.
M
ODE
NUMBER
FIRST
CODE
NUMBER
DESCRIPTION
OF THE
SETTING
SECOND CODE NUMBER
01 02 03 04
(22) 3 Function of air
cu
rtain when
not heating
(23) 8 Function of air
cu
rtain in
defrost mode
(standard
settin
g)
unheated
(standar
d
setting)
unheated at
standstill
(if 23-8 is
set to 01)
--
at
standstill
un
heated unheated --