INSTALLATION COMFORT AIR CURTAIN
20
2. Vent the heat exchanger.
3. Check the connections for leaks.
2.6 Connect the unit to a Daikin system (CA
2
V and CA
2
Q)
2.6.1 Preconditions for connection to a Daikin system
• The Daikin system must always be active when the Biddle
air cur
tain is active.
• A control system must be connected to the Daikin system.
This can
also be a Daikin control panel that is connected
to the Biddle air curtain.
Warning:
w Units of type CA
2
V may only be connected to a
Daikin VRV system.Units of type CA
2
Q may only
be connected to a Daikin ERQ system.These units
are not interchangeable.
2.6.2 Connection of the control system
All models
Caution:
c Use cable with a cross-section of min. 0.75 mm².
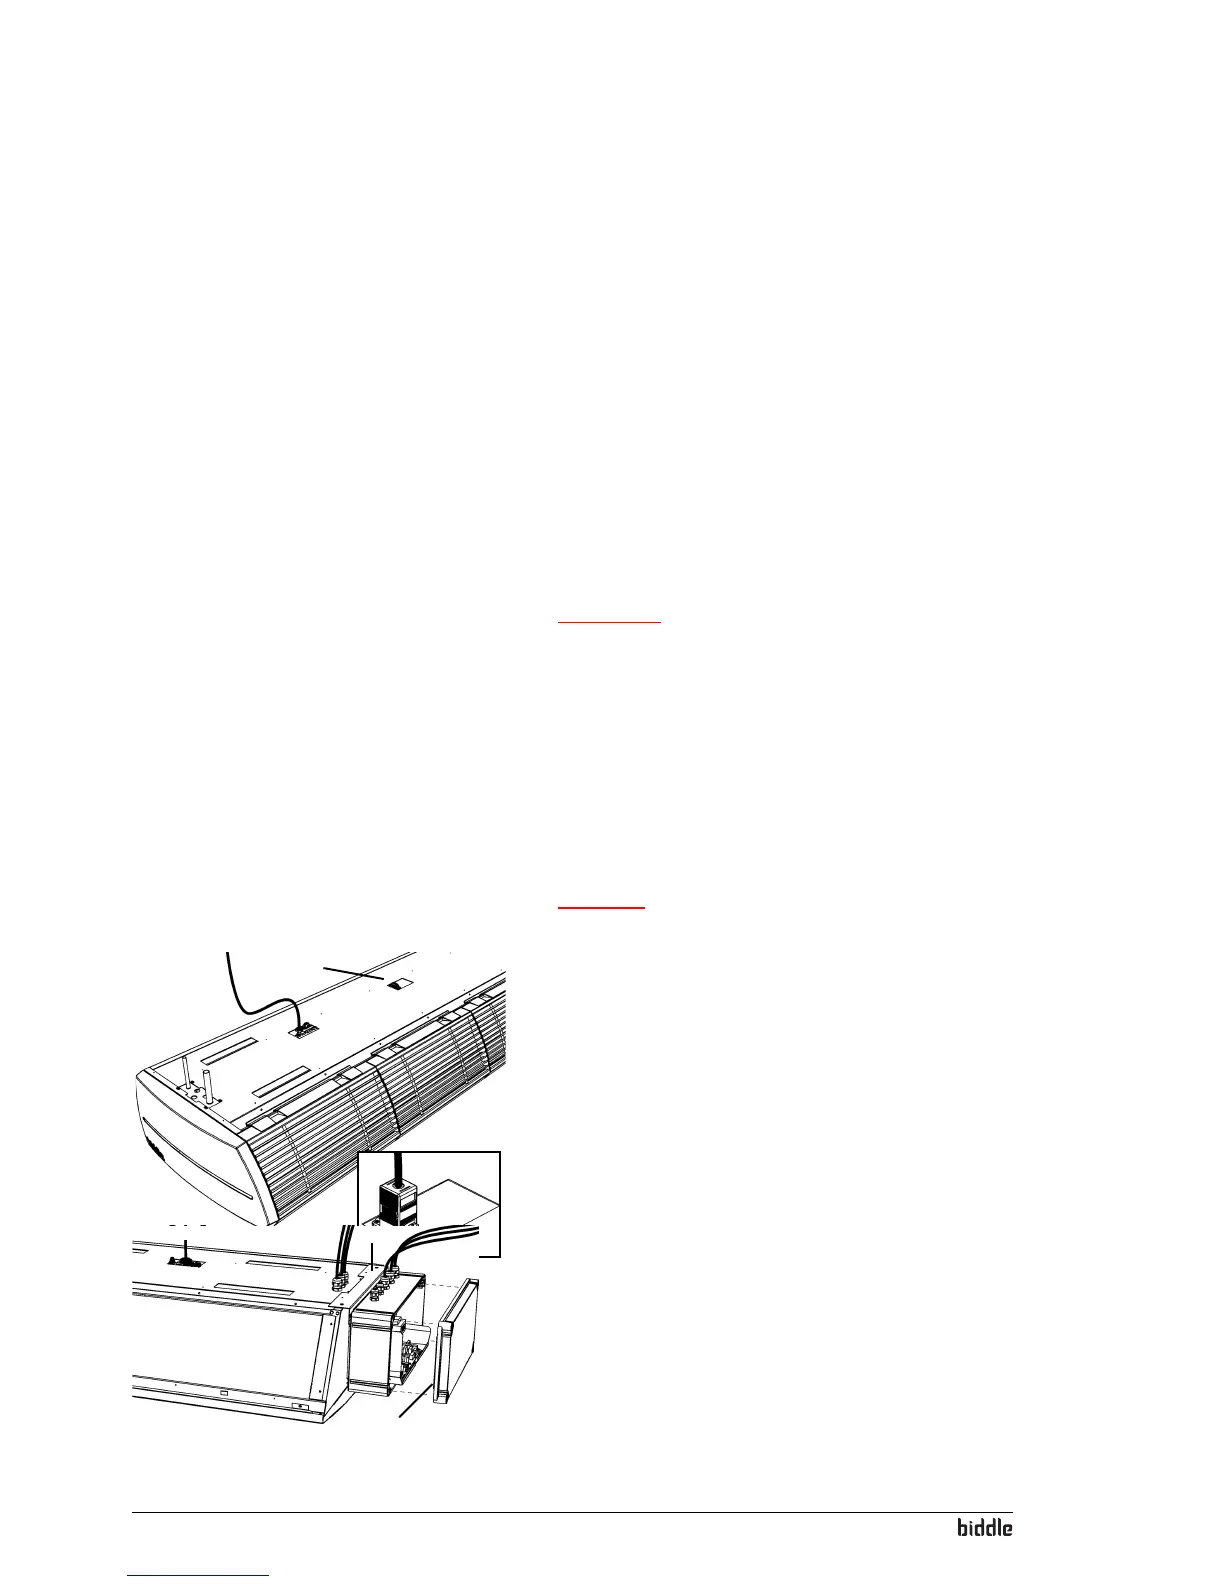
X84
Models with discharge width 150, 200 or 250
1. Connect the control system of the Daikin system to
term
inal X84 on the upper side of the air curtain:
- Connect the control cable of the outdoor unit to
F1/
F2.
- If ins
talled on your unit: Connect the Daikin control
panel to P1/P2.
2. Install the cable sheath (su
pplied) on the terminal.
1
2
Models with discharge width 100
1. Remove the cover 1 of the box on the side of the unit.
2. Optiona
l: Remove the box from the unit: