23
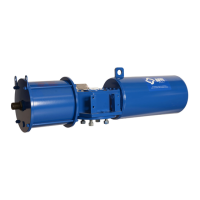
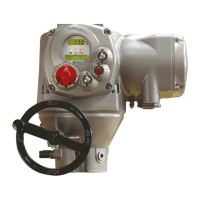
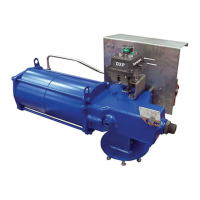
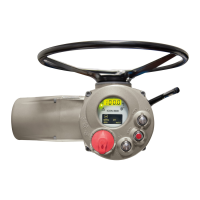
BIFFI FAIL SAFE ELECTRIC ACTUATORS, MODEL EFS2000V4
InstructIon and operatIng Manual
10.4 Configuration options
The EFS2000 actuator can be totally configured
from the local interface by means of a series
of menus that can be selected from the
alphanumeric display. The operator is guided
through the different displays by answering
YES or NO to the appropriate prompt (change?,
OK?, view?, next?, etc.) in the right corner of the
lower row of the alphanumeric display.
To access the menus:
• If option ‘SELECTOR in OFF: disabled’ is
configured, move the selector to OFF and
then press simultaneously OPEN/YES and
STOP push buttons to enter in the VIEW and
SETUP menu.
• If option ‘SELECTOR in OFF: enabled’ is
configured, move the selector to OFF and
within 20 seconds, press simultaneously
OPEN/YES and STOP push buttons to enter
in the VIEW and SETUP menu. If VIEW and
SETUP operation are not entered, a new ESD
action will be executed.
It is possible to enter in VIEW and SETUP menu
after ESD action has been executed, but the
actuator cannot be electrically operated.
The alphanumeric display will now show the
present language. Press YES if the language is
correct, press NO to scroll the list of available
languages and then press YES to select.
After choosing the language, the next step is
the selection among view and set-up mode. Use
view mode to see the actuator configuration,
and use set-up mode to change the present
configuration. Unauthorized access to the
set-up mode is prevented by a 4-character
alphanumeric password. The actuator is
supplied by BIFFI with the default password
‘ 0 0 0 0 ‘.
Once the correct password has been entered,
the actuator parameters can be configured.
The present password can also be modified
by way of the ‘set password’ routine in the
maintenance menu. After entering the new
password, the old one ceases to be valid, so it
is important to record the password in a secure
location for future retrieval.
The configuration functions (view and set-up
mode) are grouped in4 main menus: Actuator
set-up, Nameplate, Valve data, Maintenance.
10.4.1 Actuator set-up
This menu includes the routines that allow
the actuator to be configured according to the
requested control mode and to the valve it is
mounted on.
List of routines:
• stroke limits • local controls
• out 4-20 mA * • miscellaneous
• torque set-up • output relays
• interlock • EFS setup
• positioner * • 2-speed timer
• remote controls • fail safe *
• bus *
The routines with * are only available if the
relevant modules are present. If bus interface
is LonWorks, the “bus” routine changes to
“FDIcontrol”.
10.4.2 Name plate
This menu includes a series of data identifying
the actuator characteristics, service, and
utilisation mode. The data are entered by the
manufacturer and can only be viewed (i.e. this
menu is only available in View mode).
List of routines:
• serial number • motor data
• lubricant • actuator type
• test date • revision
• torque/thrust • wiring diagram
• torque sensor • actuator speed
• enclosure • power supply
• certificate
10.4.3 Valve data
Valve data includes a series of data relevant to
the valve. The valve manufacturer and end user
should enter the data.
List of routines:
• tag name • serial number
• manufacturer • break-OP torque
• break-CL torque • max stem thrust
• flange type